Bi-fold doors have never been my favorite. When we built our house, I didn’t want them installed anywhere! When I realized how cheap they are and how easy it is to give them a makeover, I had a change of heart. They also fit in the back of an SUV, which is a major plus when you don’t own a vehicle big enough to pick up standard-size doors.
When we finished our basement, we built an alcove area near the theater room that we thought we were going to turn into a snack bar. Months went by and we ultimately decided that we didn’t have a legitimate need for a snack bar. It would probably turn into an area where snacks go to expire. So instead, I decided it would be of better service to our family if I added bi-fold doors and turned it into a regular storage closet.
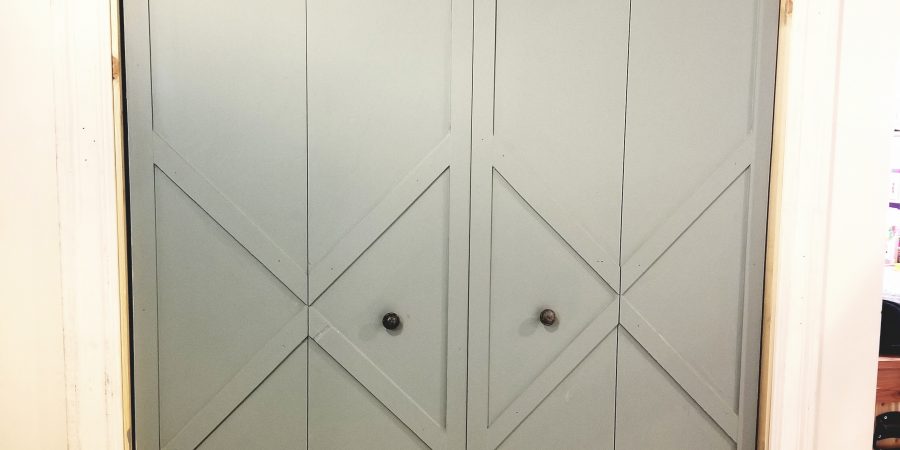
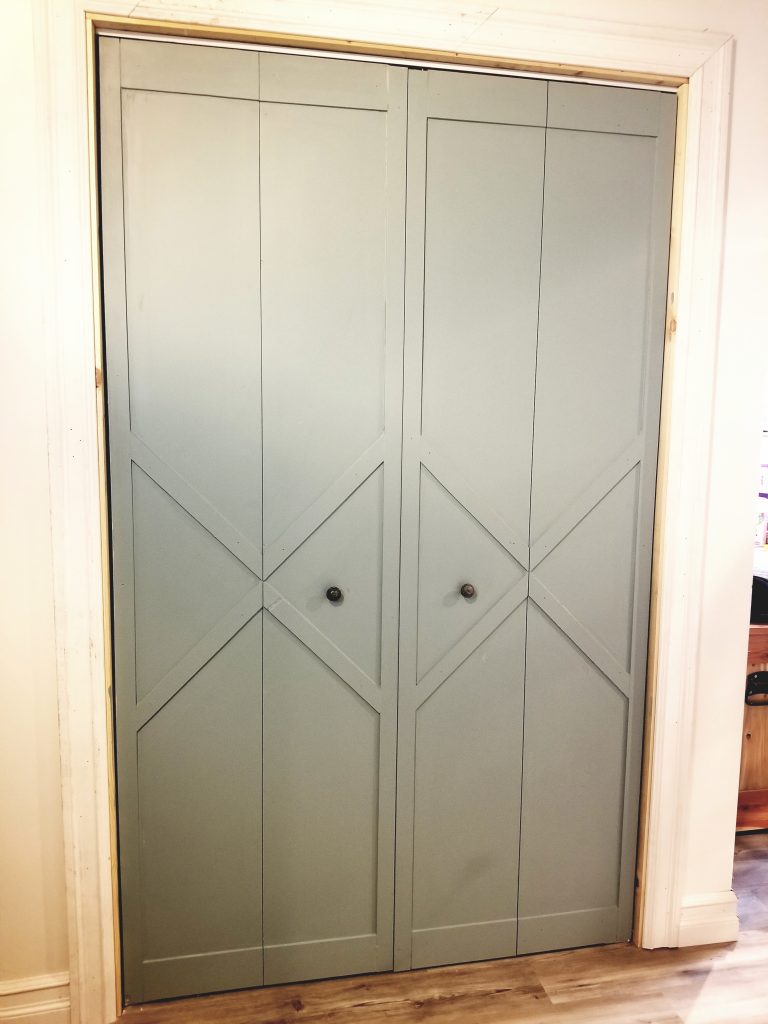
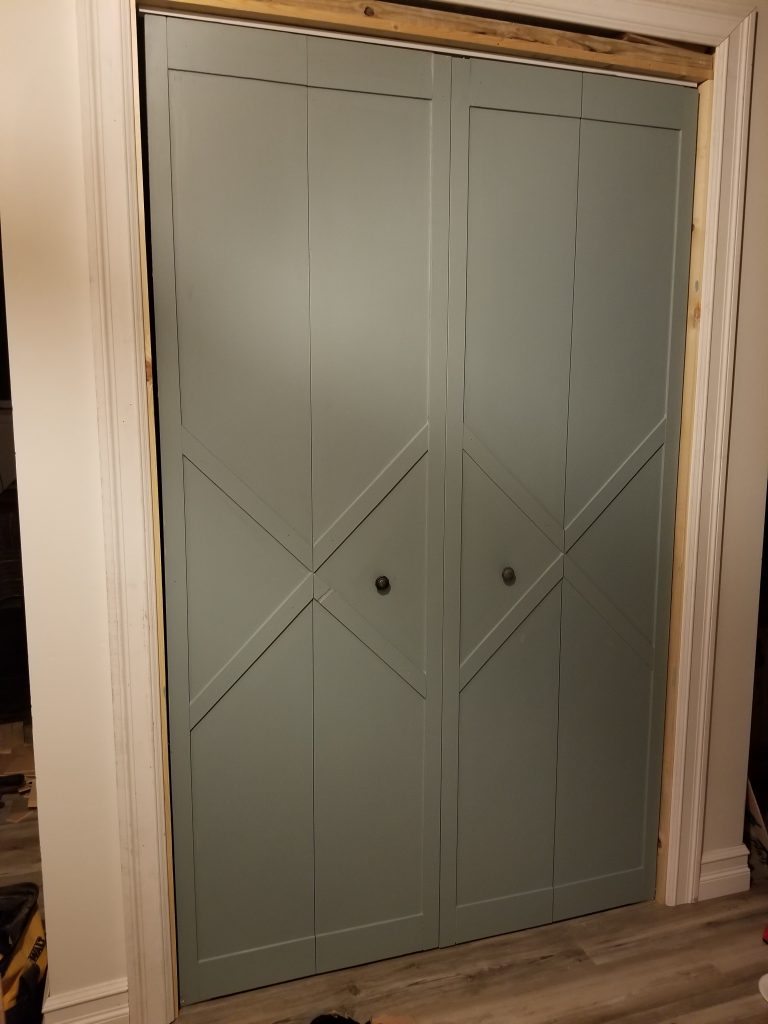
I am terrible about taking “before” photos. If you’ve ever seen a 1980’s set of bi-folds, you will know exactly what I was working with. However, this is what I ended with
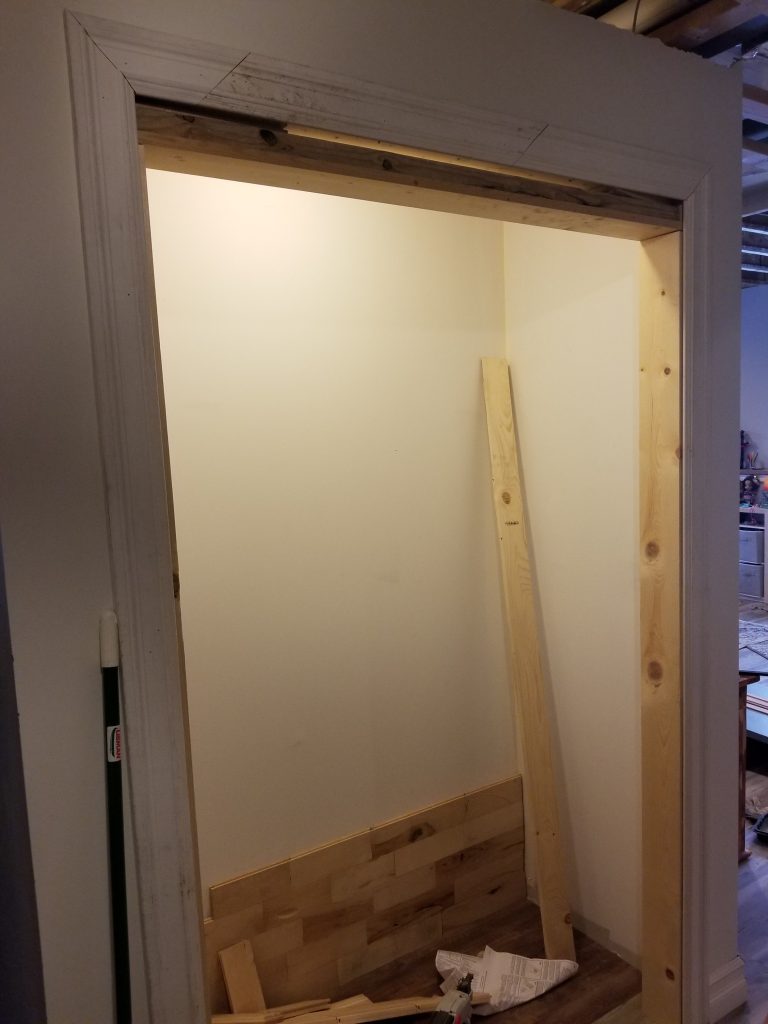
You should note that I had to build in the door opening area for the doors to actually fit in. Originally, this opening was way too big for doors. It was meant to be a wide opening for the snack bar. So, in case you’re wondering, that is why you can see lumber, unpainted trim, and general chaos surrounding these freshly face-lifted bi-folds.
This is where I started. I’m going to warn you: this mess is just about what my brain feels like before I begin a project. At this point, I had already built in the frame, that is why the mis-matched trim is hung all wonky and nothing fits. You can see the corpse of my previous idea hanging on the wall. (Wow, that sounds morbid!) I was going to use scraps of maple flooring to make a wood wall before I installed cabinets… but we’re not doing that now, so it’s all gone!
If you don’t know this yet, I’m a super-frugal, use-what-you-have, kind of person. Honestly, I didn’t already own bi-fold doors for this space, so I went down to the local Habitat for Humanity and picked up a matching set for $10. I then ordered a bi-fold door repair kit on Amazon that included everything I needed to get them installed. This entire project cost about $25.
So after I made the opening the appropriate size, I painted the doors and installed them just as I would have if they were new.
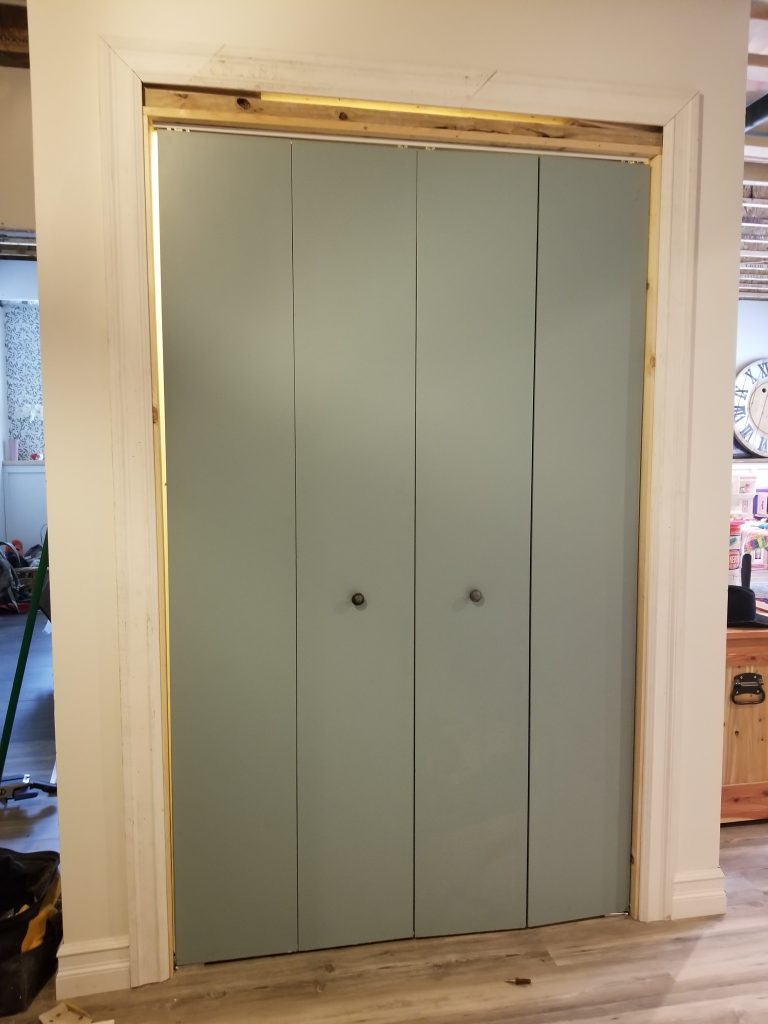
I can’t believe how much adjusting is required in getting bi-fold doors to close and match each other properly. I’ll chalk that up as con #1. I did finally get it right, though!
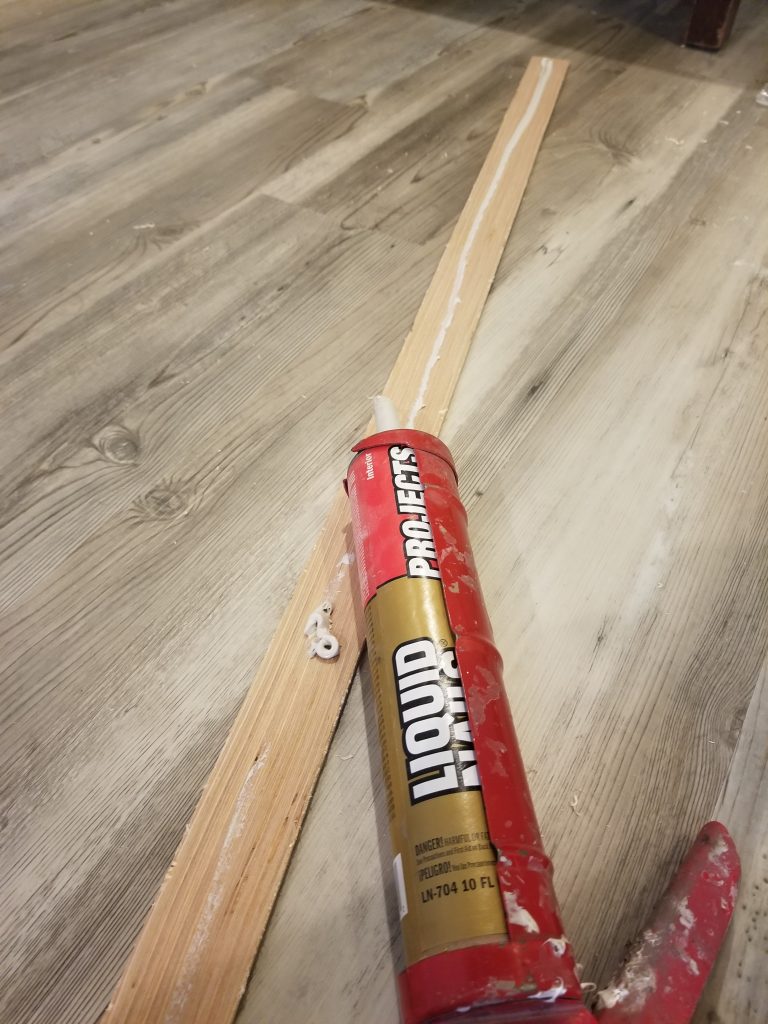
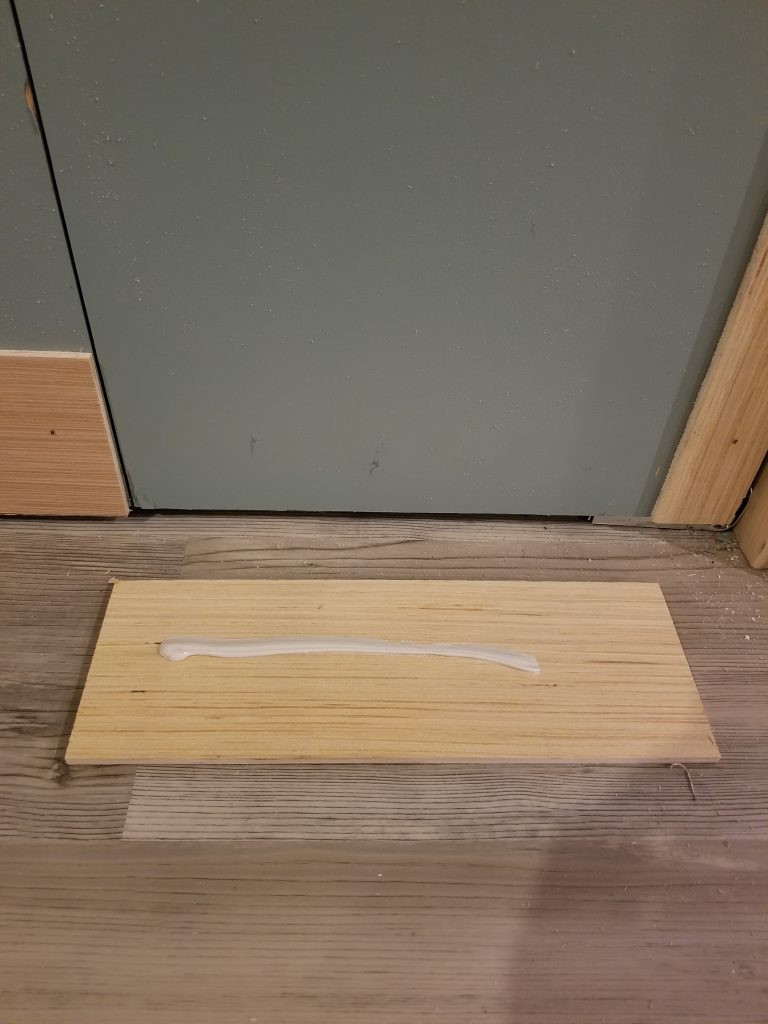
After they were installed and everything was plumb and level, I cut some leftover pieces of 1/4″ plywood that I had laying around from a previous project. I used a skill saw with a fence to rip these pieces into the same width so they all matched like trim would. I applied liquid nails to the backs of each piece and then secured it to the doors with trim nails.
Doing each of the edges was the easy part.
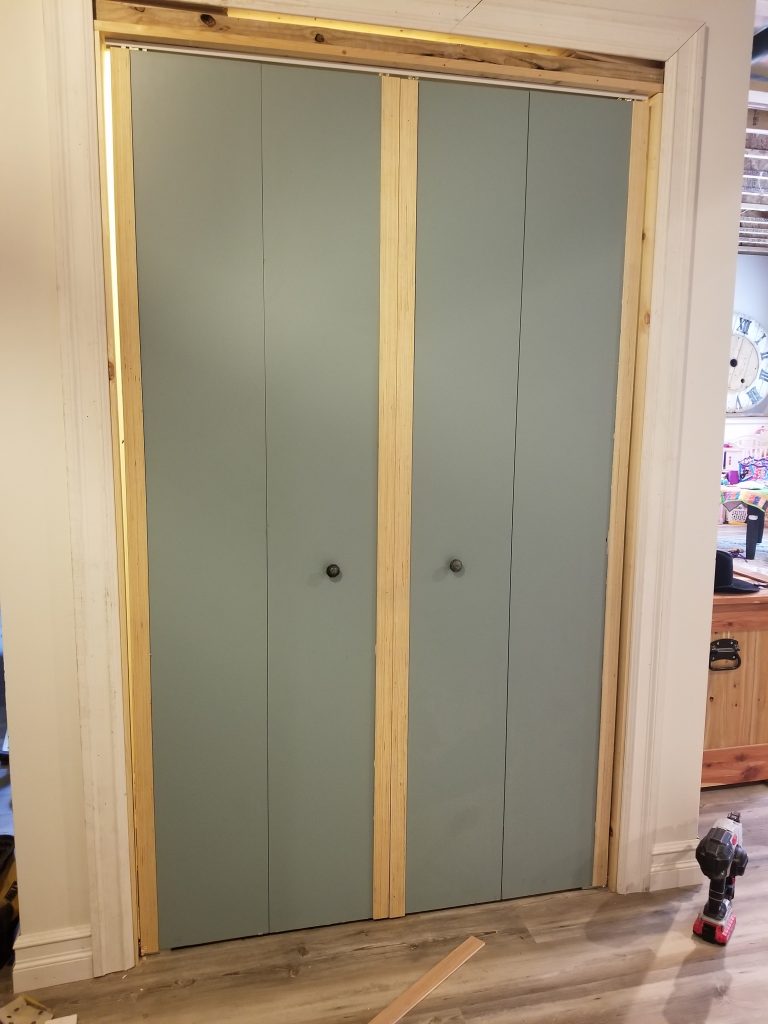
My goal was to make a repeating diamond pattern across the middle, so I had to figure out how the pieces were going to fit together, while being mindful of the fold in the door.
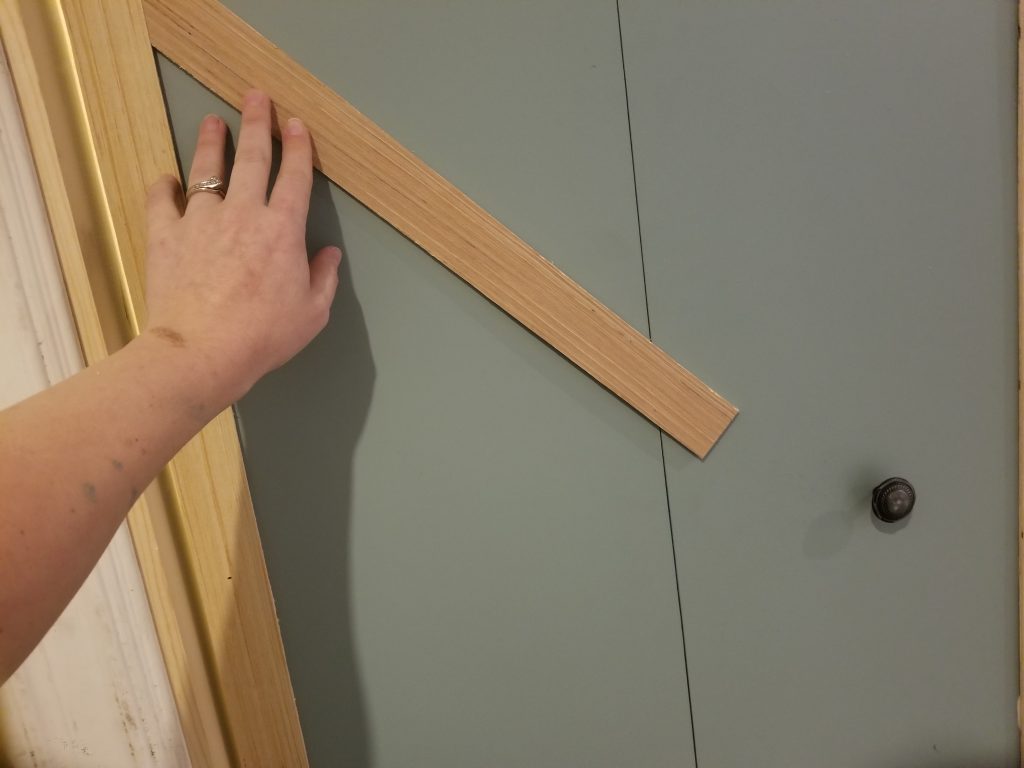
I cut the first edge at 50 degrees with the compound miter saw. Holding it up against the door where I thought it should go, you can clearly see where the other end needed to be cut.
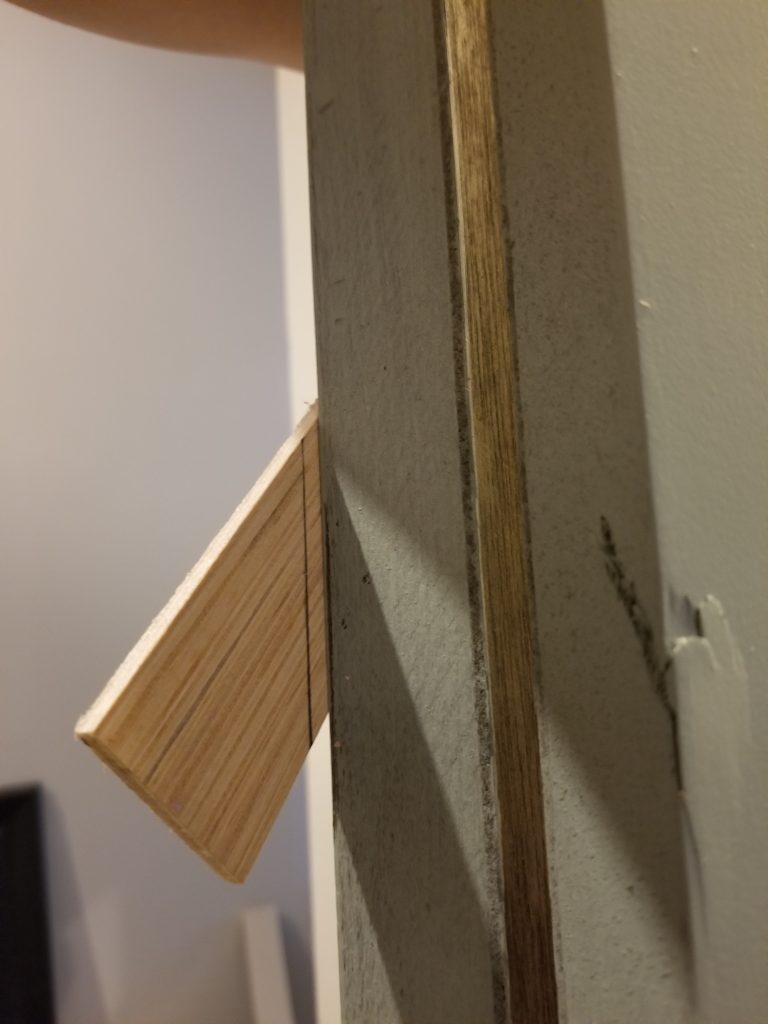
By opening the door, it is very easy to draw a line on the back side of the trim so you know exactly where to make the cut.
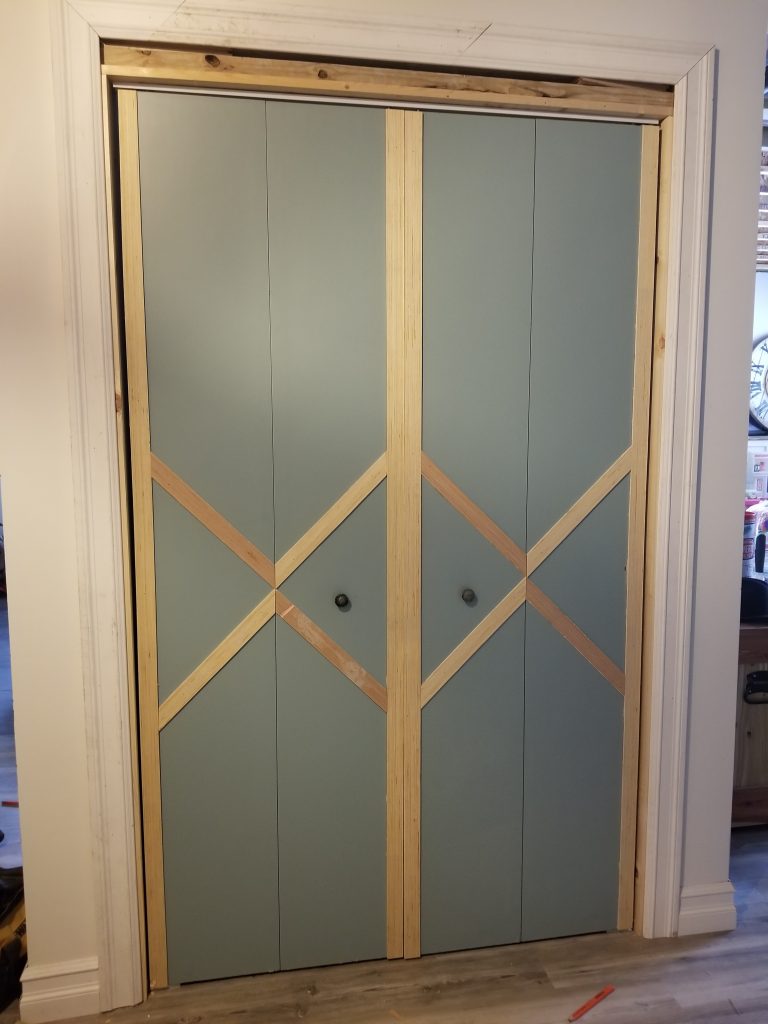
After repeating the cuts on all 8 pieces of angled trim, I had my diamond pattern.
After that, I cut wider pieces for the top and bottom edges and secured them in the same way.
The next step is my favorite. I’m just kidding – I would really rather not. It’s time to caulk!
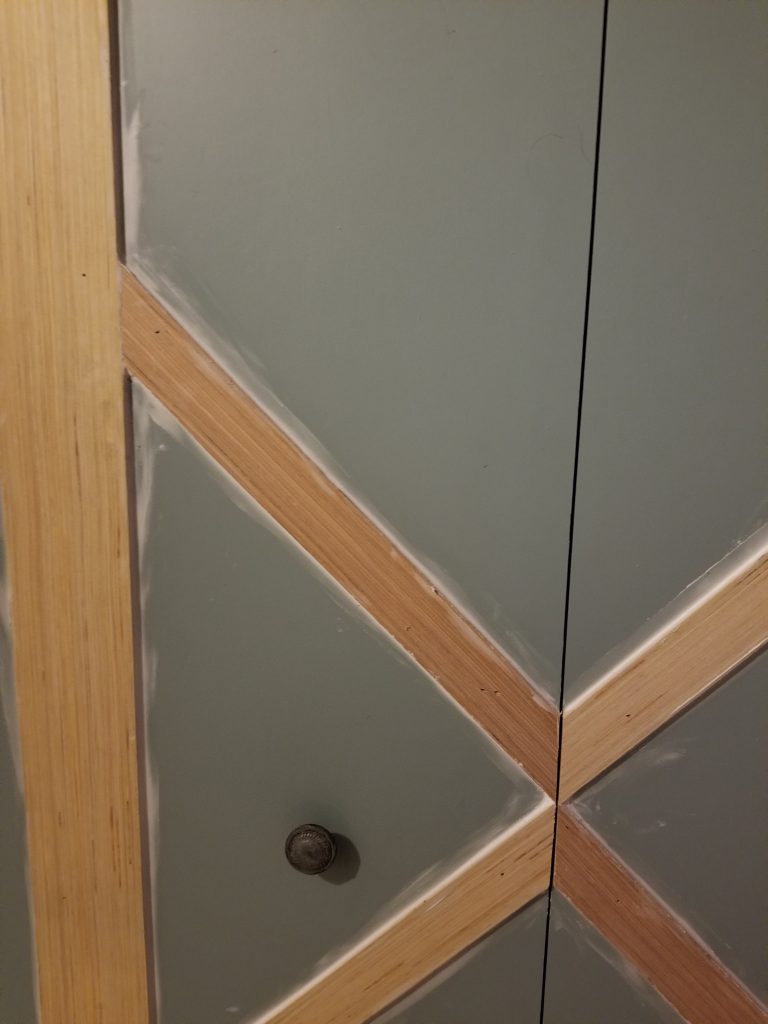
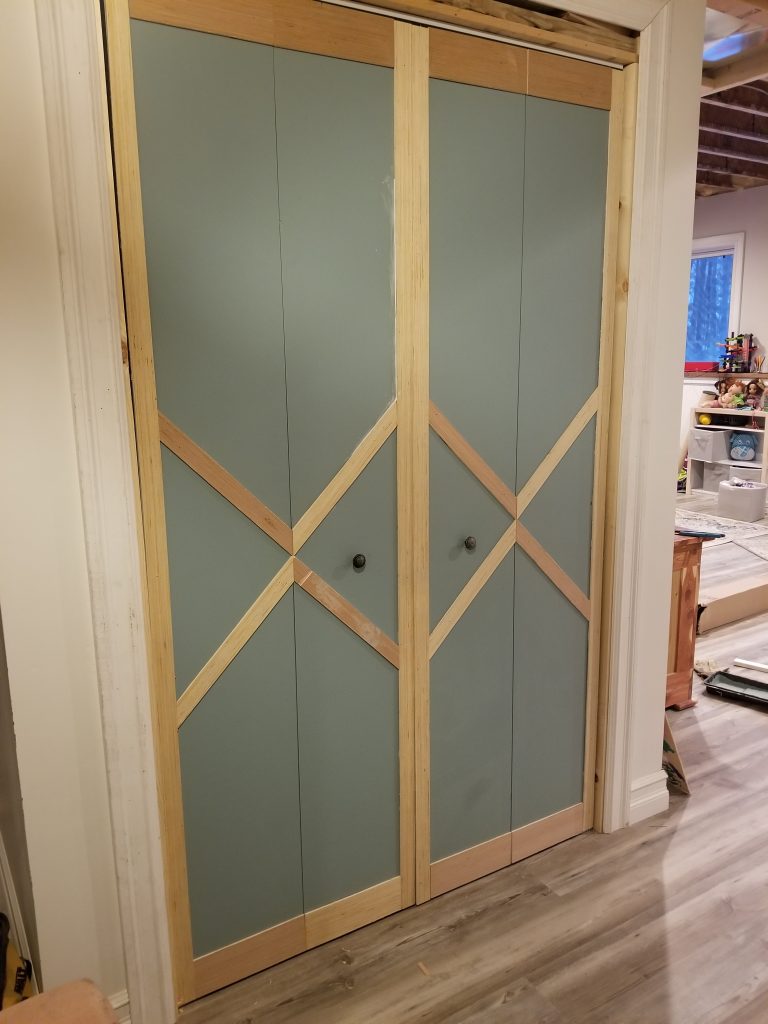
After the caulk was dry I sanded the rough areas and painted all of the new trim.
The next day, I went back and reinstalled all of the trim around the doors.
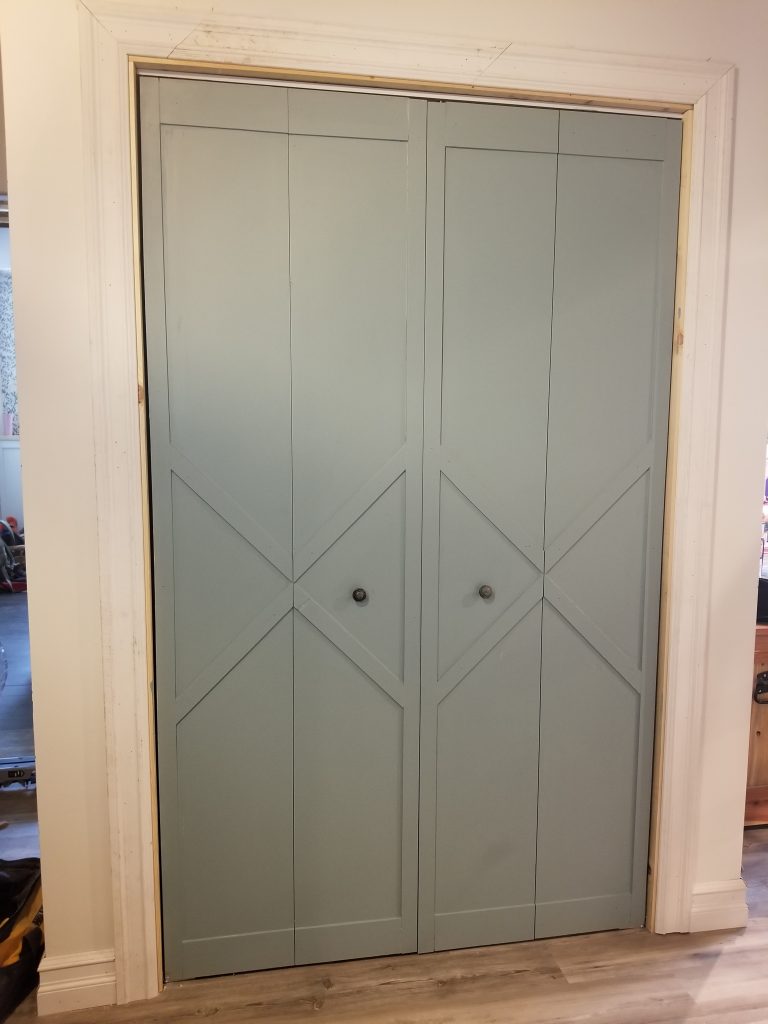
With everything fitting together, I just have to go back and caulk and pain the trim. But there you have it, a budget friendly bi-fold door makeover!