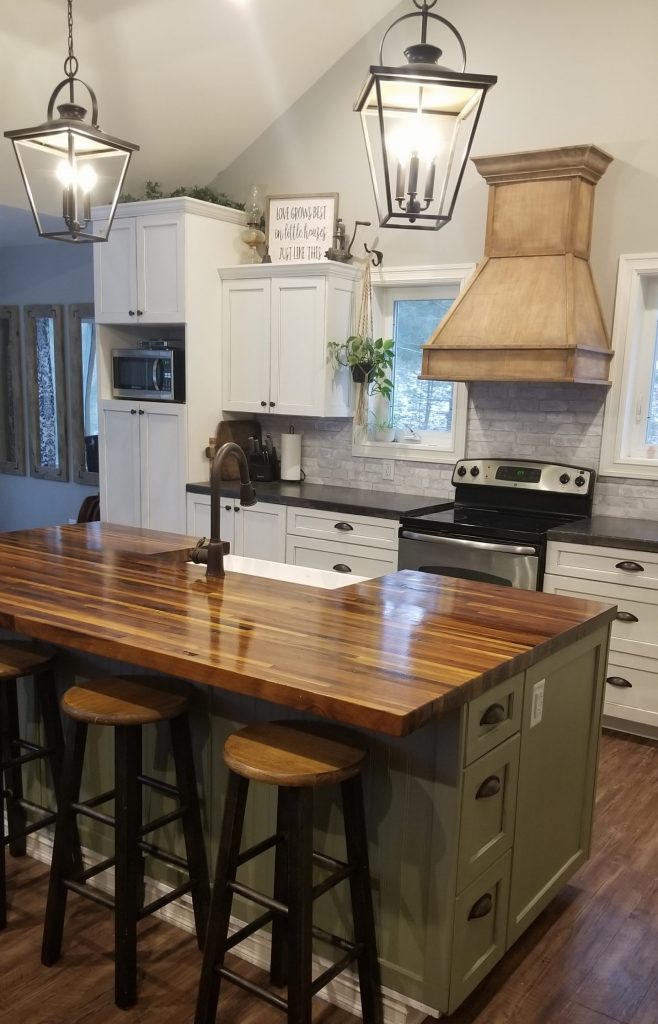
Kitchens sell houses. That is what any real estate savvy person will tell you. They’re also a slippery slope when you’re in the design phase of building. I knew exactly the kitchen I wanted, but I didn’t want to shell out the cash for it. Since we were acting as our own general contractors on our home build, I couldn’t help but at least try to DIY our own kitchen from scratch, complete with butcher block counters. The result? A kitchen I love, piles of sweat equity, and a very happy bank account. After I was done with my DIY farmhouse kitchen, I slapped a “done” sticker on it for less than $2000!
So how did we do it? We built everything ourselves. Everything we could, that is. All of the fixtures I bought on clearance or from the Amazon Warehouse as “scratch and dent” items. We built the cabinets out of Maple trees and melamine, built the island top out of Black Walnut, poured our own concrete counter tops, installed and painted everything ourselves. We built a true-blue DIY Farmhouse Kitchen.
I’m not going to lie and say that this kind of project is possible for everyone. A good friend of mine has an entire wood shop including planers, joiners, saws, mega-sized sanding machines, and so on. There are ways you can trim the price tag if building completely from scratch isn’t an option for you.. Using products like Ready To Assemble cabinets, which was on our list of cost-cutting options, can save a couple thousand dollars depending on the size of your project.
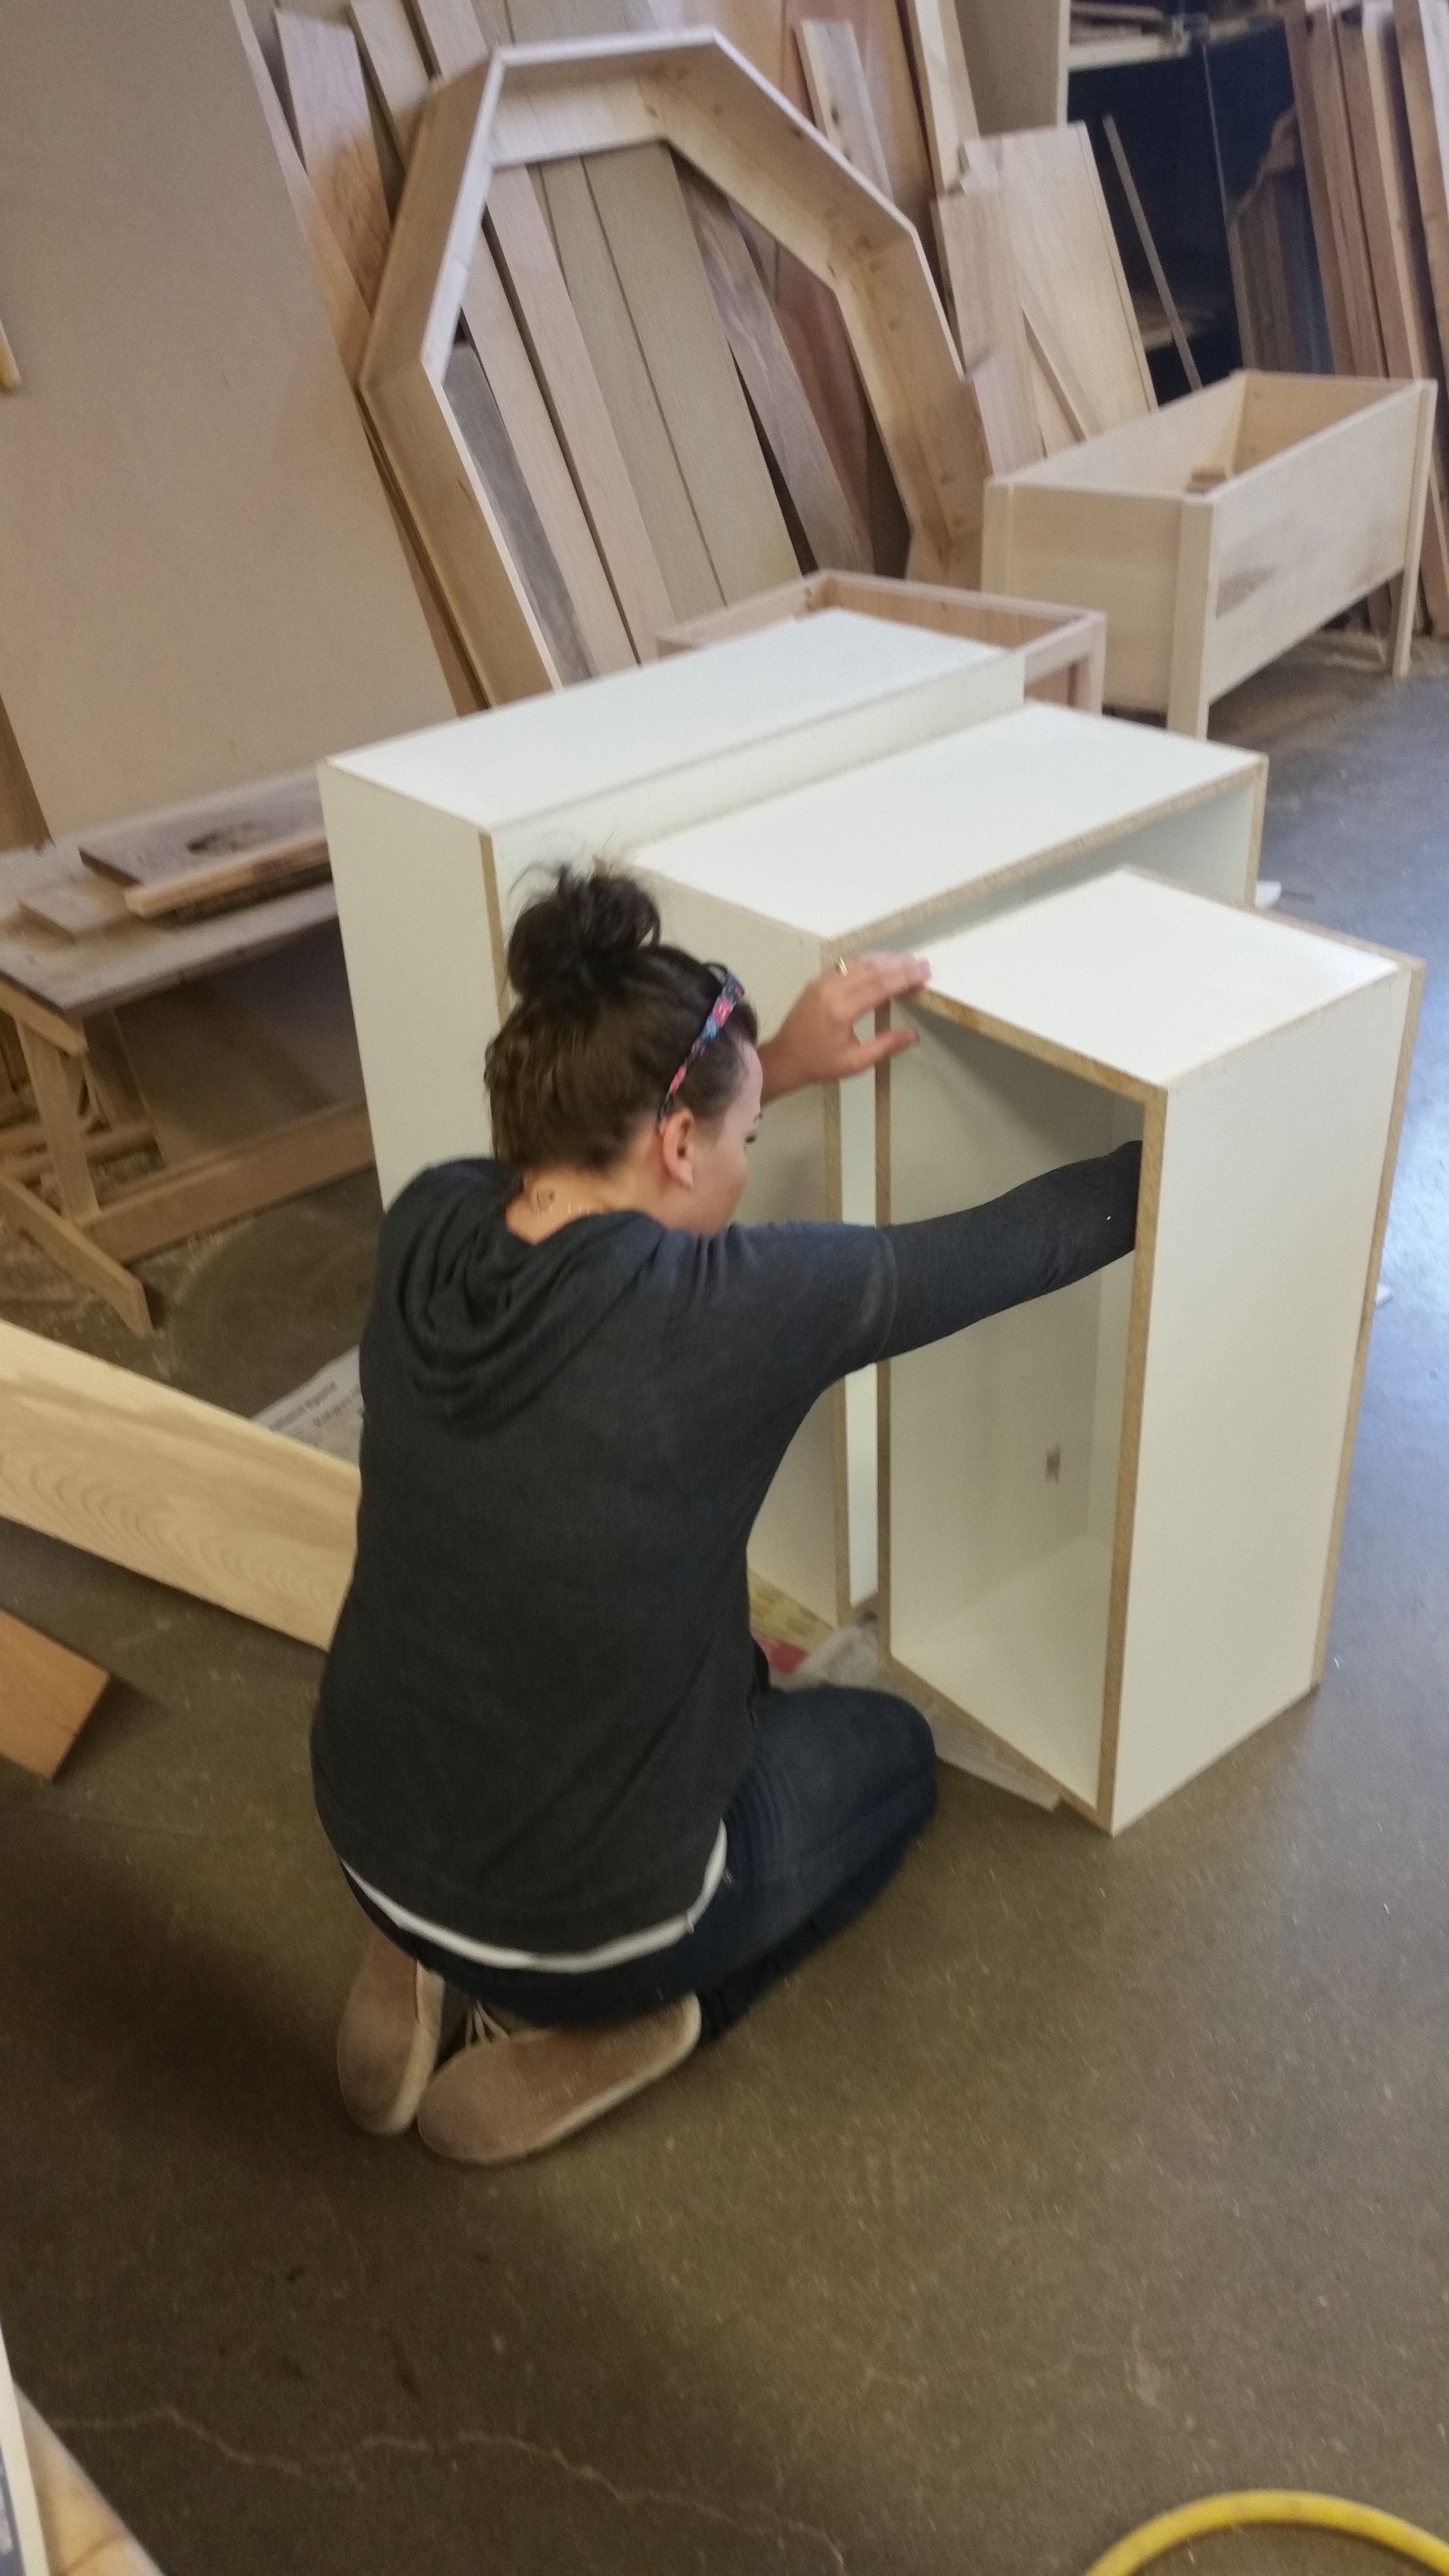
We started by knowing exactly the sizes of cabinets we needed. Most of my cabinets were base cabinets, with only 3 uppers. We bought 4×8 sheets of melamine and used graph paper to come up with the best ways to cut it to minimize waste. We used a solid bead of liquid nails along each joint and then shot in 2 inch trim nails with the pneumatic nail gun to ensure nothing was going to come apart.
I had a lot of conversations about which materials to use for constructing the actual boxes of the cabinets, and melamine was ultimately the best answer. I already planned on painting my cabinets white, melamine is strong, and super easy to keep clean because it has such a smooth and water resistant surface.
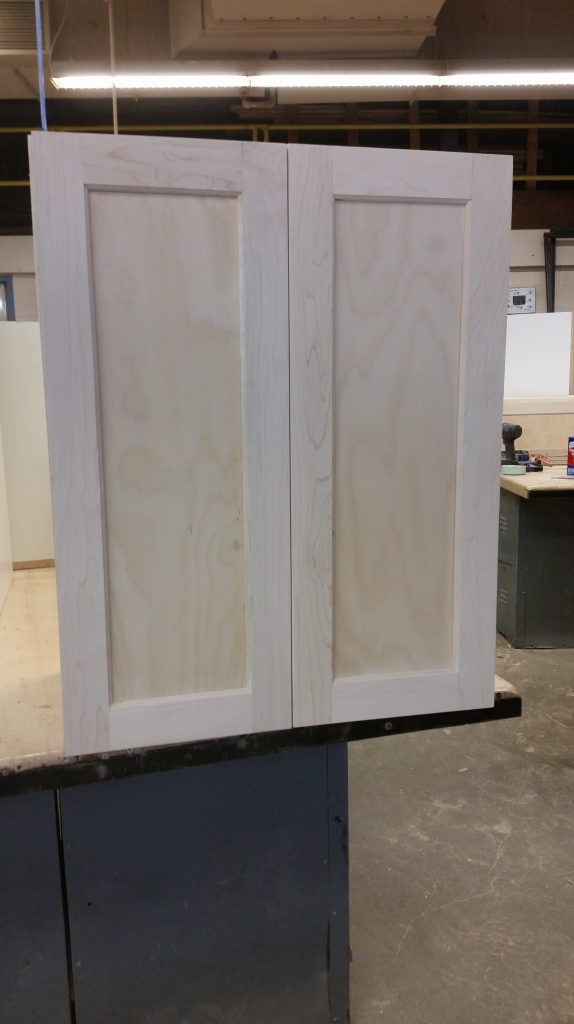
After the boxes were done, we moved on to making the doors. We had a stack of dried maple that we turned into boards, planed to the exact thickness, joined, ripped, cut to length, routered, and sanded into rails and stiles for the cabinet doors. I went to the nearest home improvement store and bought a few 4×8 sheets of 1/4 inch plywood to cut into the faces of the doors. Once everything was cut and prepped, we assembled them with glue and wood clamps.
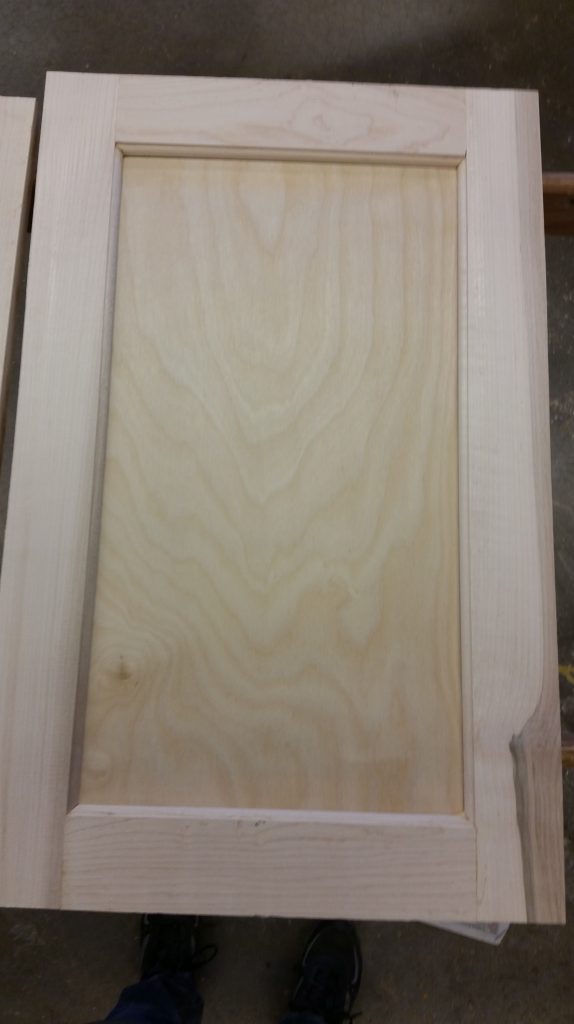
After all of the doors and drawer faces were assembled, we had to fit them to the boxes. This turned into a couple of hours of sanding. Everything needs to be perfectly square and line up just right. They literally need to be made for each other. If you don’t get this part right, you’re going to be upset with yourself later.
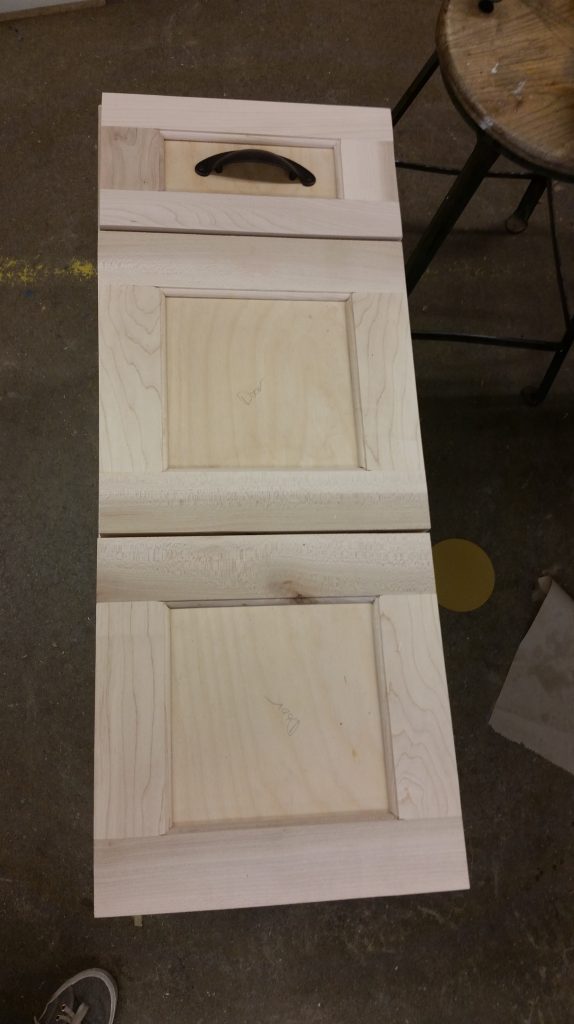
After everything was matched up the way it needed to be, I purchased some drawer pulls and handles online for a much better price than I could find the in the store. I laid everything out and made sure it was what I really wanted to install in my house.
My DIY farmhouse kitchen was coming to life!
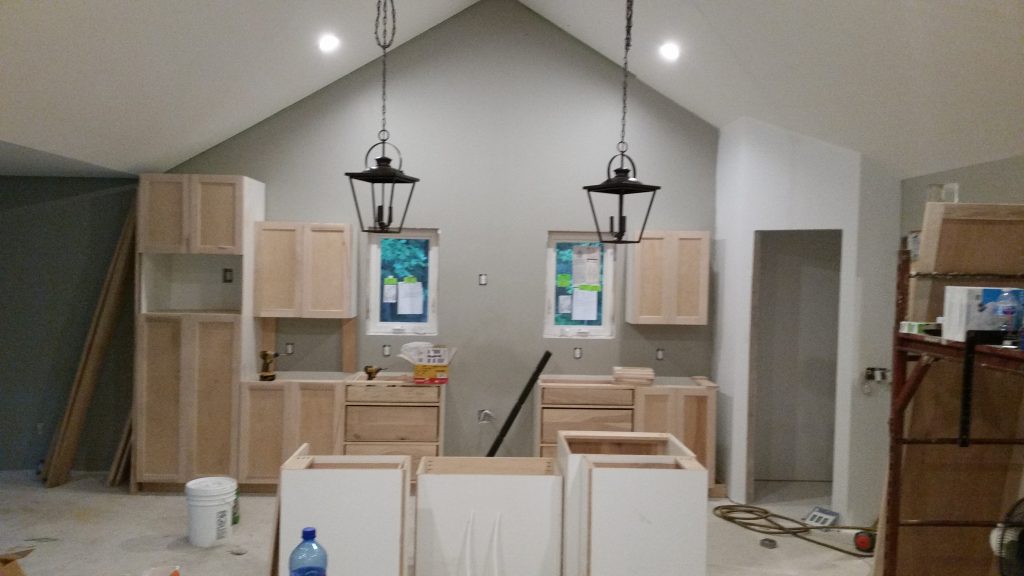
The next step was installing them in the kitchen. We brought everything inside and put it in it’s proper place. We built bases for the lowers out of 3/4 inch thick plywood. It is sturdy and dimensional, so everything would come out level in the end. I was so excited for this day. We had so many hours poured into building these cabinets and they were finally becoming a tangible part of the dream.
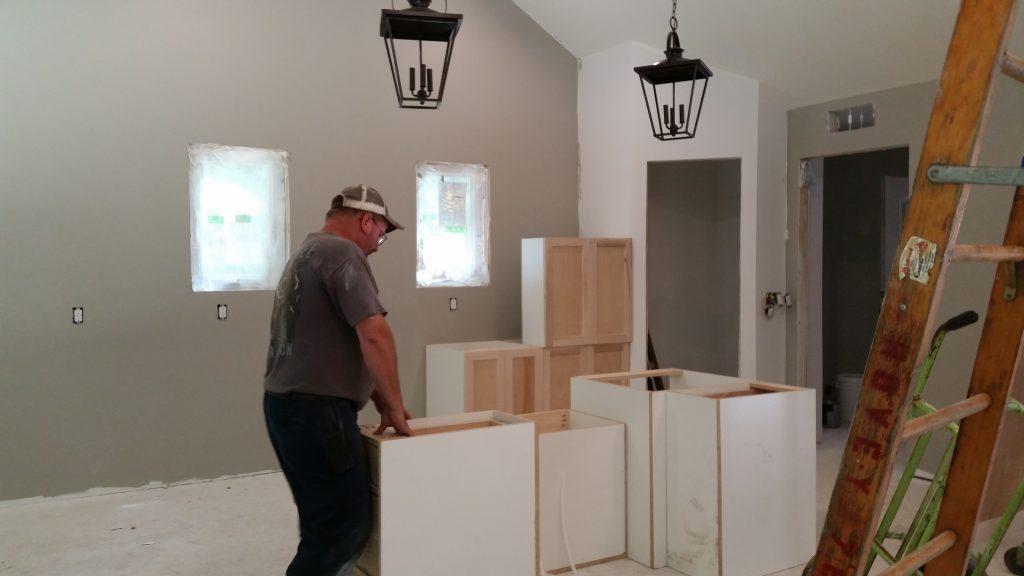
This is where things started to get messy. I apologize ahead of time for plastering such a monstrous disaster zone on the internet for all to see. But if we’re being honest with ourselves… construction is almost never “clean.”
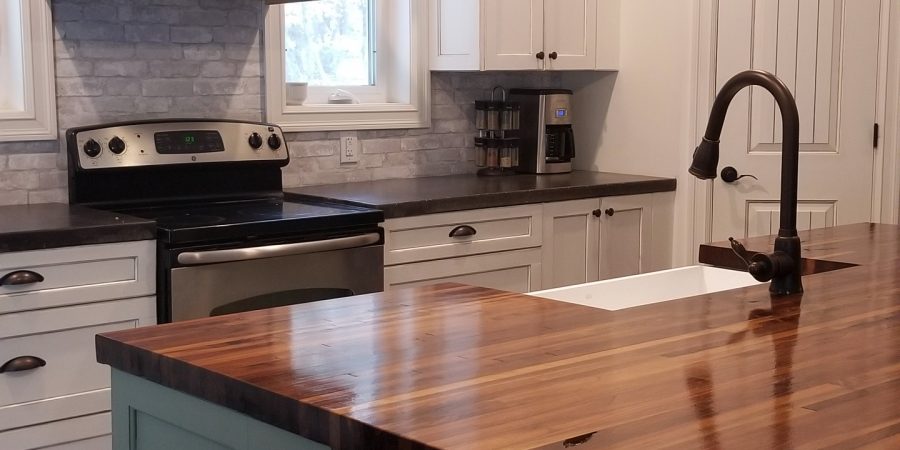
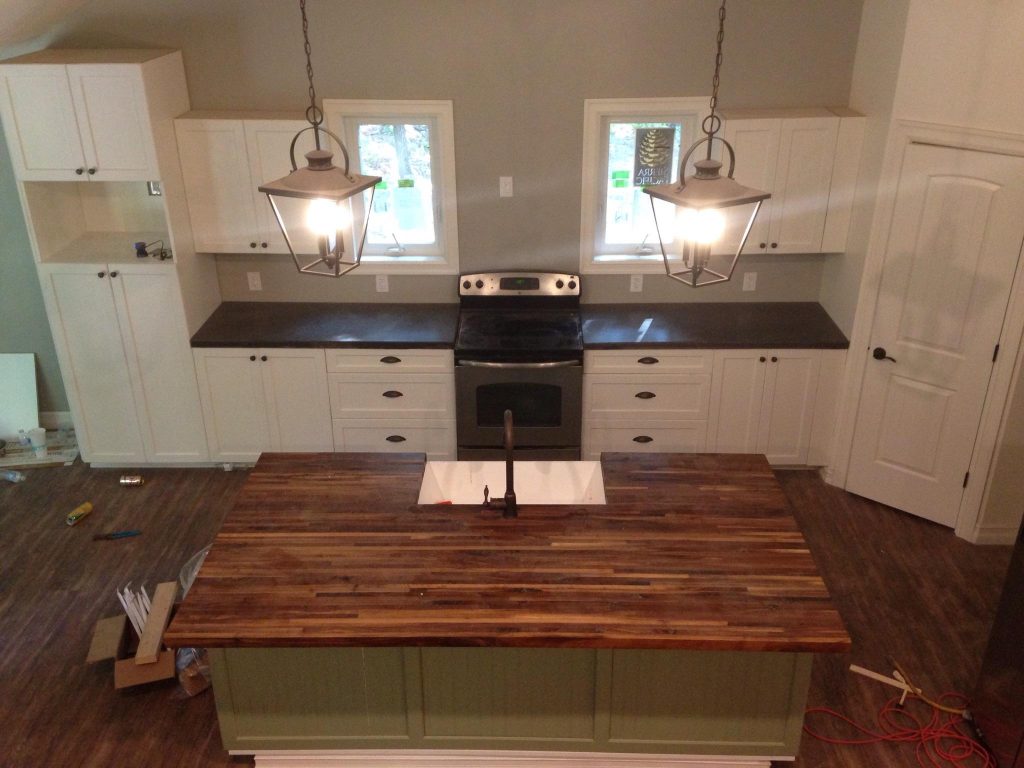
After we had our layout in place, we could start getting the counter tops together and working on the final product. I bought slabs of black walnut from the local mill and then cut it, planed it, joined, it, and sanded it into 2×2 inch strips. I assembled the strips into the length and width of the island top and glued it all together.
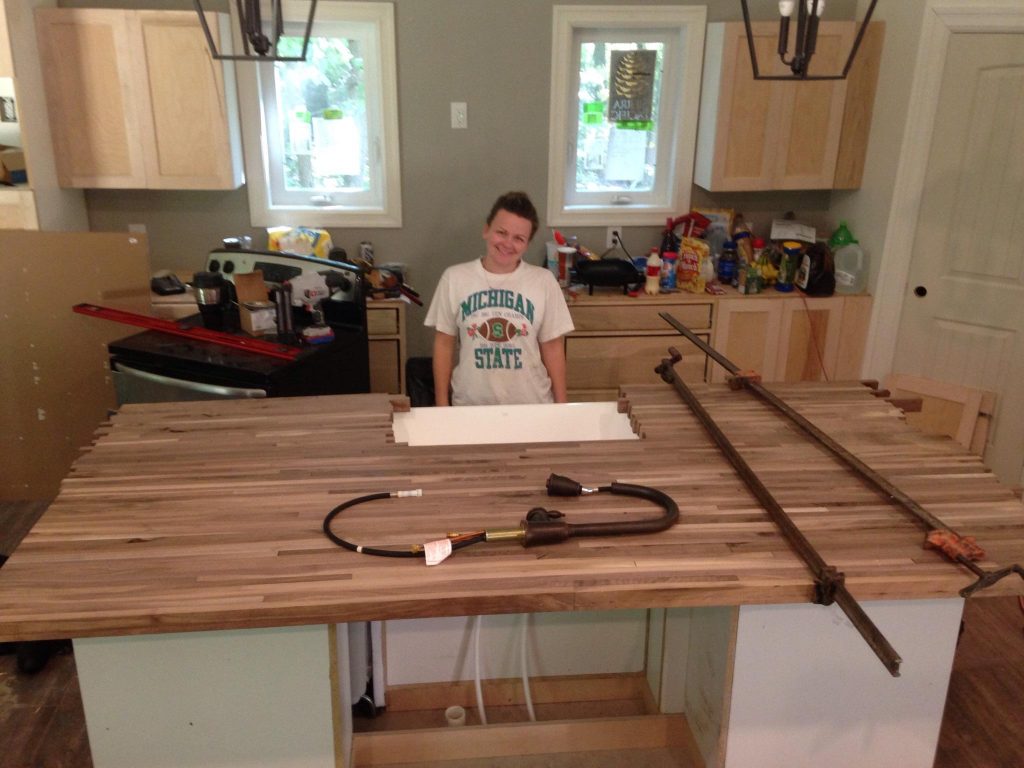
Okay but seriously, forgive the disaster behind me. We were literally sleeping on the floor and making all of our meals in an electric skillet haha. Isn’t it wonderful though? There is nothing better than putting so much effort into something and watching it all come together just the way you imagined it.
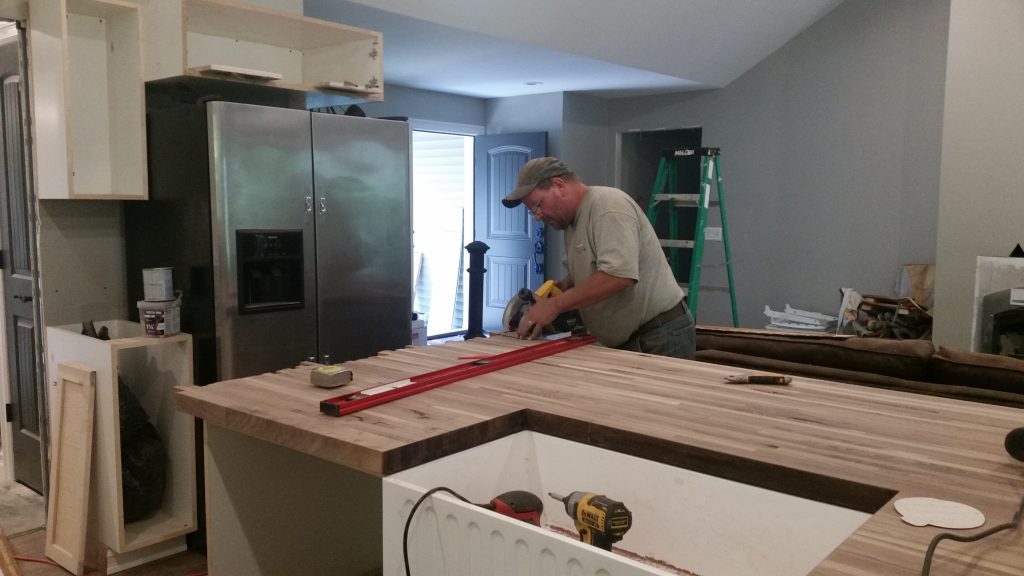
So after that was good and dry, we trimmed all of the edges and sanded it to prep for Waterlox, which is what we chose to seal the wood with.
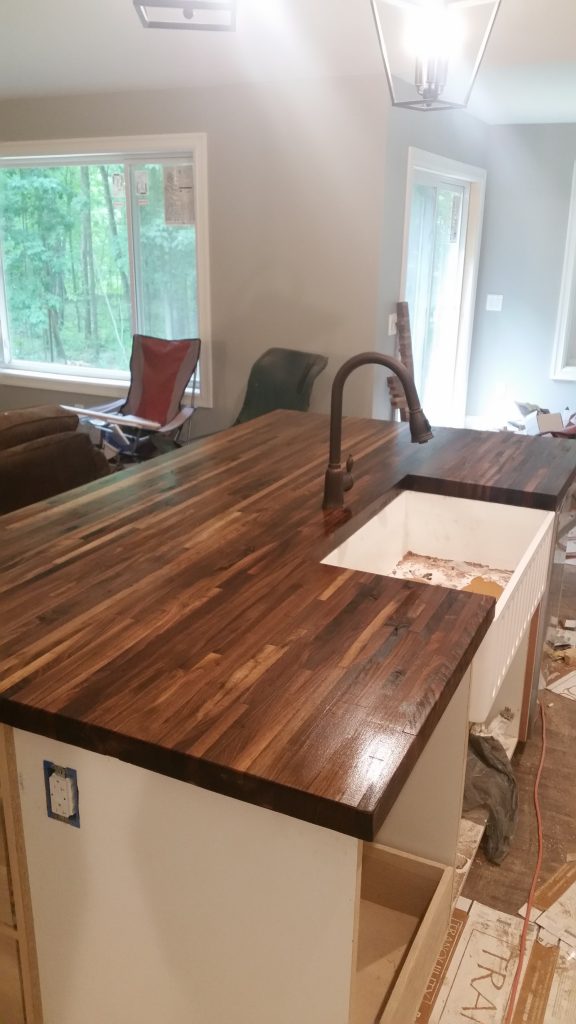
I did a lot of research on which product to use to seal this island top. The giant hole in the middle was going to be the sink so it had to be able to withstand water, be food safe, durable, and effective. I’m writing this post 18 months after we installed this kitchen and I haven’t had any issues with the Waterlox sealer yet. It was well worth the money in my opinion.
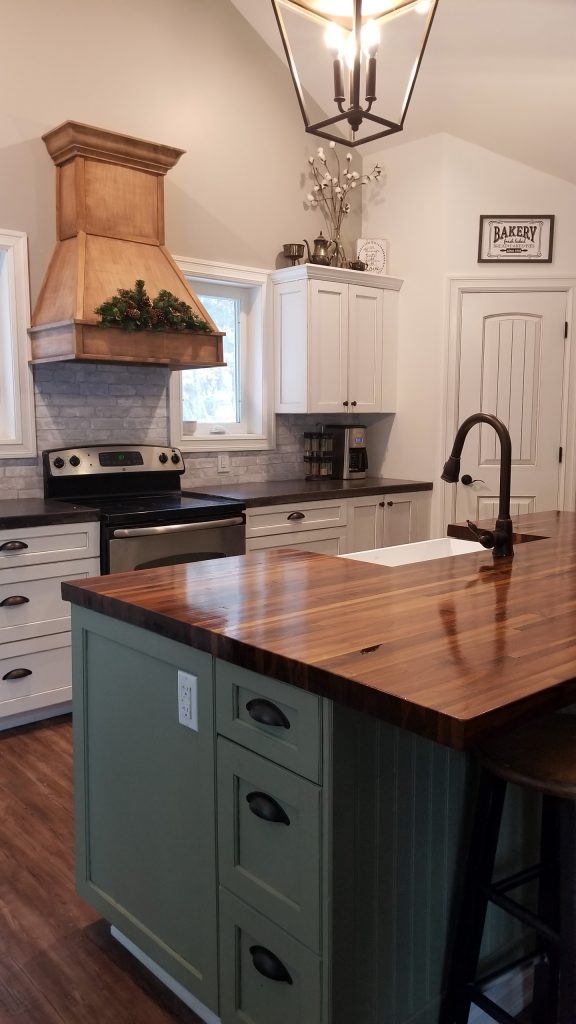
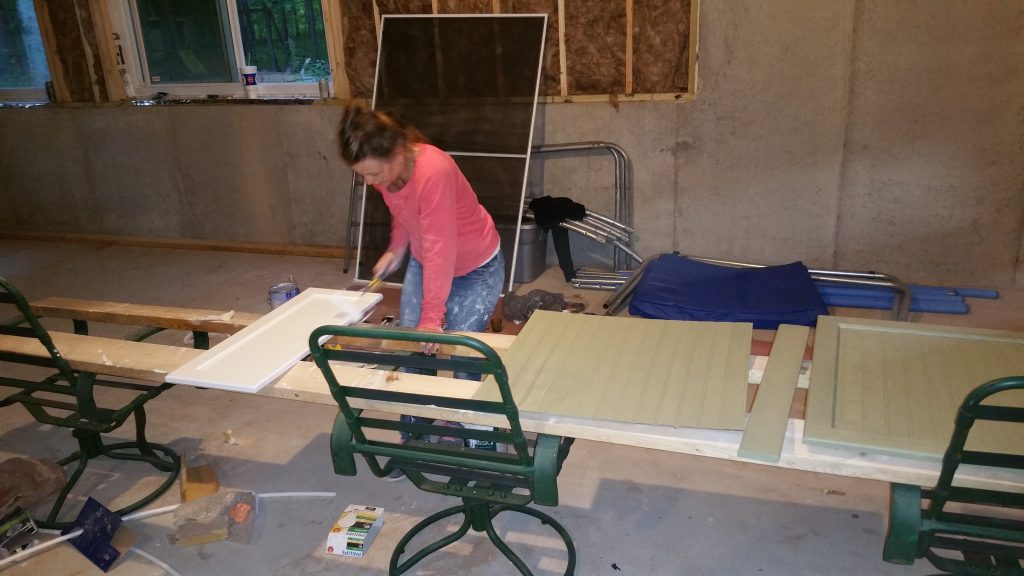
Waterlox needs 24 hours of dry time in between each coat, so the next thing I did was go back to the cabinets and paint them. I used Sherwin Williams ProClassic paint in Alabaster for the white cabinets and Green Earth for the island. I used a high density roller and applied a coat of primer and two coats of paint, sanding between each coat and allowing ample time to dry. I’m happy with the smoothness and coverage of the paint. There is no orange-peel finish to worry about.
Once all of the doors and drawer fronts were finished, I assembled them back onto their boxes and installed all of the pulls and handles. While I was painting, the hubby built forms with the left over melamine to make our concrete counter tops. He used a concrete powder colorant to make them a dark shade of charcoal and once they were finished, he installed them on the far wall.
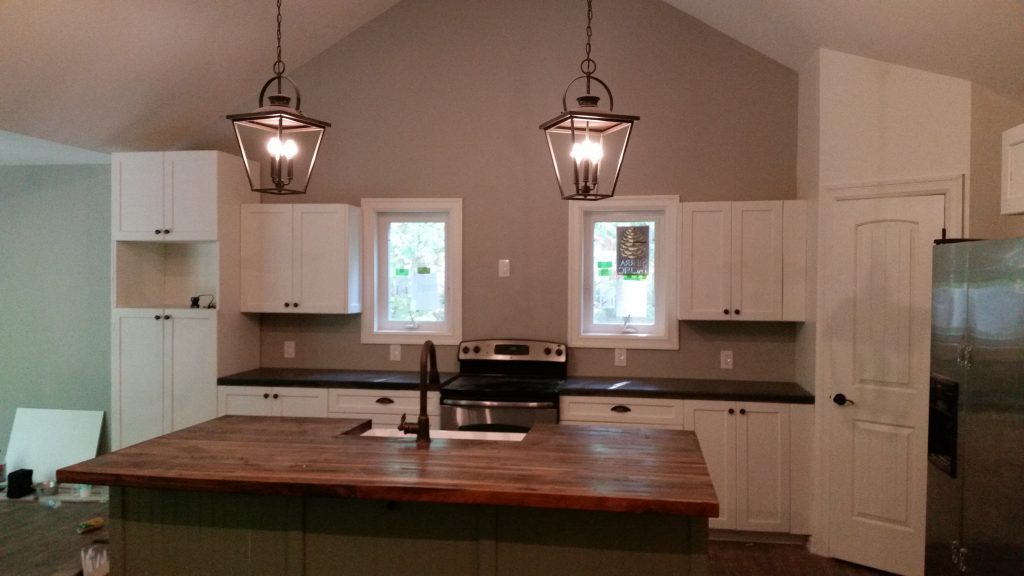
I love the contrast between the black and white.
We still did more work to the kitchen after this point. I built a custom range hood cover, which you can find the instructions for here. We also installed crown molding, added a backs plash, and put a glaze in the edges cabinets. But this was what I needed to get a certificate of occupancy and it was well on it’s way to being exactly the place I wanted to cook dinner in every night. It didn’t take long for this to become my favorite part of building my own home. The work was well worth the reward and I am so thankful for how it turned out and the sentimental value it holds. My DIY farmhouse kitchen is truly a labor of love!