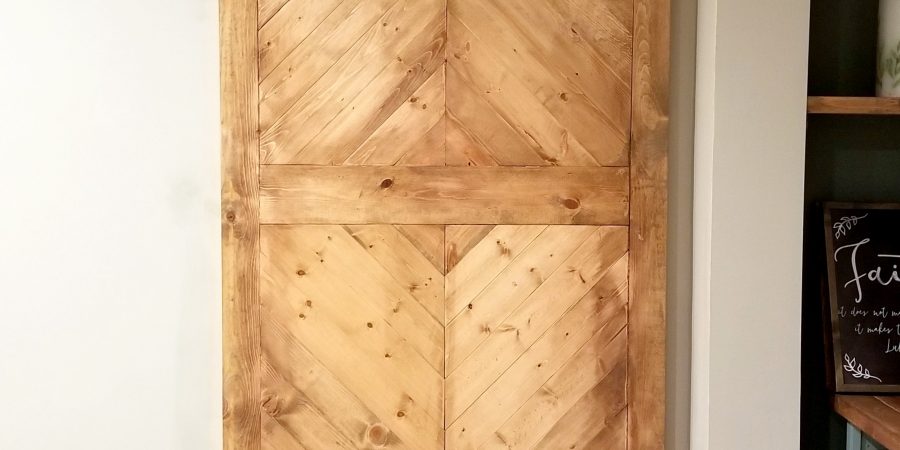
As we were finishing our basement, we roughed in an oversized opening for the door to the utility room. I never wanted to be in a situation where we needed to install something like a new furnace, only to find out the door was too small to get it in the mechanical room. Instead of forking out the cash for an unusually large door, I decided to DIY an oversized barn door. It worked beautifully in the space, and I know (if I was capable of such a thing) I could fast-pitch a sofa through it without scratching any trim.
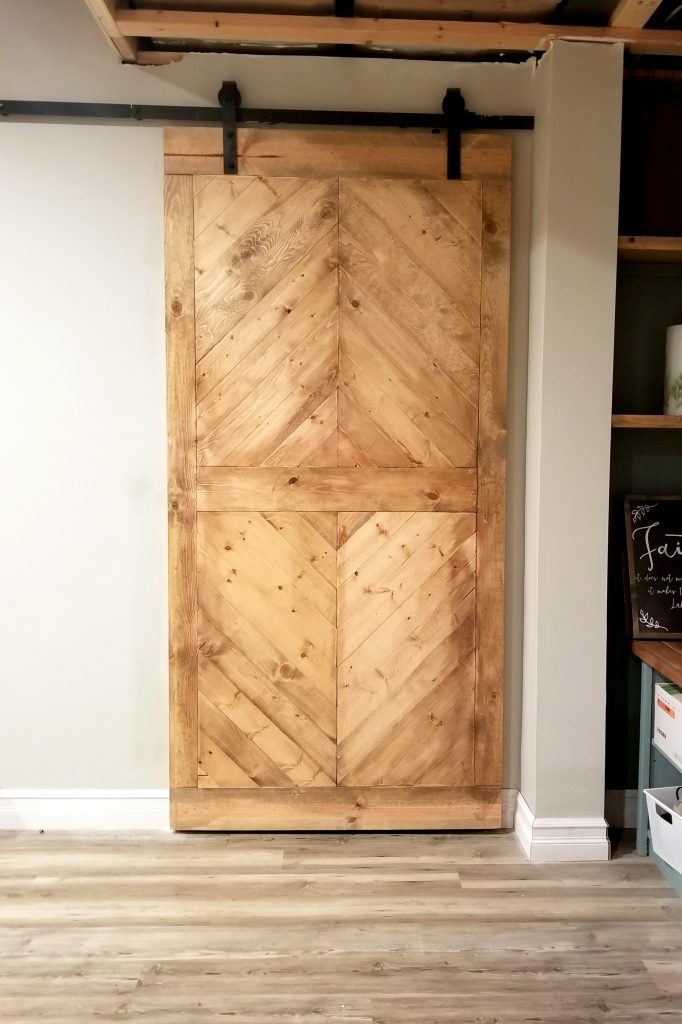
Here is my “after” photo. You’ll have to excuse the ceiling, or lack thereof, we haven’t installed it yet.
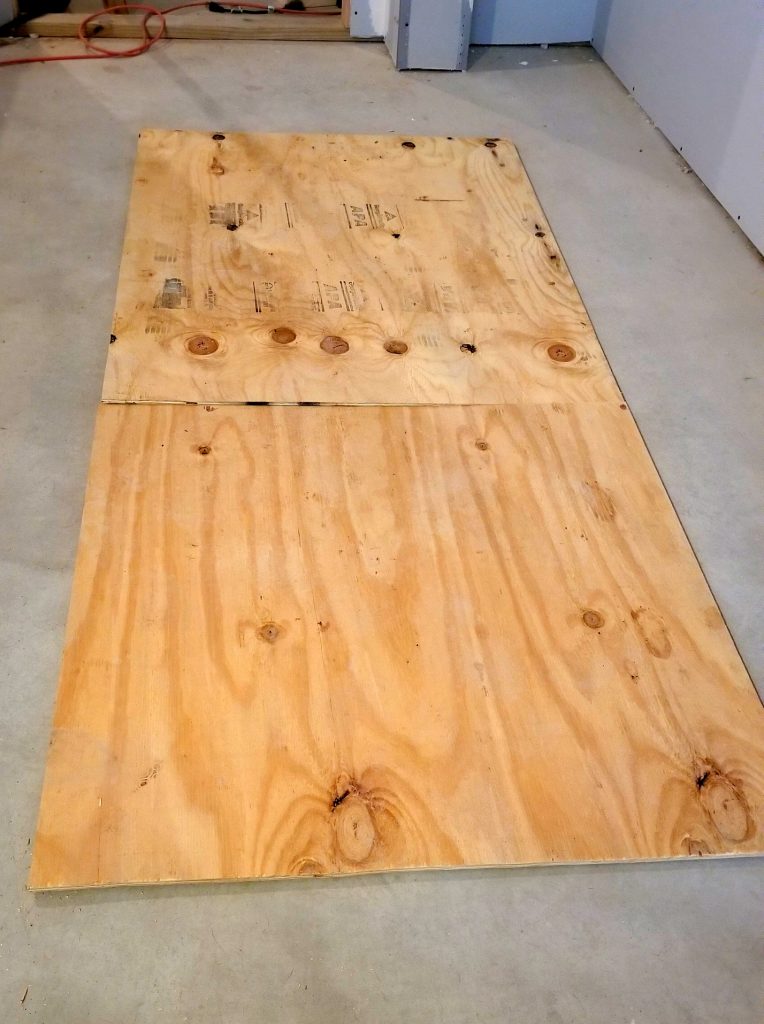
The first thing I did was go to Home Depot and buy a piece of 3/4-inch plywood. If you use 3/4-inch plywood and 1-inch thick boards to cover, you’ll end up with a door that is about 1.5 inches thick because the 1-inch boards are not really 1-inch thick. This leaves you with a sturdy door that isn’t going to bow or warp.
Since I don’t have a truck, I had to improvise a little bit. Sometimes I really wish I had a truck! So instead of just cutting the plywood to the exact side I needed, I had to cut it to the width and then cut it in half to get it in my Equinox. Not ideal. When I got my two pieces home, I had to secure them together. It worked out okay because I just use the extra piece on the back to secure the handle on the utility room side of the door. If you can avoid it, don’t cut it!
When determining the size, make sure you measure your rough opening and add a couple of inches to each side. I cut mine so there were 2 inches extra on each side and 4 inches extra on the top. If you’re going to use trim, factor the width of that in so when you hang the door, no trim sticks out from behind it.
Here is where I began:
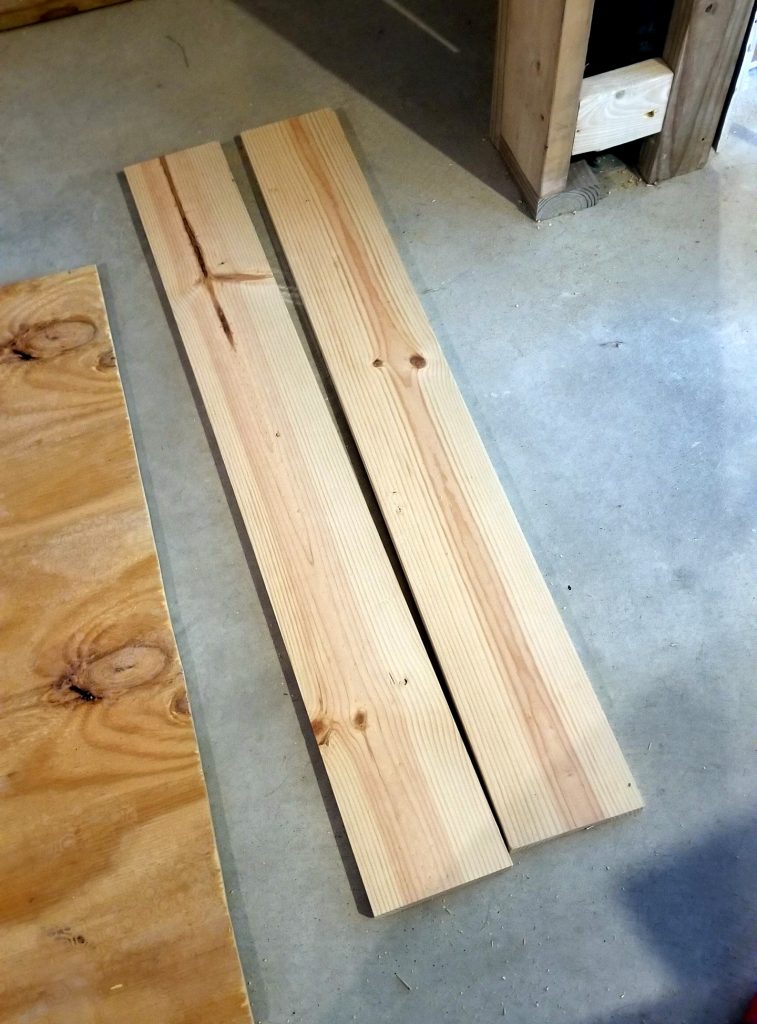
Next thing to do was cut the top, bottom, and side boards for the perimeter of the door. I used 1×6’s for the top and 1×4’s for the sides . After I had them cut to the right size, I spread a layer of wood glue across the back and secured them with some trim nails in inconspicuous places.

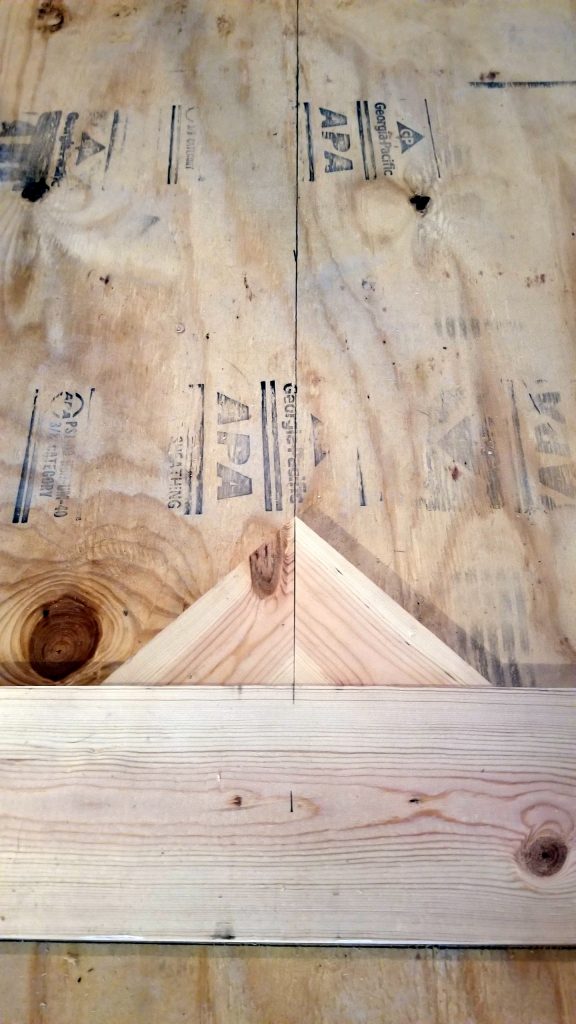
After I let that sit and dry for a little while, I measured to find the exact middle of the door and drew a line down the center from top to bottom. This marked where my angled boards were going to come together.

I put all of the angled boards together like a puzzle first. I didn’t glue or nail anything until all of the pieces fit snugly together. I started with the pieces closest to the middle by cutting two 45-degree triangles. I cut these two first because I wanted to make sure that all of my lines in the middle came together just right.
Once I knew the two beginning pieces were going to fit together the way I wanted them to, I set one piece aside and replaced it with a scrap board so I could cut all of my angled up that side and ensure they all fit together without any large gaps.
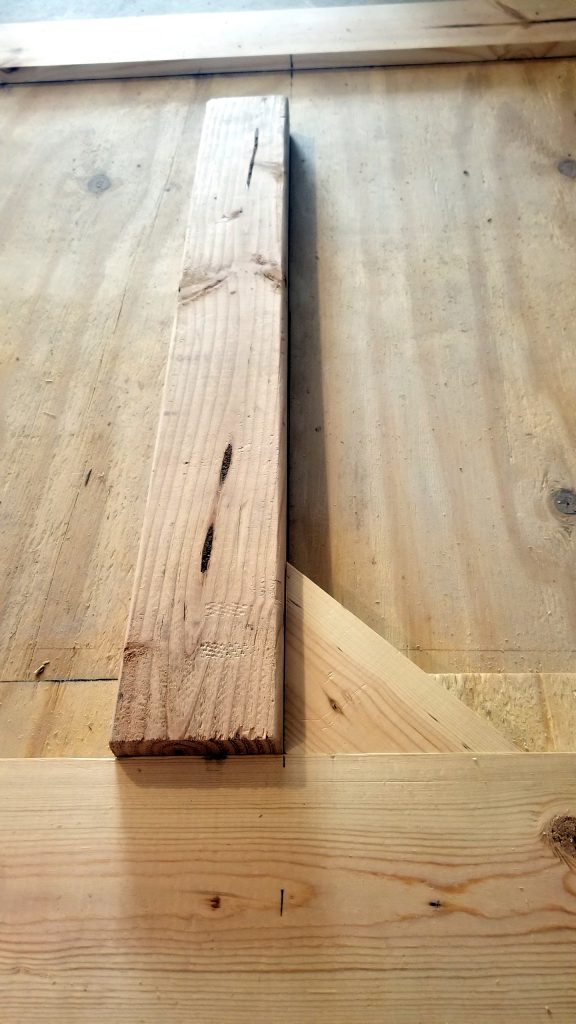
Next, I cut each piece to fit all the way up to the top.

Some cuts were a little tricky, like the one that fits into the corner. The scrap board holding the middle line helps in this instance because you can use it to help you measure those cuts in place.
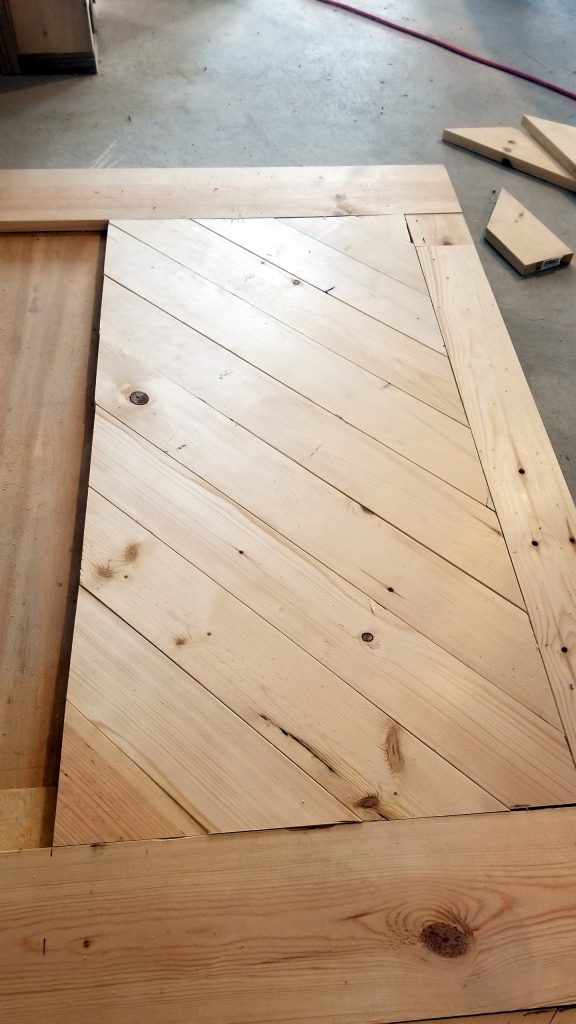
Once you have one side done, you just repeat the same thing three more times to complete each section.
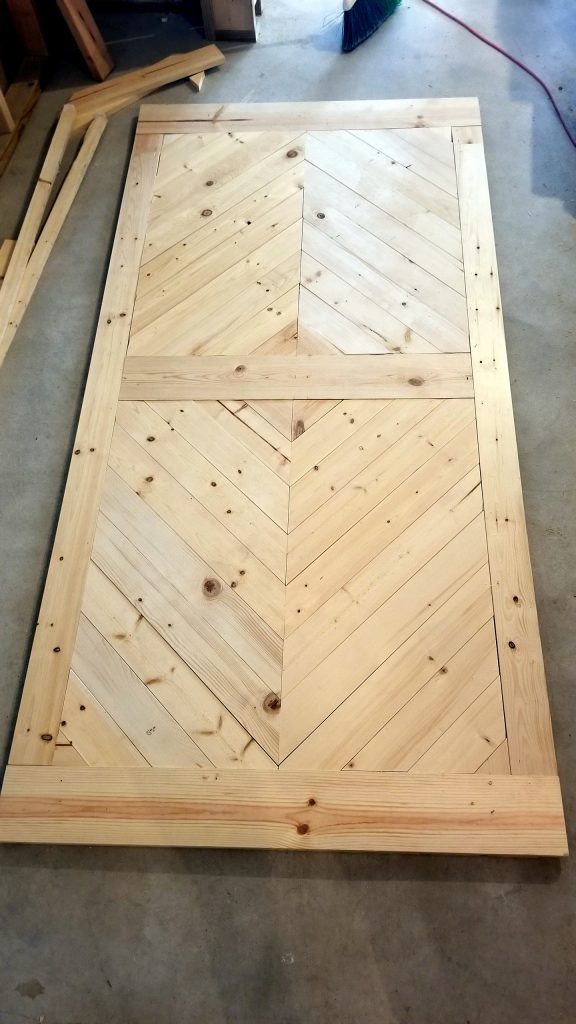
After I had all of the pieces cut and fit together, I took each one out individually, applied wood glue to the back, and put it back in it’s place. After each piece was glued, I got out some storage boxes and laid them on top over night so the glue had plenty of time to dry.
I sanded and stained the door with Minwax Special Walnut. I then purchased a barn door kit from Amazon and installed that according to the instructions.
I’m super happy with the way it turned out!
