When I decided it was time for a new dining room table, I had trouble finding the style I wanted in the size we need. Looking at the prices of the tables I liked also had me scratching my head for an alternative. I’ve built things before – kitchen cabinets, our butcher block countertop, bookcases, etc. – so I knew I could handle building our own DIY farmhouse table that would blend character with a modern vibe.
I found some inspiration online, and came up with a plan to get exactly what I was looking for without the steep price tag.
I struggled with deciding on whether or not to include a breadboard on the table top. After reading numerous articles and comment threads on woodworking websites, I finally landed on skipping the breadboard. There seems to be a division on whether or not it is necessary. Because of how I was building the table, the cost was going to be low enough that the risk of not having the breadboard outweighed the reward of getting the look I wanted.
The first thing I needed to do was put my DIY Farmhouse Table vision to paper. I sketched out what I was going to do and then figured out exactly what I needed for materials.
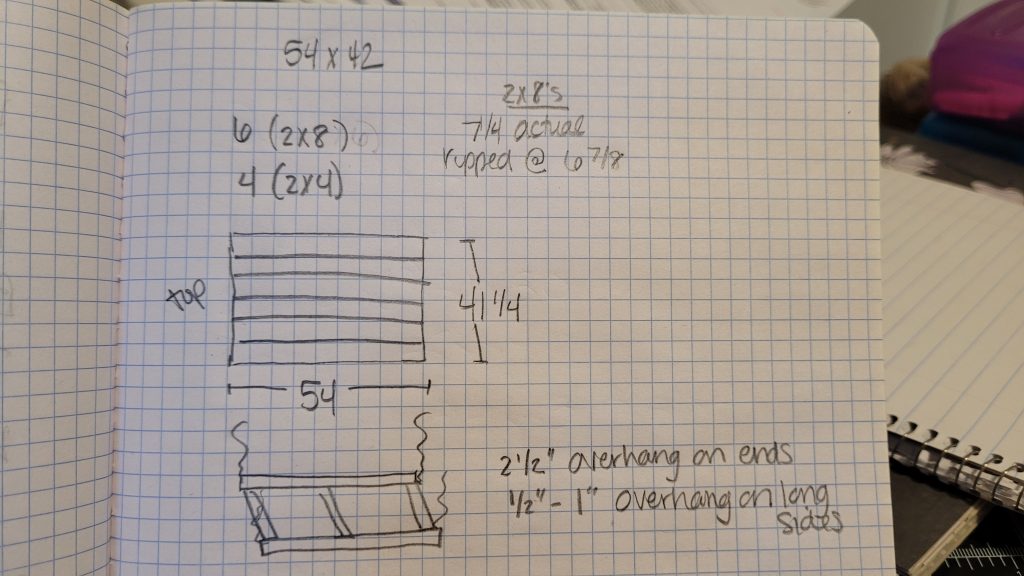
My family liked the size of the table we had used for years, so I wanted to use that as a template. The new table needed to be about 42×54. I have seen other plans online that use 2×6’s or 2×10’s as their table top. Both of those would have worked, but I worried that the 2×6’s would have made the top feel “busy” and the 2×10’s might have turned out overwhelming for a farmhouse table that is already on the small side. Using 2×8’s made the math easy and kept the cost down.
Materials:
6 – 2×8 yellow pine standard lumber
4 – 2×4 yellow pine standard lumber
wood glue
miter saw
circular saw
circular saw guide
pocket hole jig
100 – 2-1/2 inch pocket hole screws
orbital sander and sand paper
stain
sealer
premade table legs
Something to keep in mind is that although these boards are called 2×8’s, they are not actually 8 inches wide. Their real width is 7-1/4 inches. In order to get these boards to lay tightly against each other, the rounded edge needs to be ripped. I do no own a table saw, so I used a circular saw guide in order to rip my down. This left me with a workable board width of 6-7/8 inches wide.
After I ripped the boards, I laid them on a level surface and puzzled them together selecting the best grain patterns and pairing the boards together to eliminate cracks when I married them together. I bought 8-ft long boards, but only needed 54 inches of length, so I had a lot of opportunity to create a scrap pile. I did this on purpose because these boards are nowhere near perfect off the shelf at your local lumber yard. It’s extremely important to get the straightest boards you can possibly find. I had to cut a lot of length off, but I also got to choose the best sections of the boards to keep.
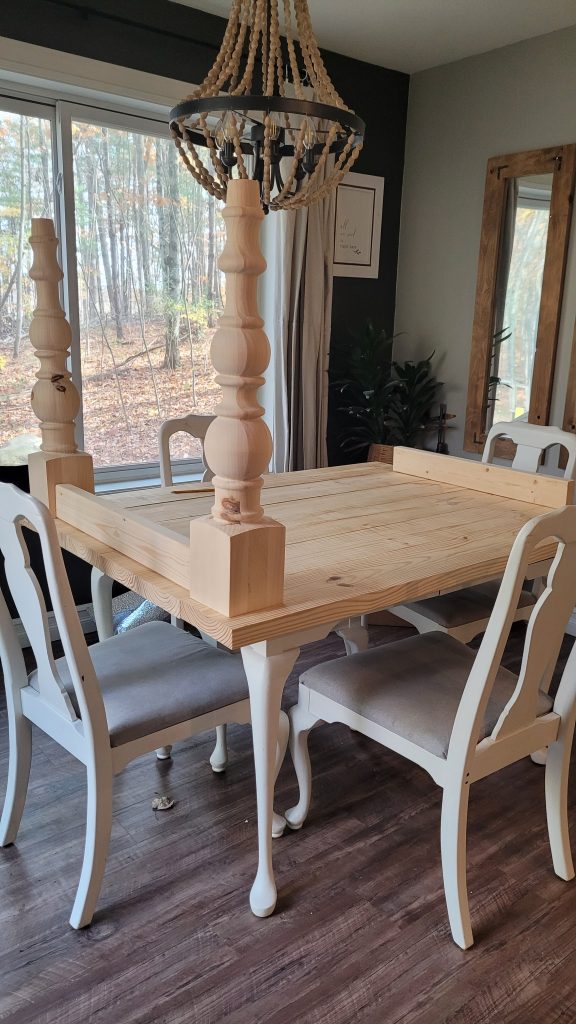
Once I had them laid out and trimmed down to my final length, I brought them inside to lay on top of my current table. I am not afraid to make a mess when I’m building something. I get deep in my head and sometimes just need to SEE it in front of me before moving on to the next step.
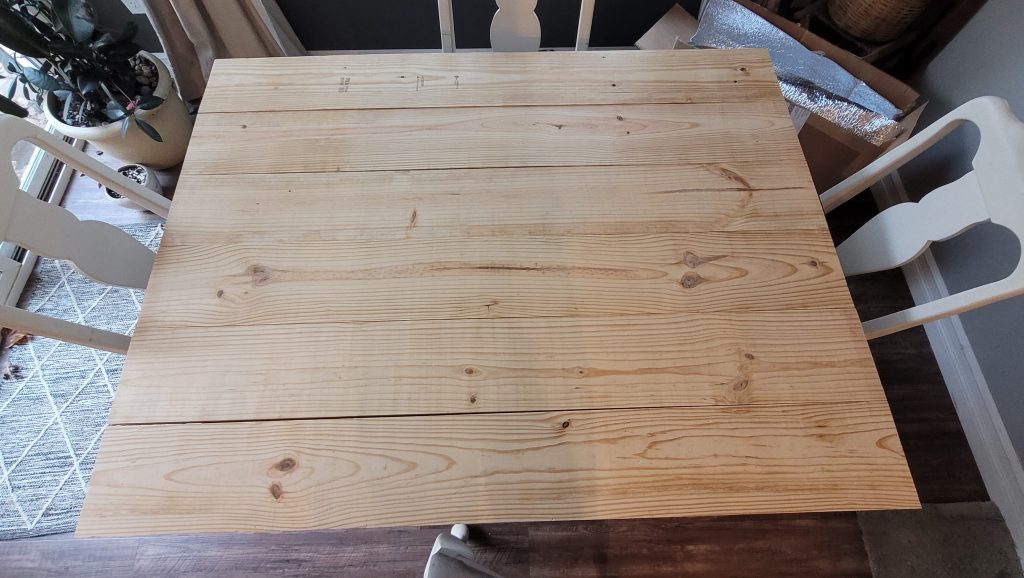
You can see in the photo that even after all of the effort I put in, they were no going to easily lay flat together. I knew they were going to need some gentle encouragement to act like a table top.
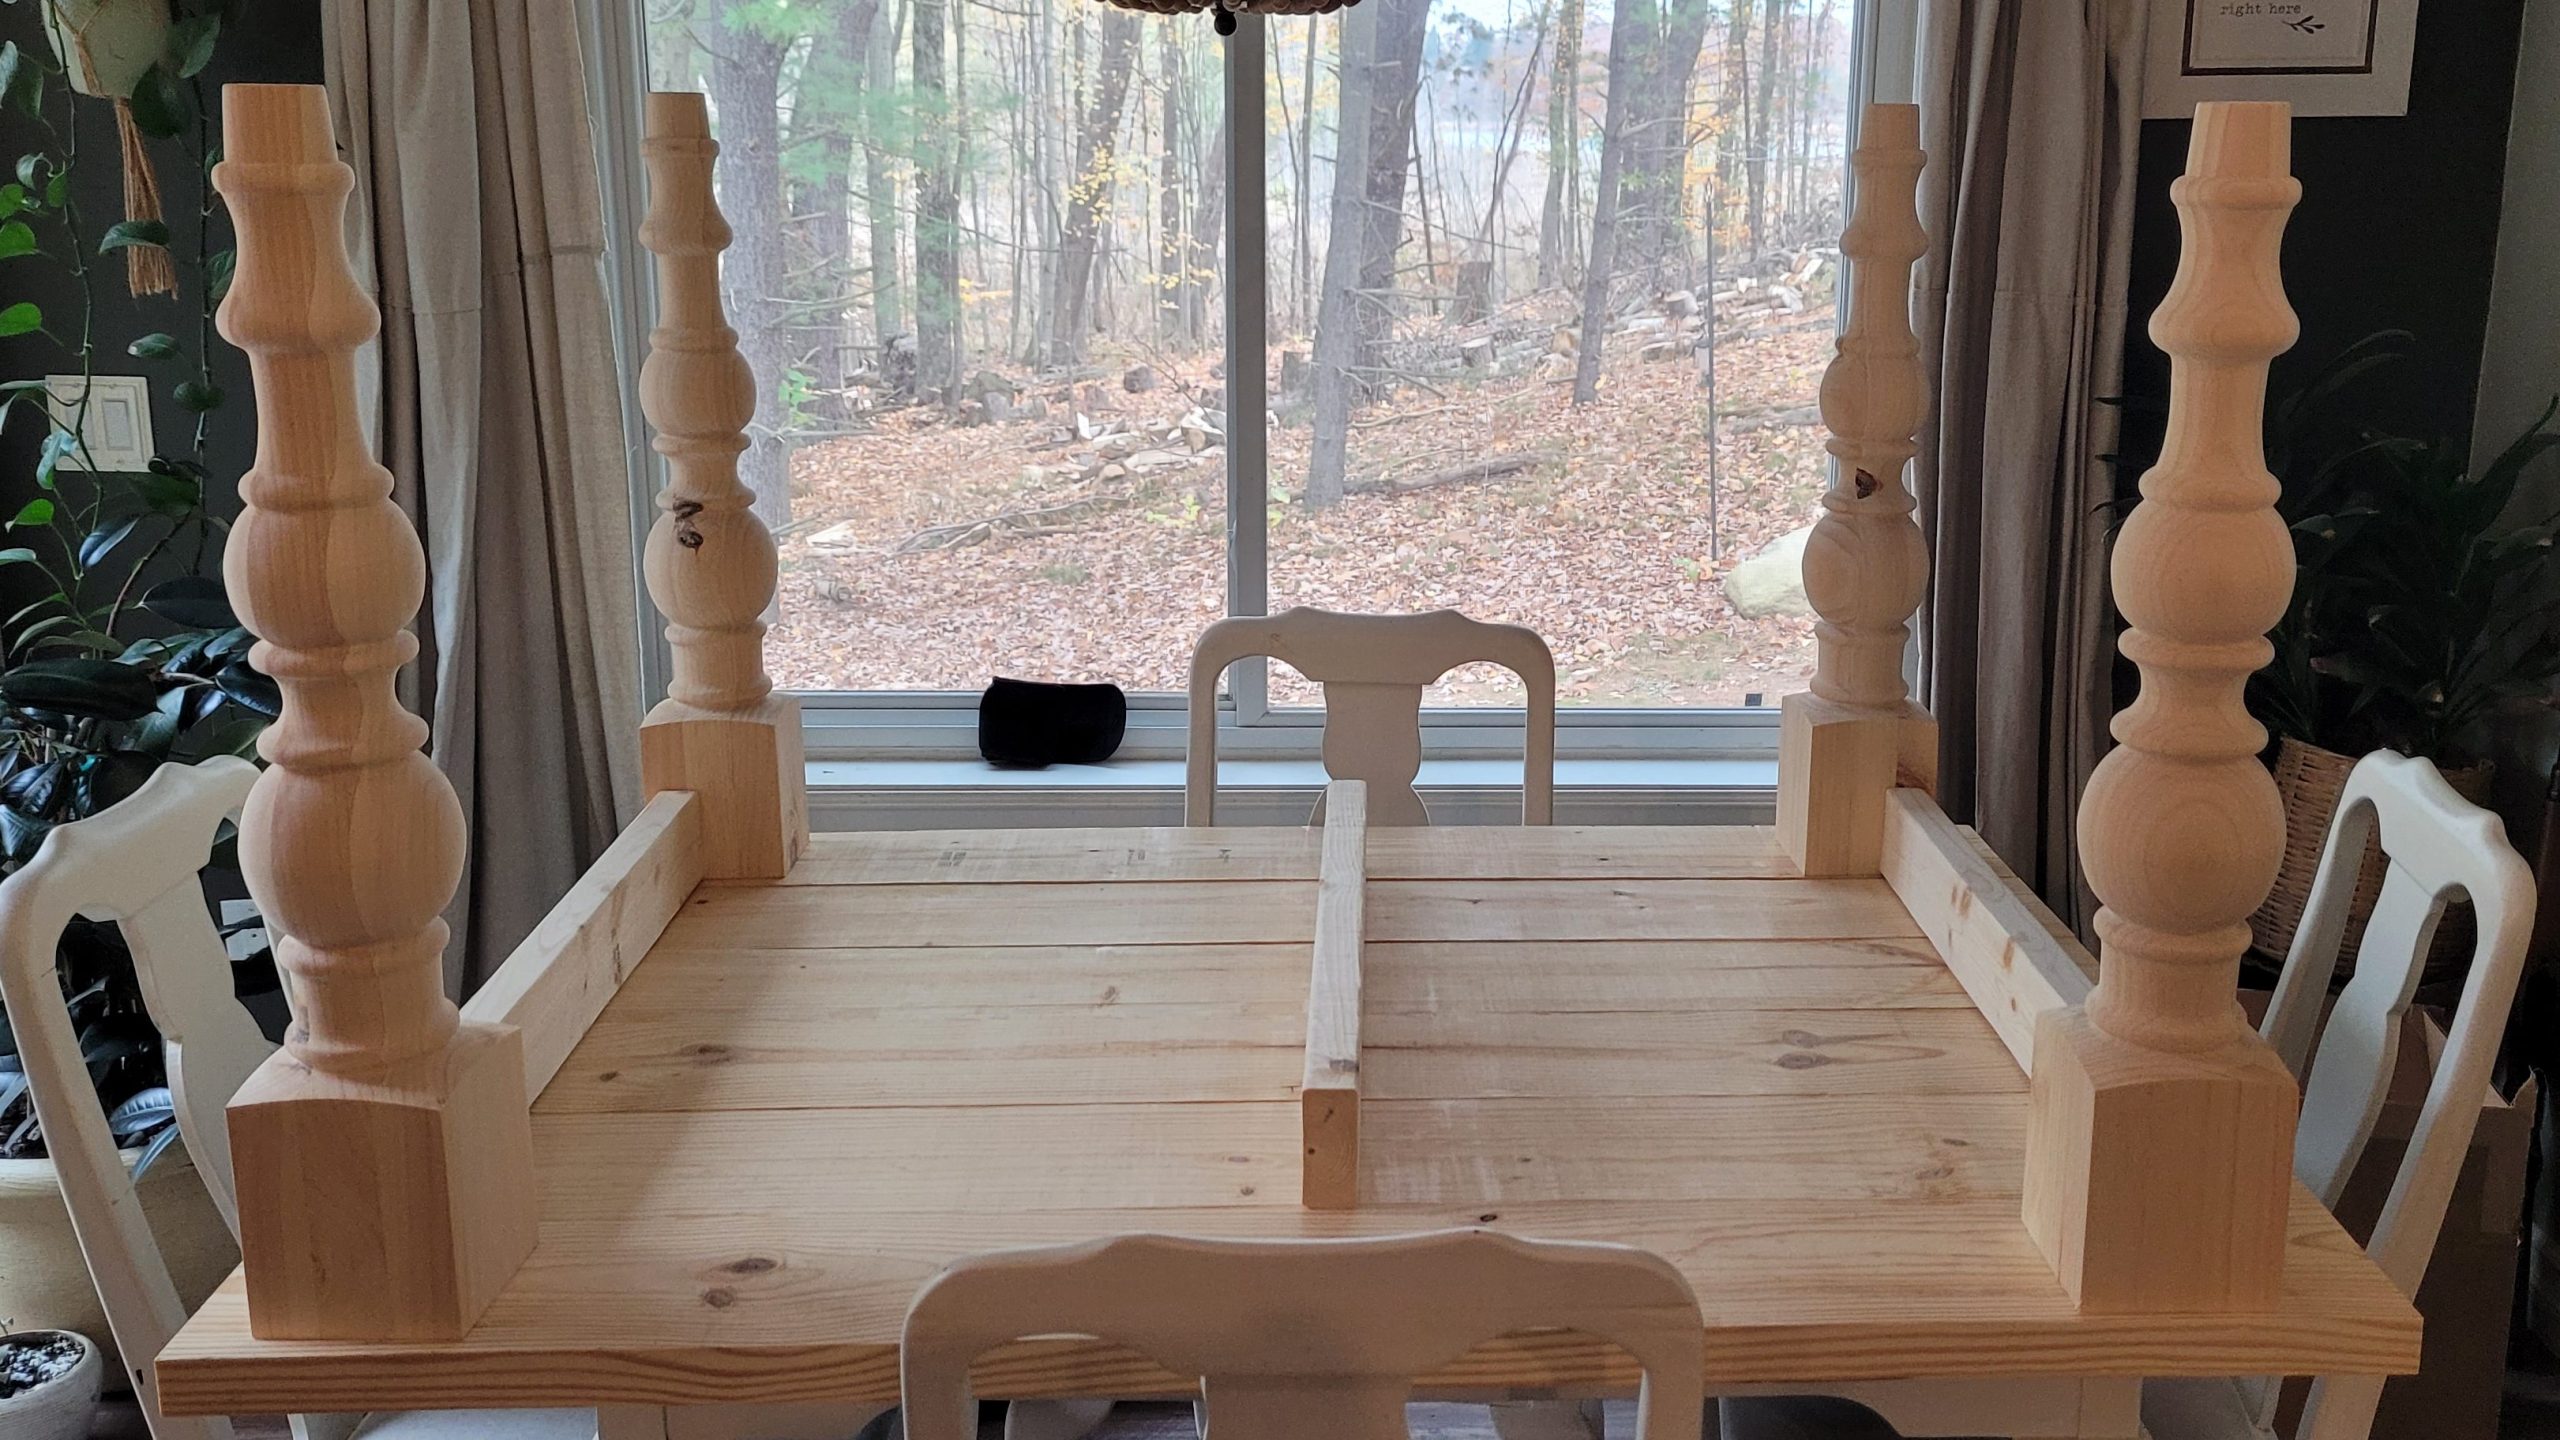
Before doing anything permanent, I planned out exactly where I wanted the legs to go. My original plan was to have a 1/2 inch to 1 inch overhand on the long sides and a 2 1/2 to 3 inch overhang on the short ends. In my mind, figuring out how to build the base was a safer bet after I knew exactly how big the top was going to be. If I ended up having to rip the boards down a little more than what I already did, my base would not fit properly and I would have to start over.
I’m not afraid to point out my mistakes. As I figured out the length of the 2×4’s that needed to fit between the table legs on the short sides, I automatically just cut the third middle support board to the same length. Don’t do that. It actually needs to be longer because the support 2×4’s on the long sides are not as wide as the table legs.
The table legs I purchased were 5-inches at the base. This made my 2×4’s on the short ends 29-1/2 inches long to fit snugly between them and leave a 3/4 inch overhang on the long sides.
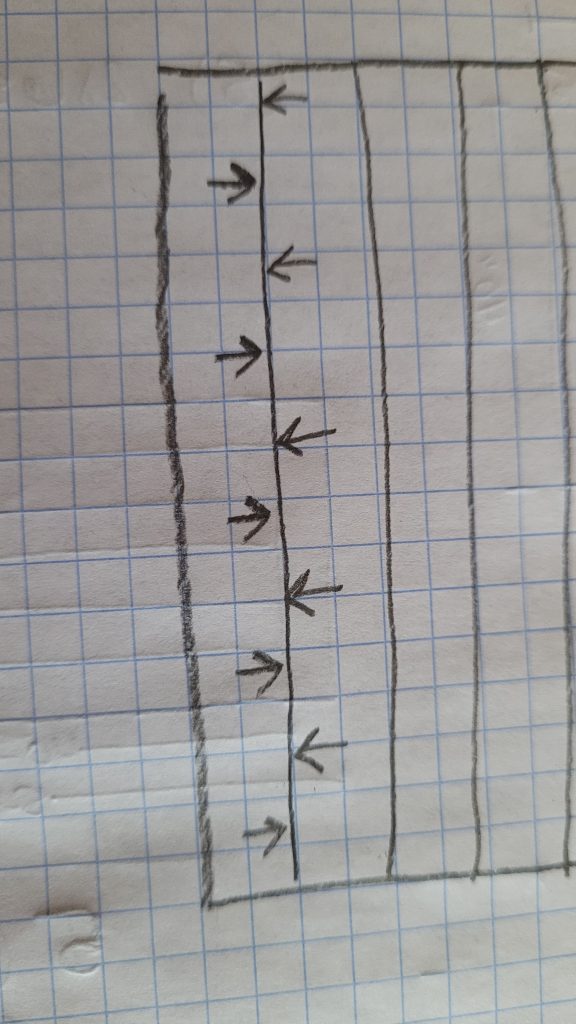
After I had the table all planned out, it was time to start putting it together. I used a kreg pocket hole jig to create what felt like a million pocket holes. For the table top, I created a pocket hole about every 10 inches on each board so when they were put together there would be a screw securing the edges together every 5 inches or so. The pattern looked like this:
In the actual boards, it looked like this:
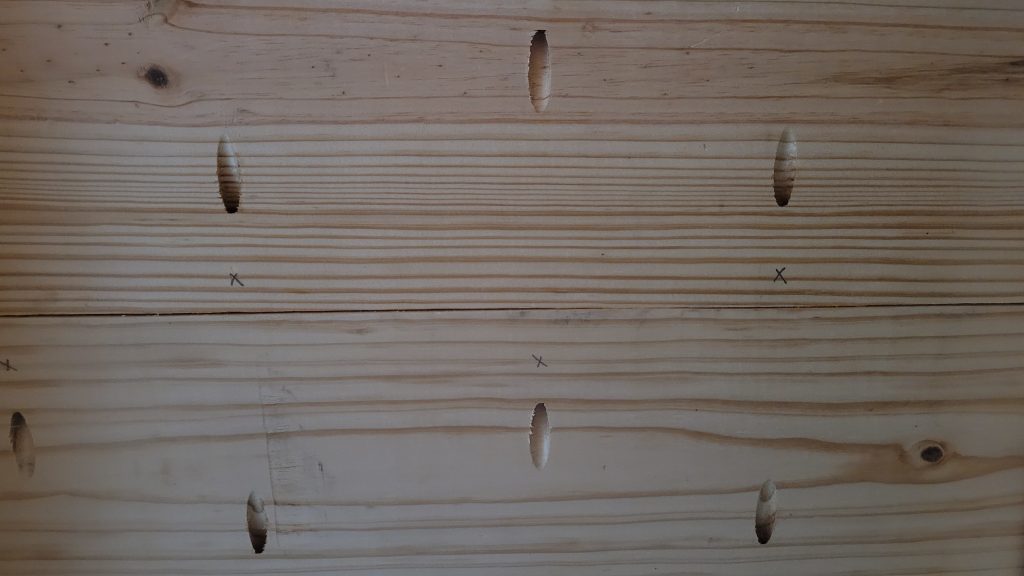
After the holes were drilled, I put a line of glue between each board and pushed them together before placing the screw.
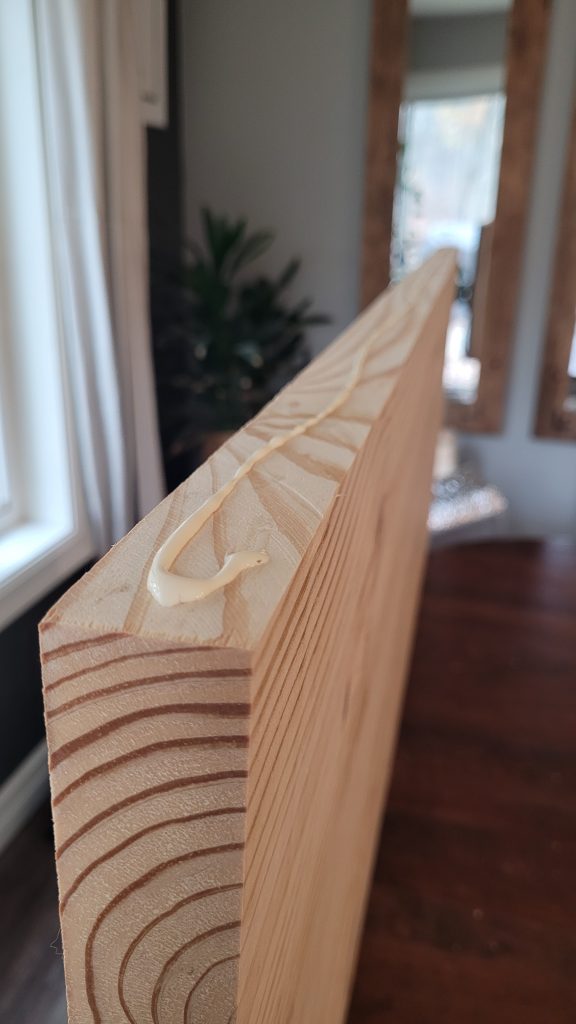
When it was all glued and screwed together, we flipped it over to let the glue dry completely before doing anything else to it.
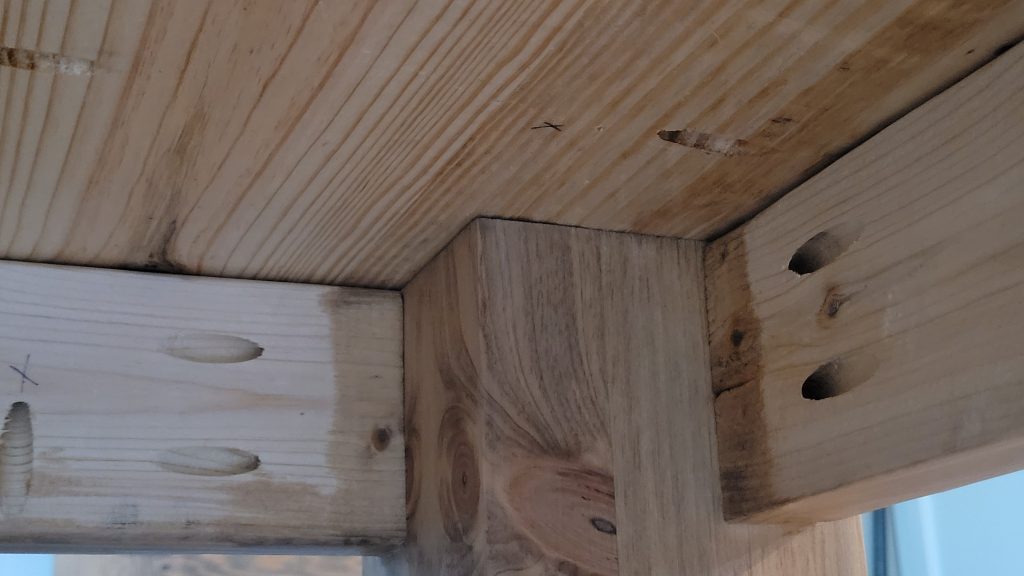
While the top was drying, I assembled the base. Regretfully, I didn’t take any photos of this step. I inset the 2×4 support boards by a half-inch from the outside on both sides of the legs. I drilled pocket holes in the 2×4’s and secured them directly to the legs. Down the length of each of the 2×4’s, I drilled pocket holes so I would be able to attach the table top later.
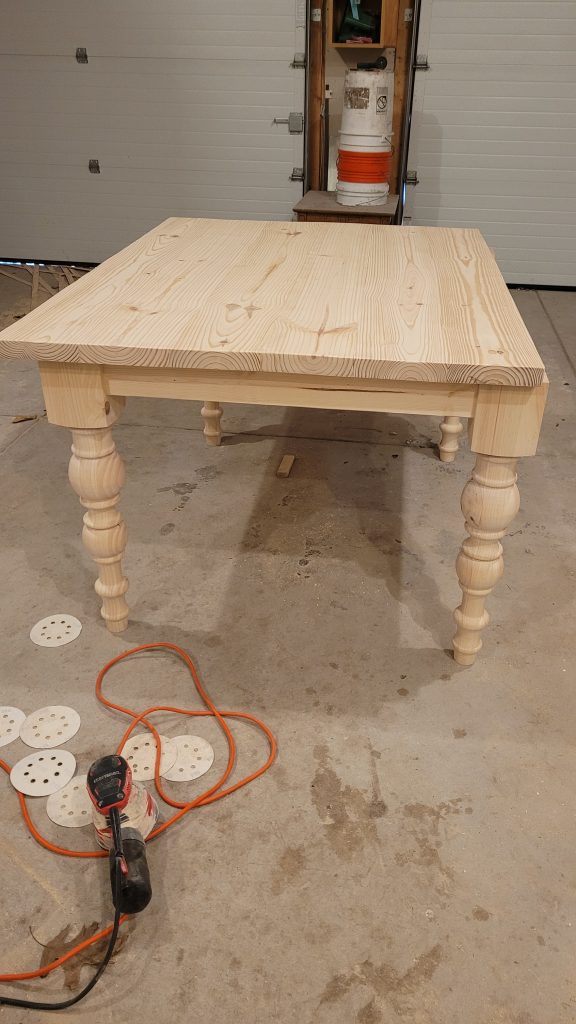
After the base was assembled and the tabletop was dry, it was time to sand everything down and prepare for stain.
I started with 40-grit sand paper to knock down the high spots where the boards weren’t quite fitting together. I mean, I sanded a LOT. In hindsight, if I had used clamps on the seems while I was screwing the tabletop boards together, it may have saved me some work. However, I survived and I knew all along this whole project was not going to be perfect.
I was inspired by the lighter-yet-aged look of many of my inspiration photos, so I had a bit of a struggle deciding how to finish my table. My favorite stain is Minwax Special Walnut. I’ve used it on many other projects in my home. I applied one coat of that, but didn’t love how warm it turned out overall. To mute some of the yellow tones coming from the pine, I applied a coat of Minwax Classic Gray and that did the trick.
I used Varathane Polyurethane in matte to seal and finish the table.
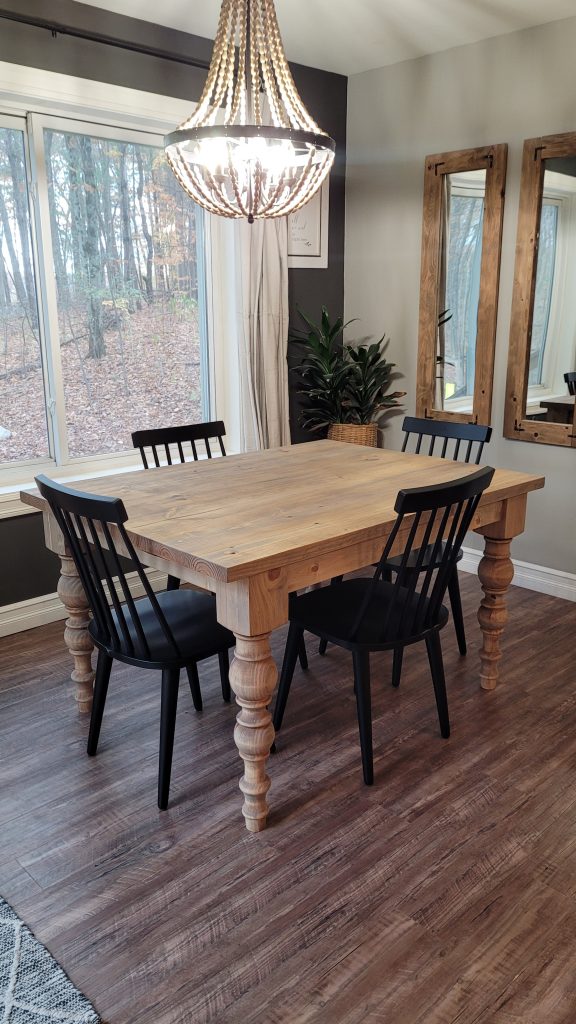
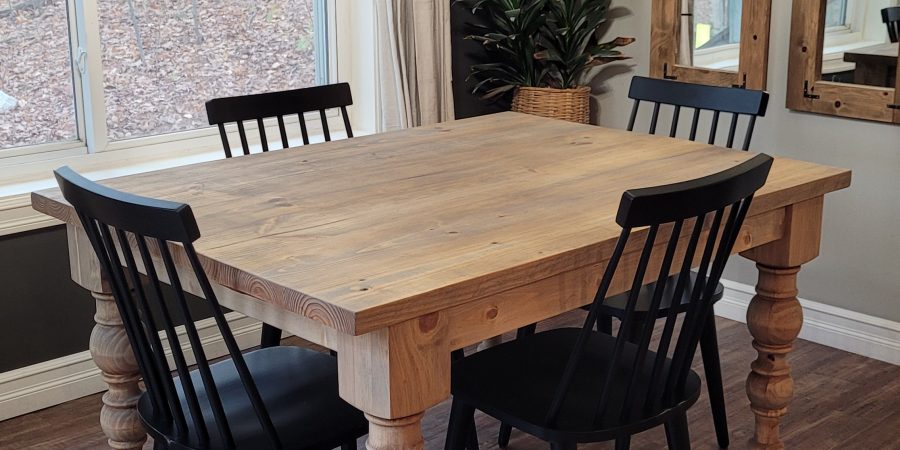
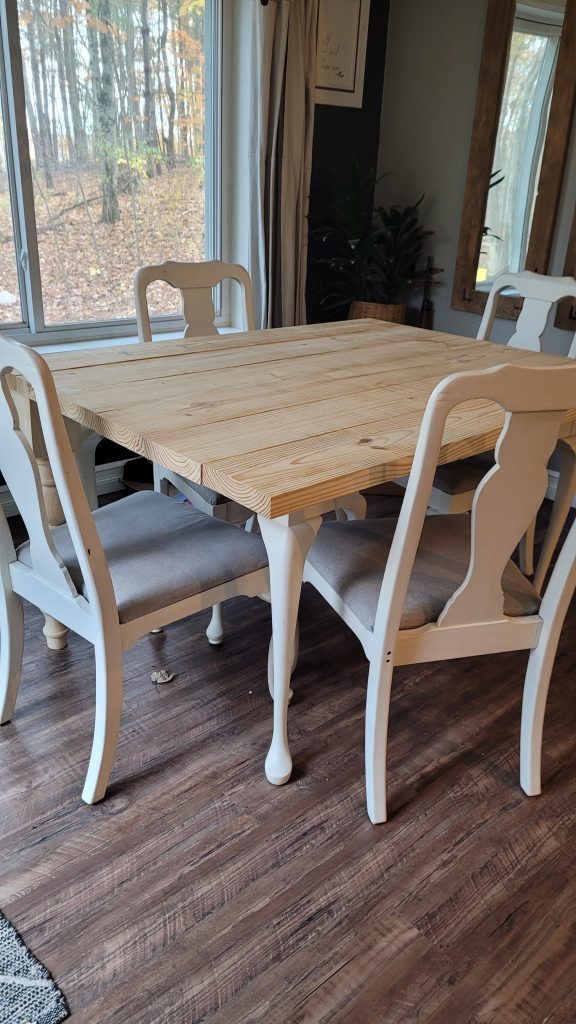
After it was dry, we brought it in and paired it with some new black chairs. DONE! 🙂