One of the easiest ways to redecorate for each season is to circulate the throw pillows in the living room. Layering varying sizes, textures and styles of pillows adds a lot of dimension. However, I am always a little disappointed with myself whenever I shop for throw pillows. I spend hours picking them out and imagining how they will look together, but I can’t bring myself to spend so much on pillow covers! In the past, I have made my own pillow covers, but they haven’t made me as excited as the DIY throw pillows I made this time!
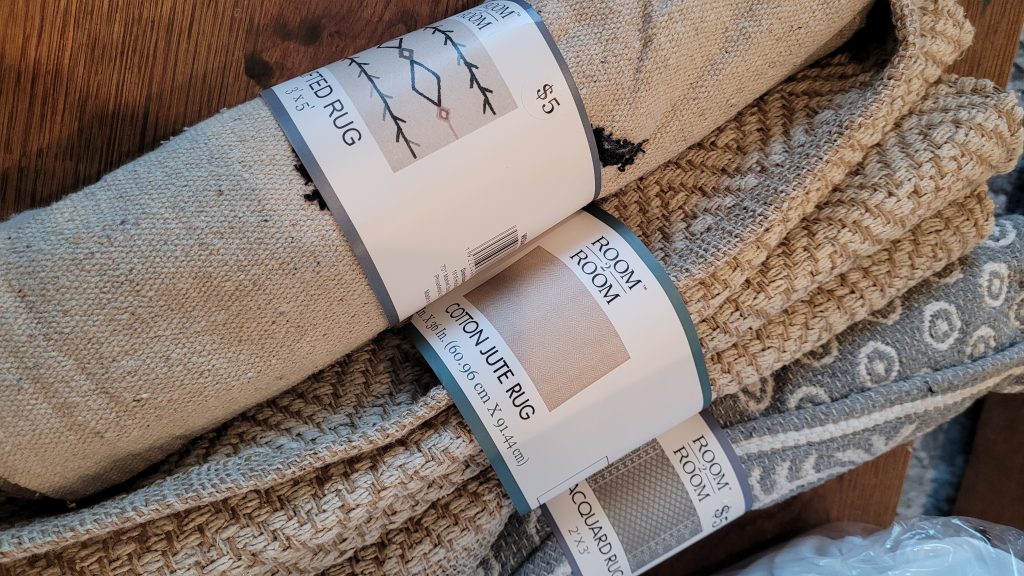
My goal in decorating is to make my home cozy, comfortable, and as pretty as it can be without eating away at our bank account. I found some rugs at the back of my local 5-Below and liked the designs, colors and texture on them. In my house, I had no use for these guys as actual rugs, but it hit me that they would make some pretty great layering pillows!
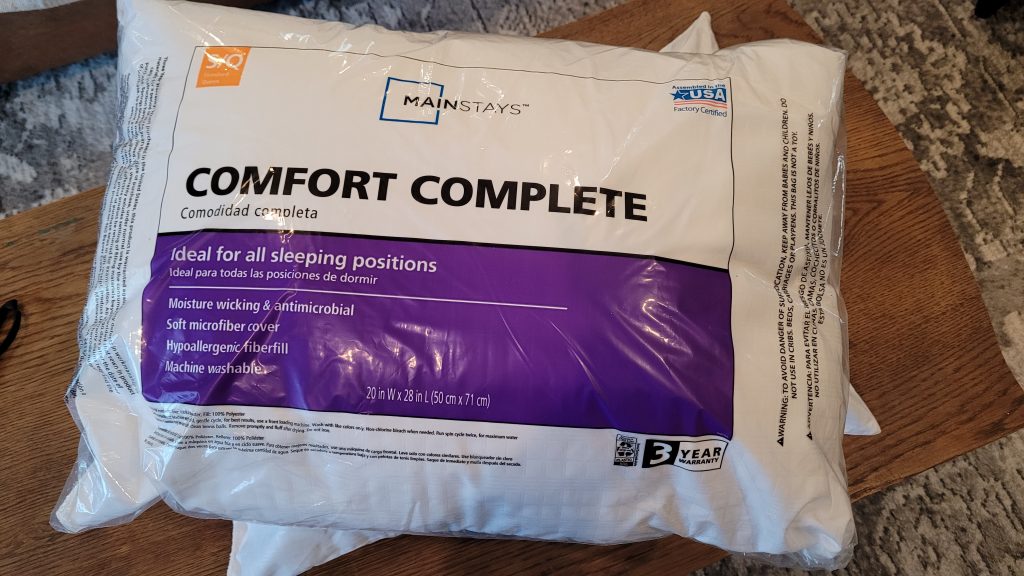
On the way home I stopped at Walmart and picked up a couple of standard sized pillows for around $3. I have plenty of pillow inserts, but they are all about the same size. This time, I was going for some custom, odd, maybe even monster sized throw pillows.
All together, I had about $23 invested and a plan to make 4 throw pillows.
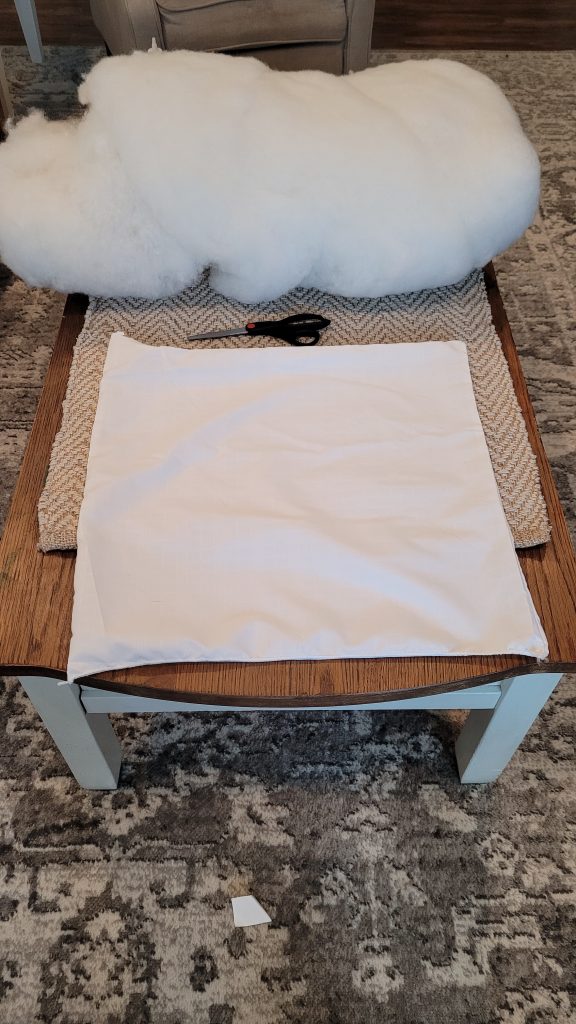
The first thing I needed to do was adjust the size of the actual pillows so they would fit inside a rug that was about to be a pillow cover. I folded over the first rug and eyeballed about how much the pillow needed to shrink in order to fit inside.
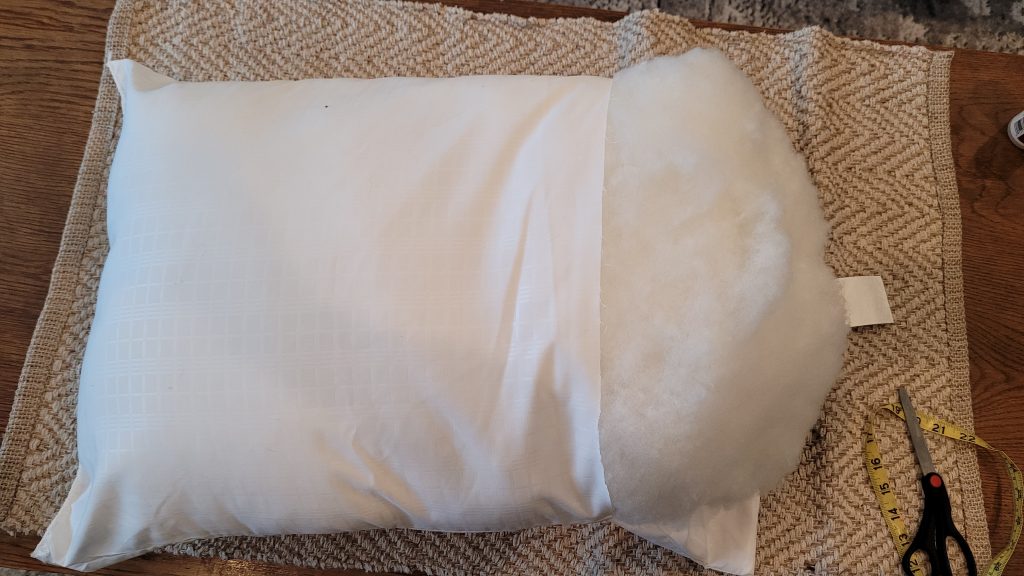
Using a pencil, I drew a line so my cut would be straight, then went ahead and started cutting.
I quickly realized that making both sides of the pillow match was not going to happen if I tried cutting the opposite side of the pillow with it’s stuffing still in place. So, I took everything out and made sure both sides were even. I then used my sewing machine to sew the cut edge back together.
I left an opening a few inches wide so I could re-stuff the pillow and then hand sewed the remaining opening. I am very much aware that this is not the type of sewing you would see on HGTV. The plan is, if all goes well, I will not have to see this again for a very long time.

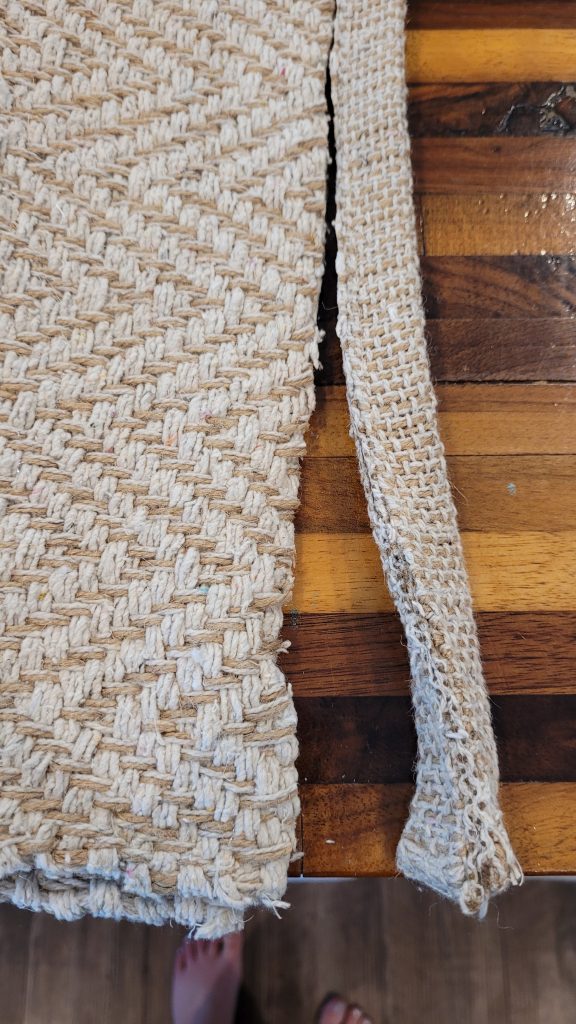
Next, I cut the bulky edge off of the rug so I didn’t have one super hard and chunky seam on just one side of the pillow.
Then I turned it ugly-side out and glued (yes, with hot glue because my sewing machine was like “hey, man, that’s probably not something I’m going to sew for you today”) the edges together to make a tube-like mess.
I’m calling it a mess because it pretty badly wanted to just fray itself to death. At this point, the glued seams are on the inside of the almost-a-pillow-cover and I have two loose ends. Next, I flipped it back through the other way again so the ugly side was facing out. I glued the next side together so I had a rug envelope, ready to receive it’s pillow.
I was getting crunched for time and started rushing so I forgot to take a photo (ugh). The next thing I did was put the pillow inside and fold the last side’s edges toward each other to glue them in place while the pillow was inside.
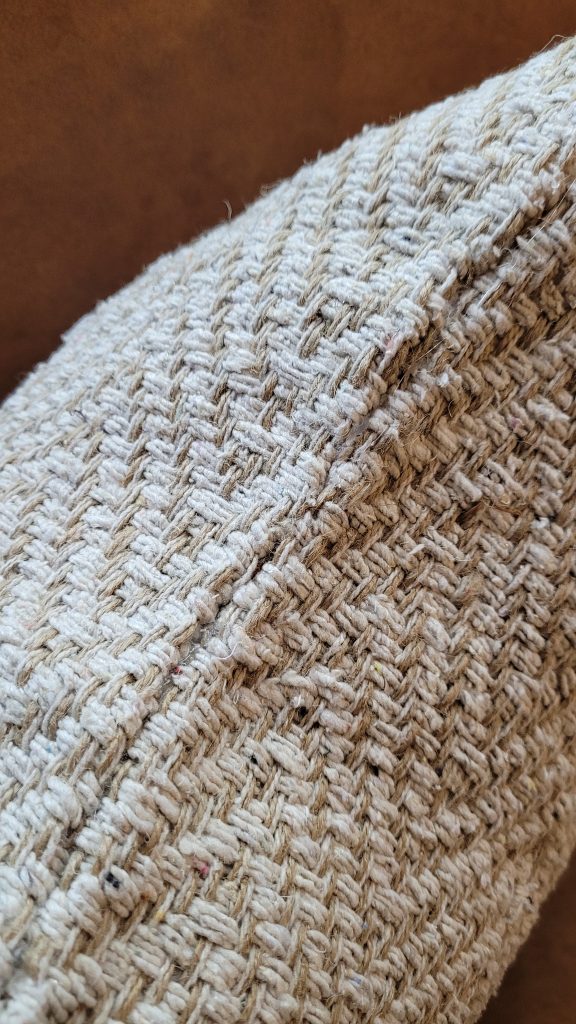
I definitely do not think this will last forever, but I did pull pretty hard on the seams and they were surprisingly committed to staying together.
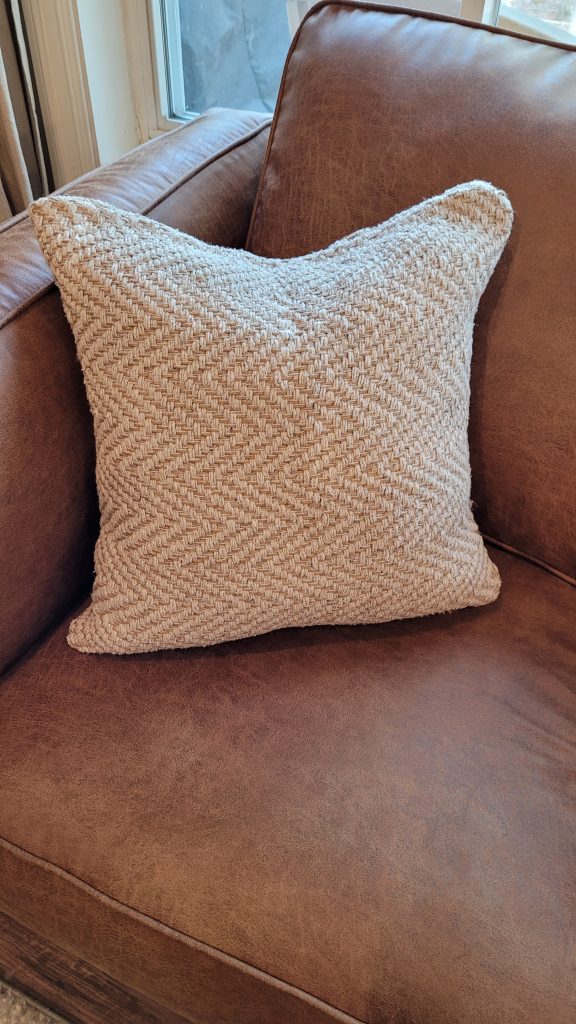
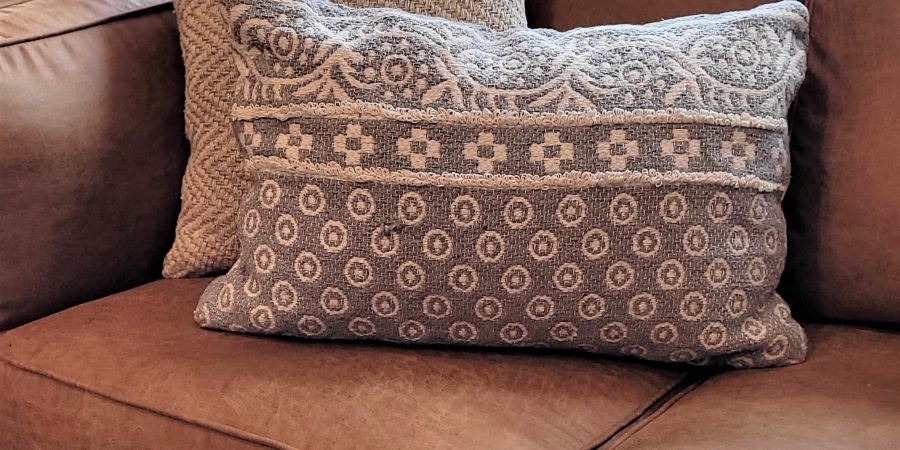
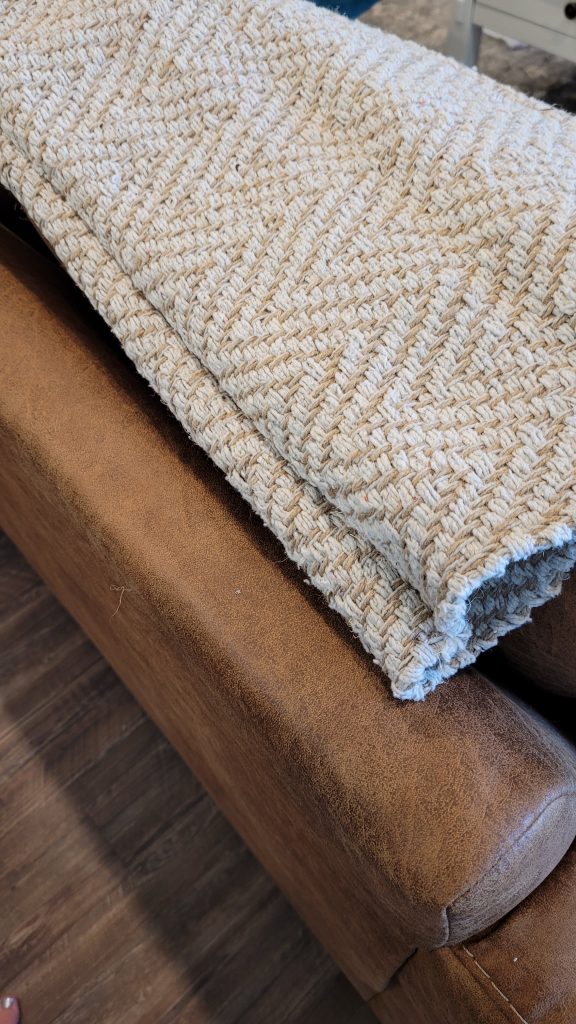
They are stiff enough that they don’t fully submit to the hand chop that is basically required for all throw pillows now, but there is a bit of sway at the top, so I’m satisfied.
I repeated the process for the next pillow, but made that one into a different shape for more interest.

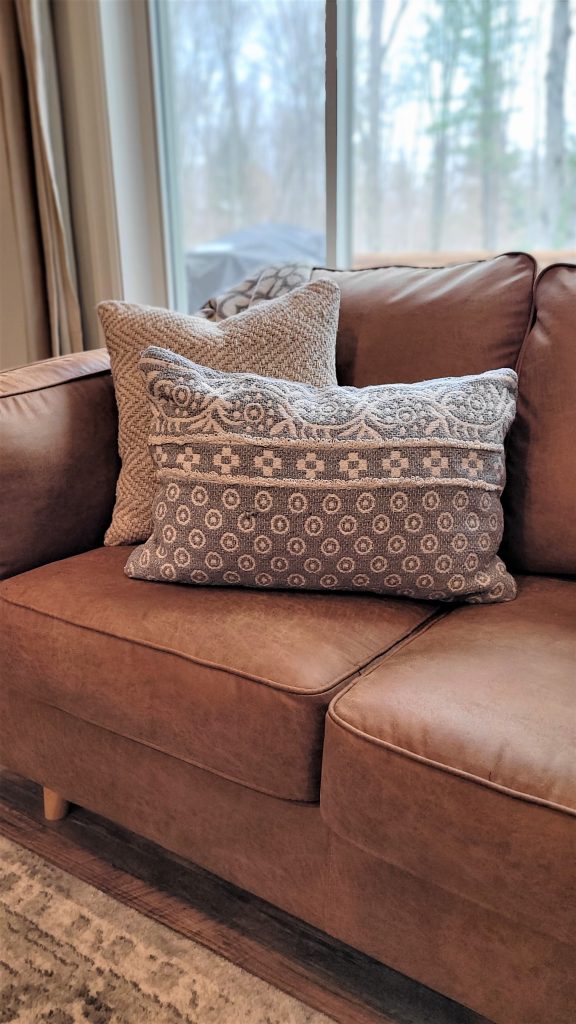
They have been on the couch for a couple of weeks now and are holding up very well. They’re not my husband’s favorite to lay on because they’re a bit scratchy. When they’re stacked behind the velvety soft pillows (that I actually purchased) I forget how they feel because they’re just pretty enough to add the dimension I was hoping for.
There you have it!