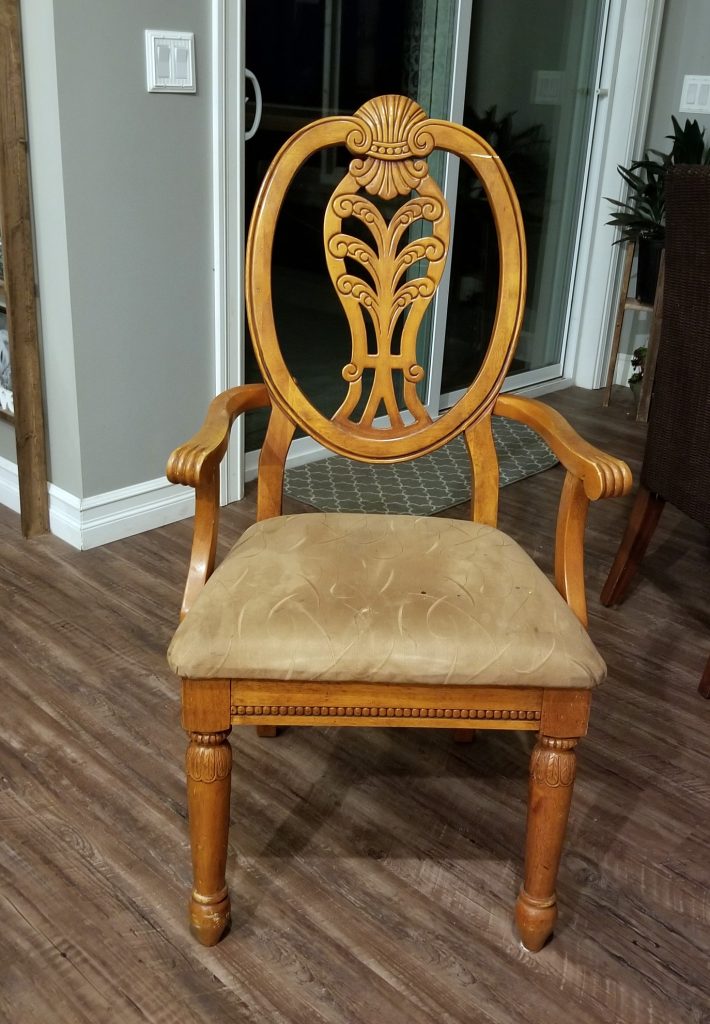
I recently found some dining chairs on a yard sale site that I just couldn’t pass up. They were very sturdy, but very orange. I knew I could give them an awesome makeover! I brought them home and started drumming up a plan for what I wanted to do with them. I got all six of these little golden nuggets – stained cushions, scratched, dented, super dated stain color and all!
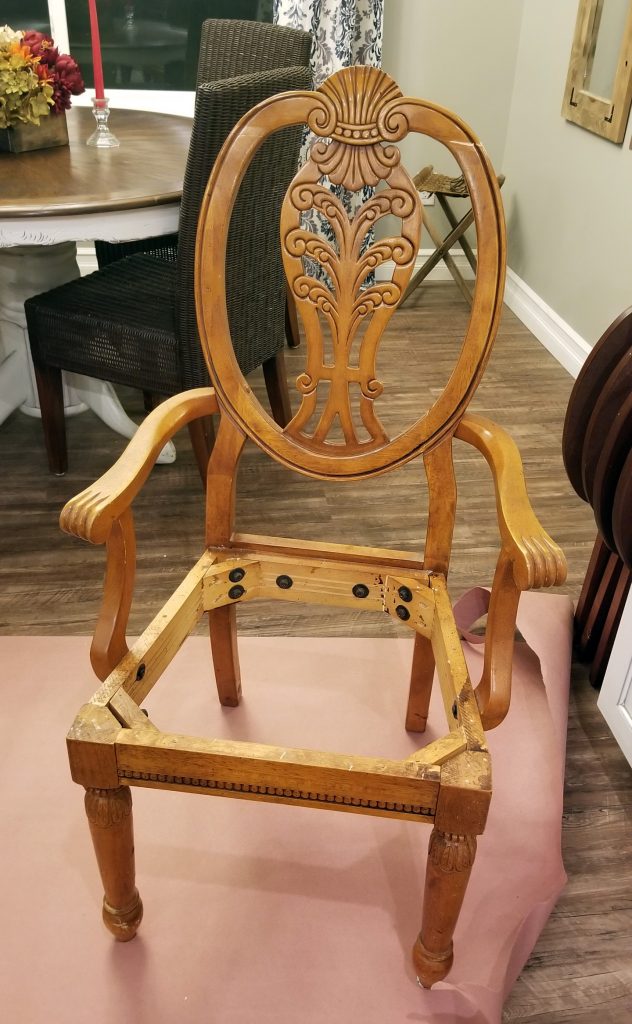
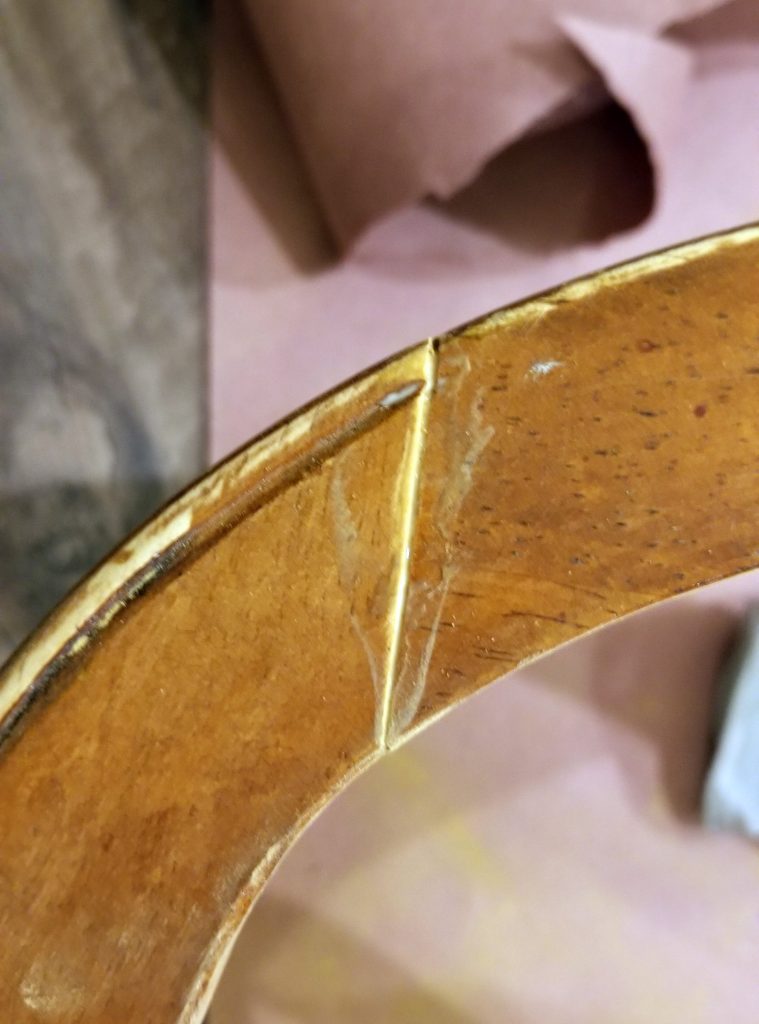
I started by taking the cushions off which was easily done by removing 5 screws from the bottom of the seat. This left me with just the frames. I had to make a few repairs, but for the most part they were in pretty good shape.
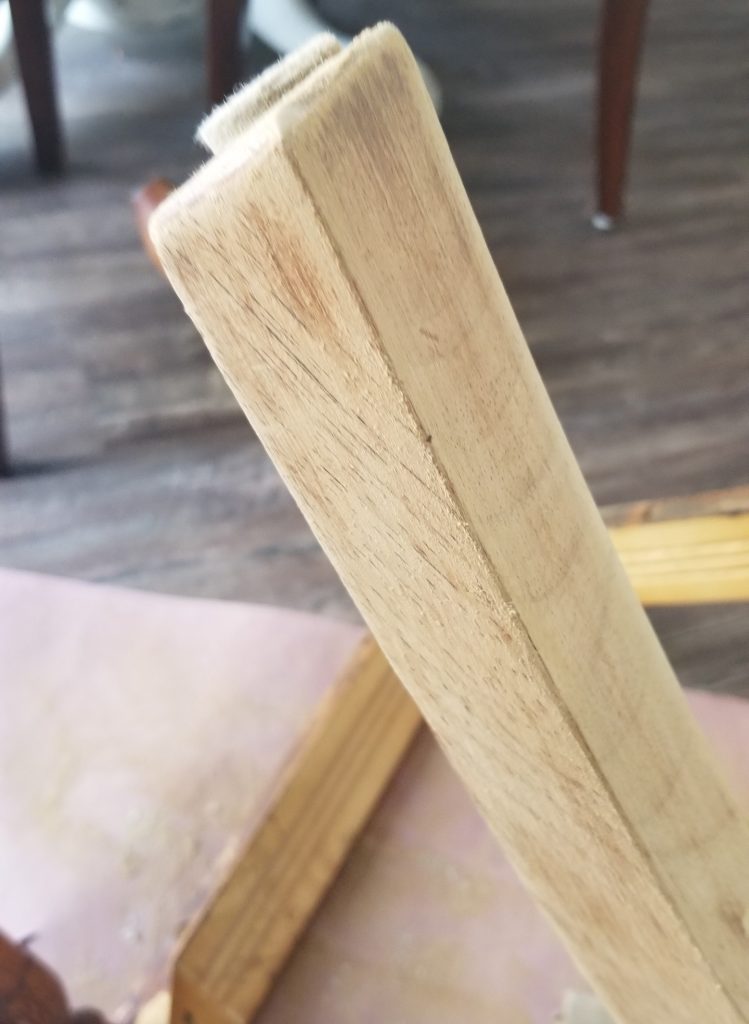
Next came all the sanding. SO MUCH SANDING. I knew when I started that it was going to take some work, but I think I was mostly in denial at just how much sanding I was in for. This was days of my life I’ll never get back. All of those little intricate details made my fingers want to detach from the rest of my hand.
I sanded everything down to bare wood with 80 and then 150 sandpaper. If you are thinking of painting your chairs, you don’t need to go this far.
![]()
I thought the sanding was super frustrating until I got to the finishing. Once you start getting closer to the final product you should start to feel warm fuzzies, right? Usually I do. But, not this time. What I thought should be happening and what was actually happening was not coming together. I’ll give you a rundown of my nightmare:
I started with a 1:1 mixture of Weathered Oak stain and Classic Gray.
The Classic Gray was sitting in my garage for like, a long time. The lid was crusty, the stain itself was getting clumpy near the bottom. The best thing to do would’ve been to just go get new stain. But no, that’s not me. I already had all of my supplies out. It would have been impossible for me to stop what I was doing and run to the store 7 miles down the road.
So I forged my own path. I mixed it up anyway and applied the first coat.
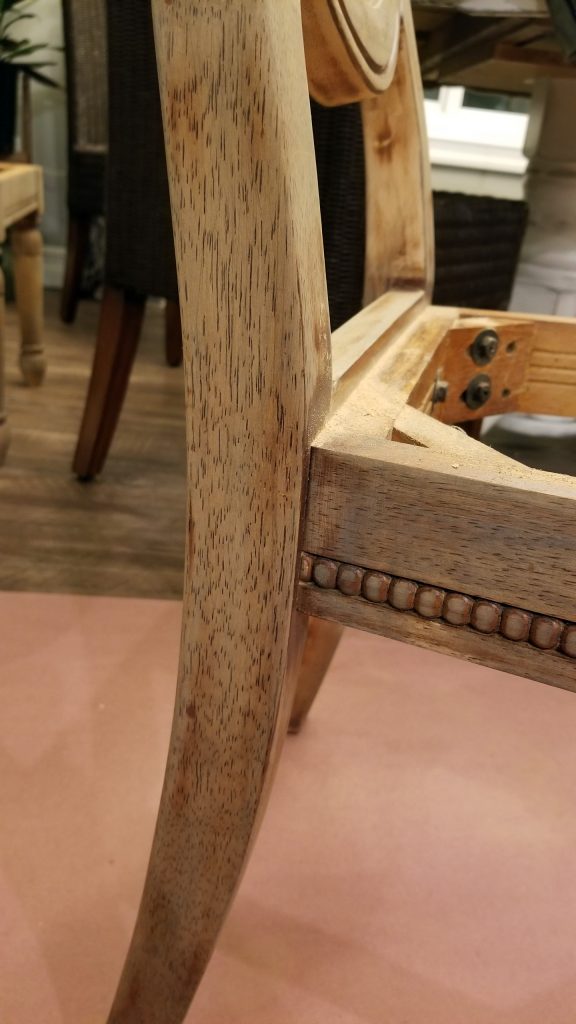
I strongly disliked it. I thought mixing those particular stain colors together would tone down the orange but, it came back. So I mixed in some more gray, making it about a 2:1 mix, and added a second coat. Then I felt like it was cloudy.
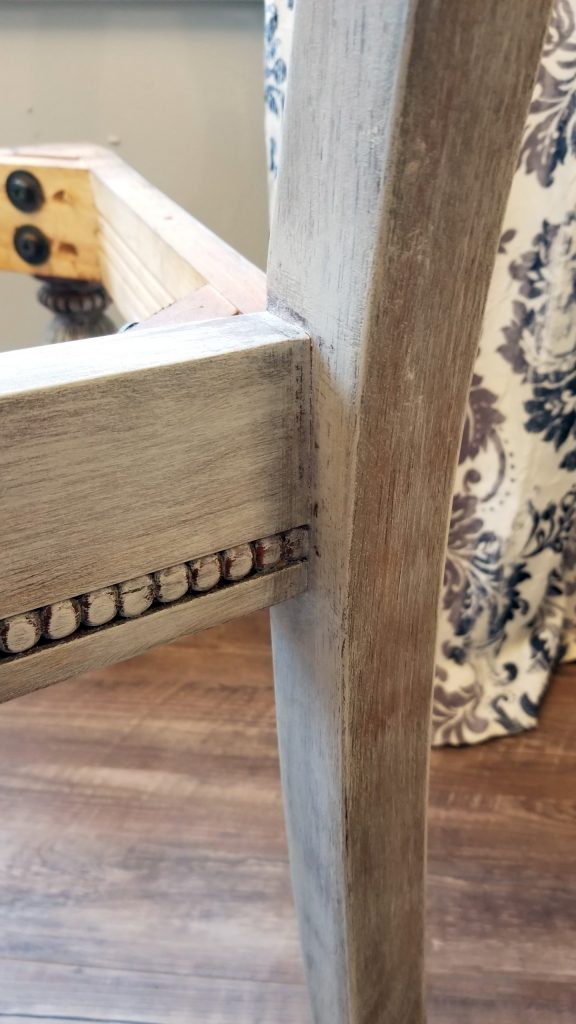
Since it was already looking cloudy I decided to whitewash it. I didn’t take photos of these steps but there are wonderful tutorials on YouTube on various techniques for applying whitewash. After the whitewash, I wanted to add in some more browns, so I used some dark walnut. I applied the dark walnut in sections and wiped it off within a minute of rubbing it on.
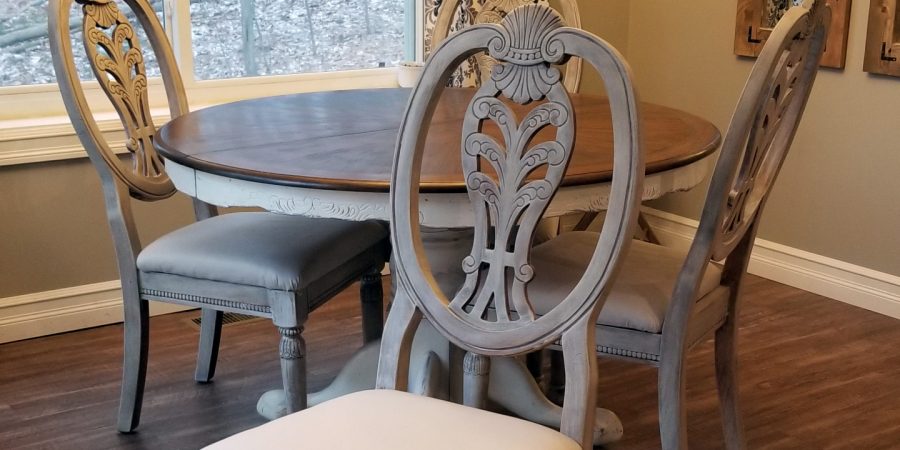
I ended up with a bunch of neutral colors all working together.
The easiest part of this entire project was recovering the seat cushions. I found some light gray home decor fabric that I think brings the whole chair together. I’m not an upholstery expert, but these were pretty straight forward. The most difficult part is making sure the corners come together properly.
First, I laid out the fabric and cut it into workable pieces.
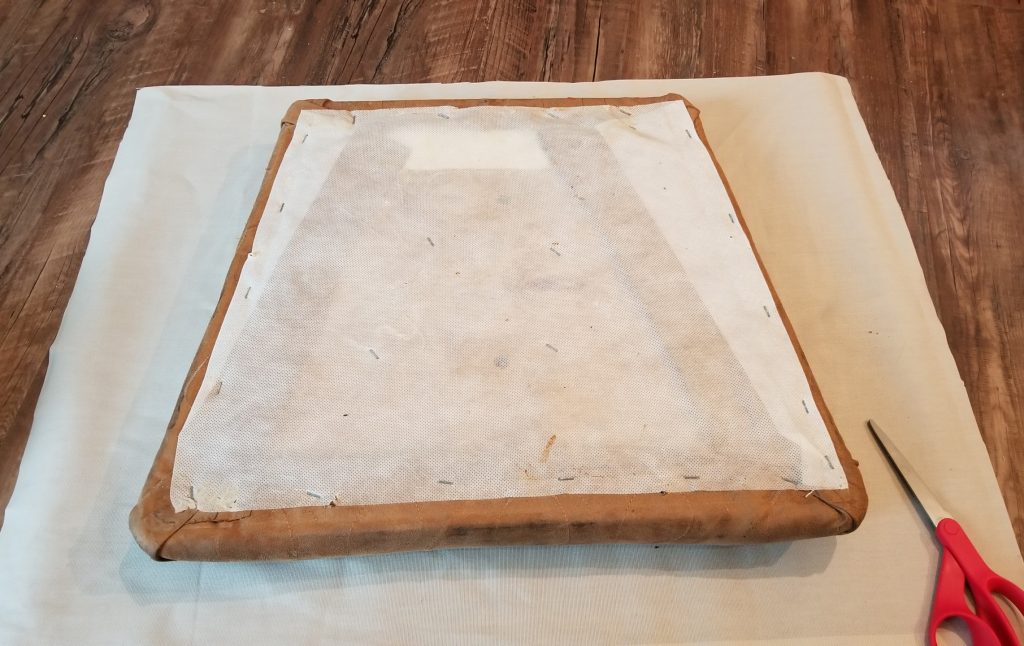
I started by stapling one side, then working directly across from it, making sure the fabric was tight all the way across.
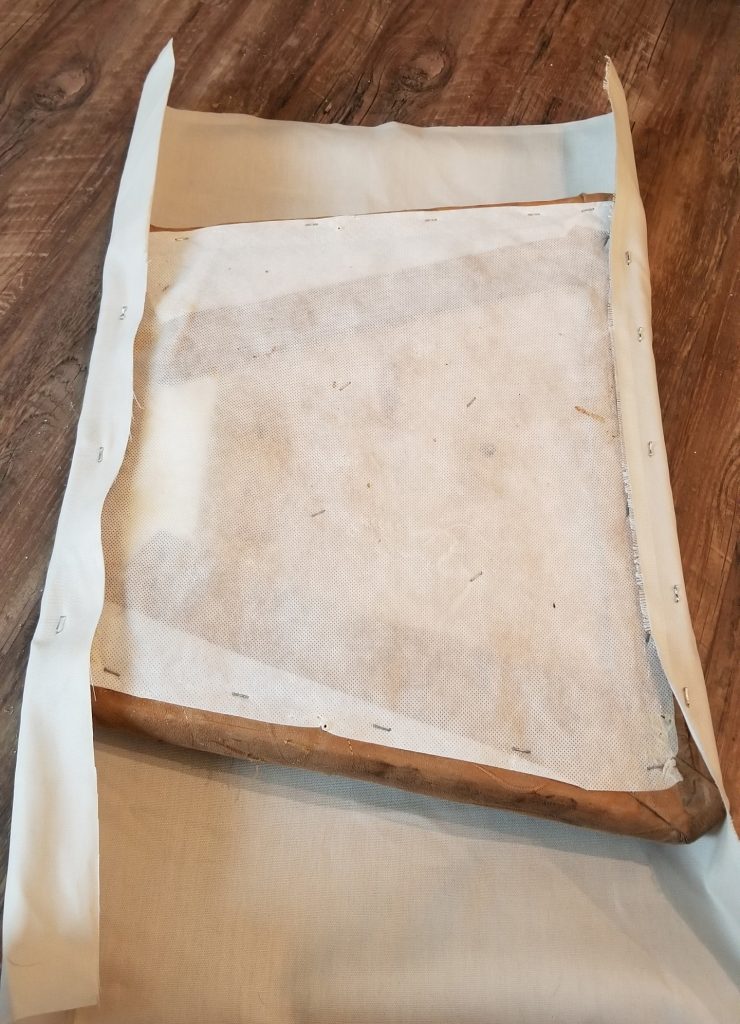
I folded the corners as nicely as I could, keeping in mind which parts of the fold were going to be most visible. Again, you can easily find videos on the proper ways to fold in corners and make them look super pretty. I just made them look as similar as I could. I have a feeling that because I am raising a 5 year old, it probably won’t be too long before I’m ripping all of these apart and reupholstering with a different fabric! I have high hopes, you see.
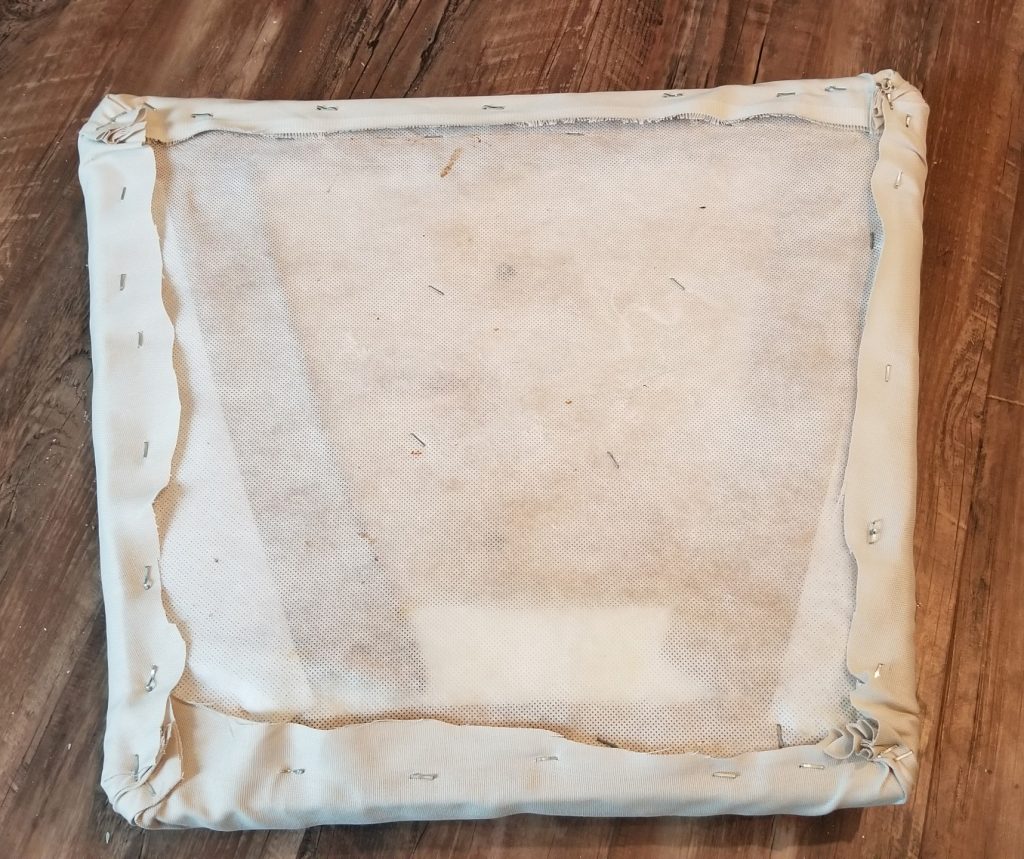
Trim all of the excess fabric and flip it over. It looks much better right side up!
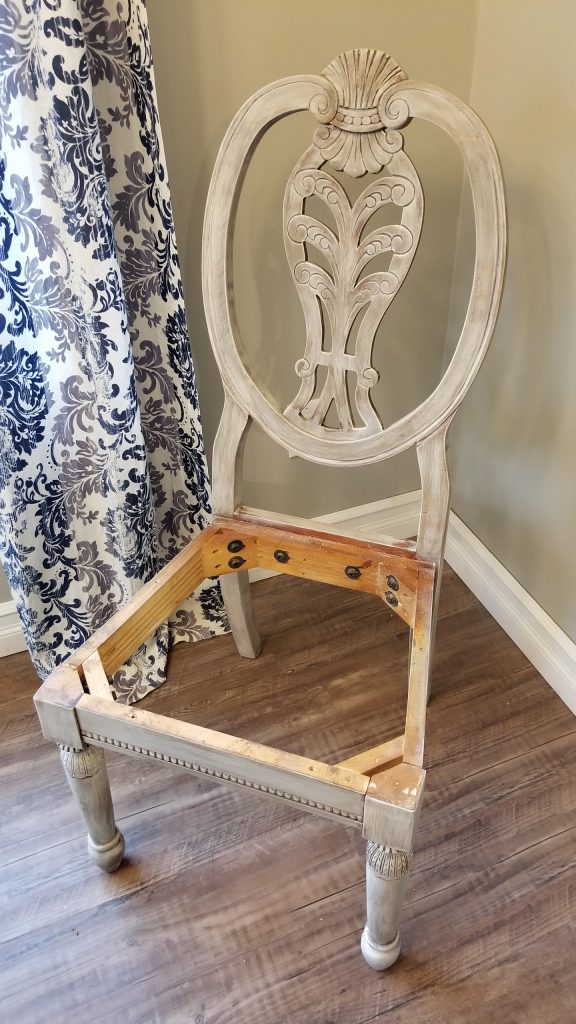
Finally, I assembled the seat to the frame with the screws I had removed earlier.
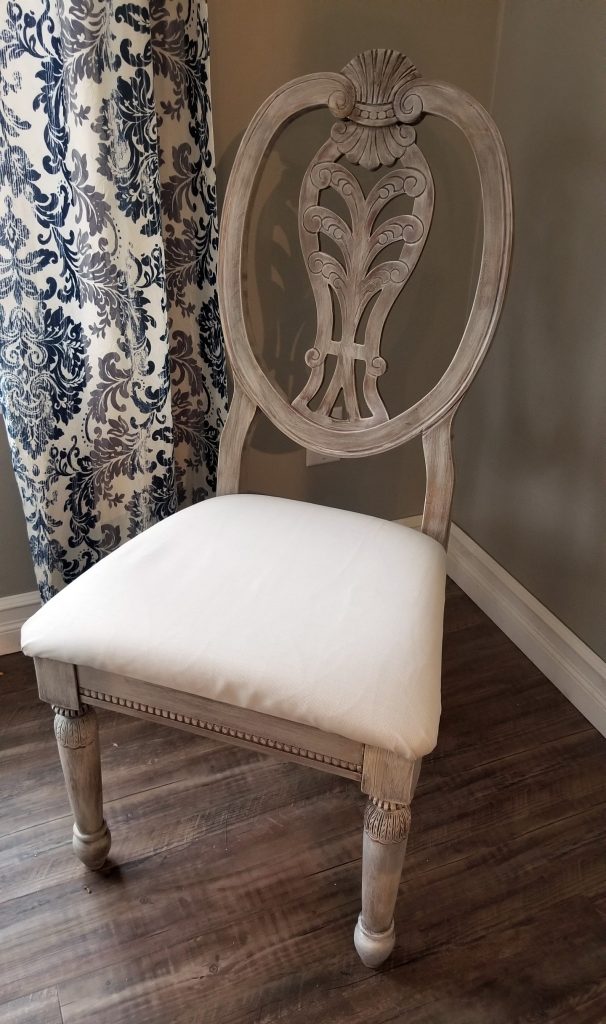
Much better, eh?
![]()