When we built our house in 2017, we were in a rush to finish. Many of the things we wanted to do were put on the back burner and we were focused on doing everything we had to do to pass code to get our certificate of occupancy. One of the projects that didn’t get the attention we wanted to give it was our concrete countertops. We liked how they were finished well enough to just live with them for three years. That is, until I decided I wanted to redo the kitchen backsplash. It seems that doing one project always snowballs into a million other little projects. We decided that redoing the countertops needed to be done before the backsplash was done, otherwise BOTH were going to look like we completed them with our eyes closed.
The backsplash looked like this until we worked up the courage to drag those slabs of concrete outside.
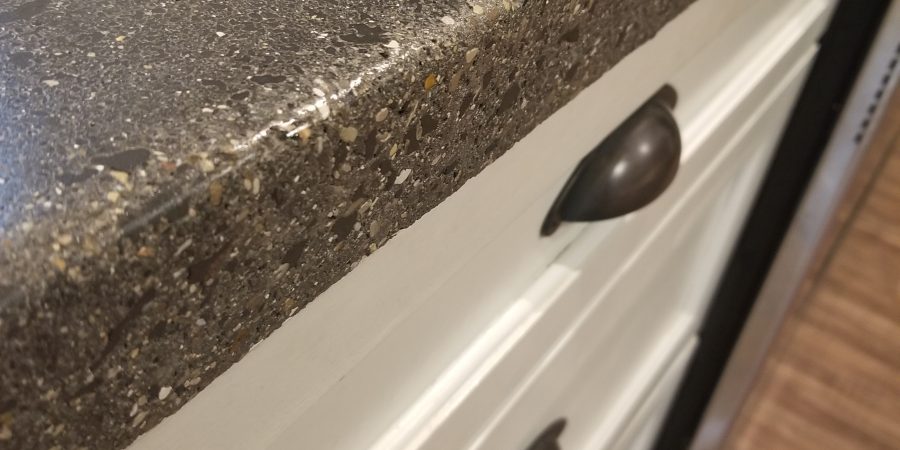
When we originally finished these, we mixed our concrete with some charcoal powdered concrete colorant. We loved the color, but because we were flying by the seat of our pants to finish the house, we used the wrong concrete mix. The mix we used had more aggregate than we anticipated. Although the top came out smooth, there were tiny holes in random places where air got trapped between the stones. To fill in the holes, we used a slurry with a darker colored charcoal. The final product had many different flecks of color ranging from black to white that added depth that I liked more than my vision.
This is a close up of the finish before we took them out.

We’re the type of people who you would catch saying, “ah, well I’ll just do it myself.” So, it felt like an entire production to get these (very large) babies outside. We ended up wheeling the yard cart right into the kitchen. With just my husband and I, we were able to lift each slab and place them on the yard cart to take outside.

We set up right outside on the back deck. There was just no way we were carrying this thing down any stairs. We brought the hose up because for this – you will need a lot of water.

We used our old orbital sander and some polishing pads that we found on Amazon. You can also buy them here: https://www.amazon.com/gp/product/B07GT3JCT9/ref=ppx_yo_dt_b_search_asin_title?ie=UTF8&psc=1
My husband (because I won’t even pretend I was interested in this part) wet the concrete with water and sanded off the top layers of the concrete just as you would if you were preparing wood for a new finish. He used a rag to constantly wipe the surface and get a smooth finish.

He sanded for a long time. It was a few hours worth of being hunched over and meticulously going over every inch. It is tedious and annoying, but well worth having a smooth final product. The longer he sanded, the lighter the concrete got. I was pretty nervous when I came outside and saw that it had turned colors. The darkness that we had before had been so prevalent because of the black slurry that we applied to the top.
Let’s be honest, we were in our twenties when we did it the first time. We were in a rush, didn’t know what we were doing, and mistakes were definitely made. It became obvious that we clearly didn’t get enough of the slurry off the first time to allow for the rest of the concrete to be able to show through. Now that the extra layers of slurry were off, we could finally see the little stones and variations in color that turned out to be better than what we had before.
This is what it looked like just before we were ready for the sealer.

When we finished these the first time, we used Tuff Duck sealer. I liked it because it didn’t leave anything on top like epoxy would. It truly soaks in, so when you run your hands over it, you know you’re touching the surface of the concrete. We never had any problems with staining or scratching, either. So, it is what we used this time too.
Here is a link to the product: https://www.amazon.com/Concrete-Countertop-Sealer-750ml-Counter-top/dp/B015WGATWA/ref=sr_1_2?dchild=1&keywords=tuff+duck+sealer&qid=1603817127&s=hi&sr=1-2

It is applied with a sponge in multiple layers. Make sure you apply enough layers or you could get grease stains or moisture rings. While you’re applying it, beware that it looks like the concrete is turning blue. This happened when we did it the first time but I must have forgotten and started freaking out that it was blue. Don’t do that. Remodeling partners don’t enjoy it. It won’t dry blue.
We let it dry outside until it was ready to come back into the kitchen.

I have a confession. Not only am I the type you will find saying “ah, I’ll just do it myself” I am also the kind that pushes things along because I’m horrifically impatient. So, we brought them inside and reinstalled them on top of our cabinets. I was so happy to get the rest of the tile up on the backsplash, but it became evident that we didn’t have enough sealer on the countertops. We ended up having to go back and add some more sealant.

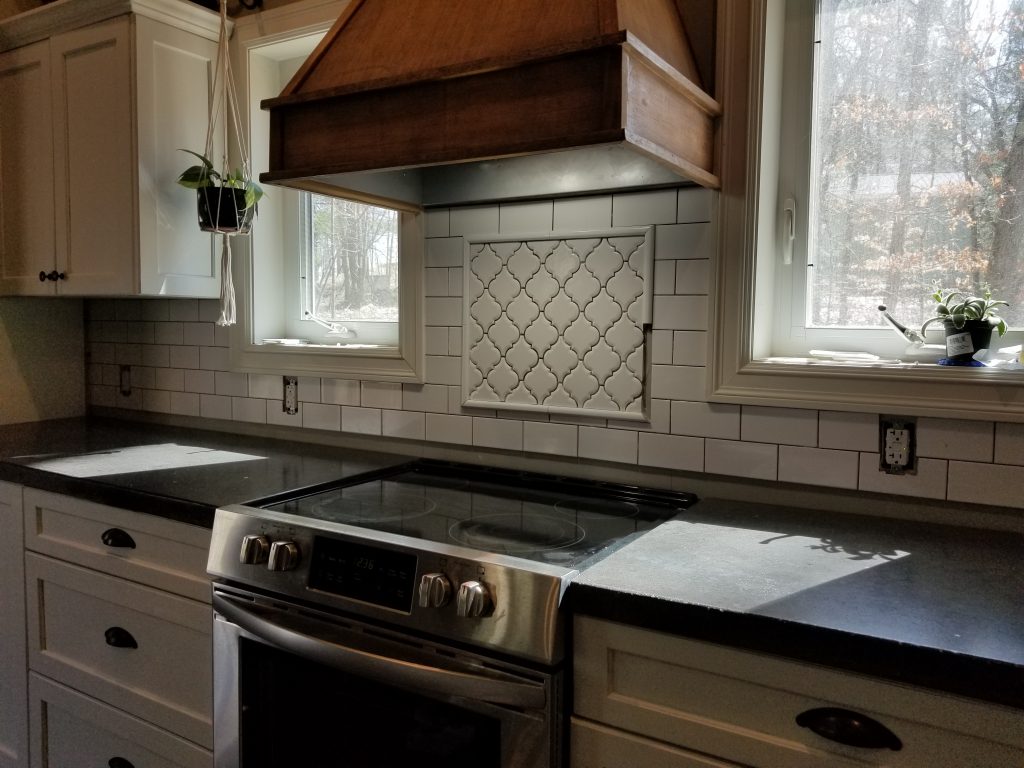
After we added another coat of sealer, we could put the kitchen back together. I think every time we do something like this I wonder why we waited so long to do it. Refinishing the countertops wasn’t all that difficult. It just took a little muscle and some patience. This is what the final product looks like. You can see a big difference in the way the stones are showing up compared to the way we installed them originally. This just shows you that concrete countertops are a great way to express your own creativity and make some of your own decisions on how the final slab will look!

