The landing of my stairs going into the basement has 9-foot tall ceilings. I envisioned a wooden box lantern light pendant hanging there to welcome you into the “entertainment zone” of my home. I began price comparing and just couldn’t convince myself to spend over $100 on something I knew I could make myself. I always have scrap wood laying around from various projects, so I found myself tackling another DIY project – A DIY wooden lantern light fixture!
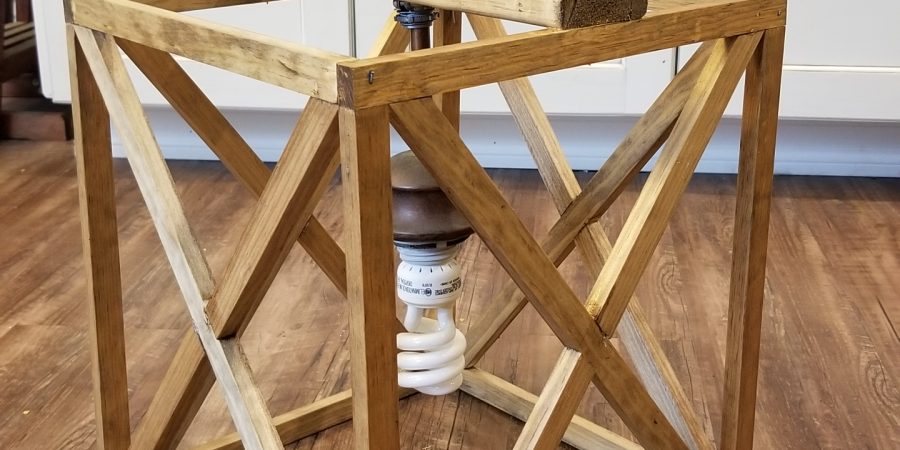
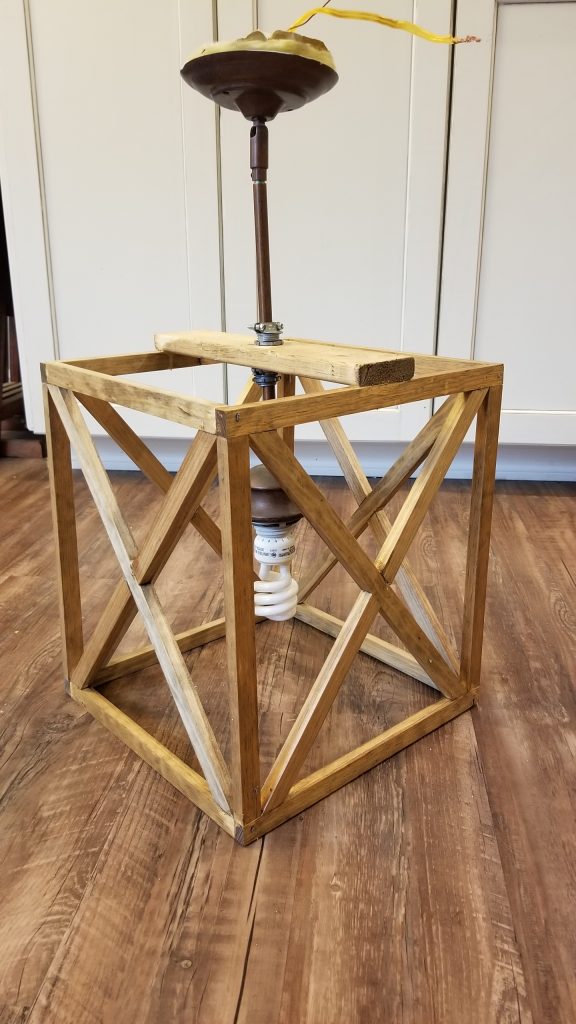
Here’s what I ended up with:

I think it needs a globe, or maybe just an Edison-style bulb, but this gives you a good idea of what I created.
I started with three sticks of 1/2″ x 3/4″ wood and a pendent that I picked up at the Habitat For Humanity Restore for $5. I placed the pendent in the middle of my work area and determined how big I wanted my box to be. Yours could be different depending on the size of your actual light fixture. I even considered using a chandelier-style fixture.
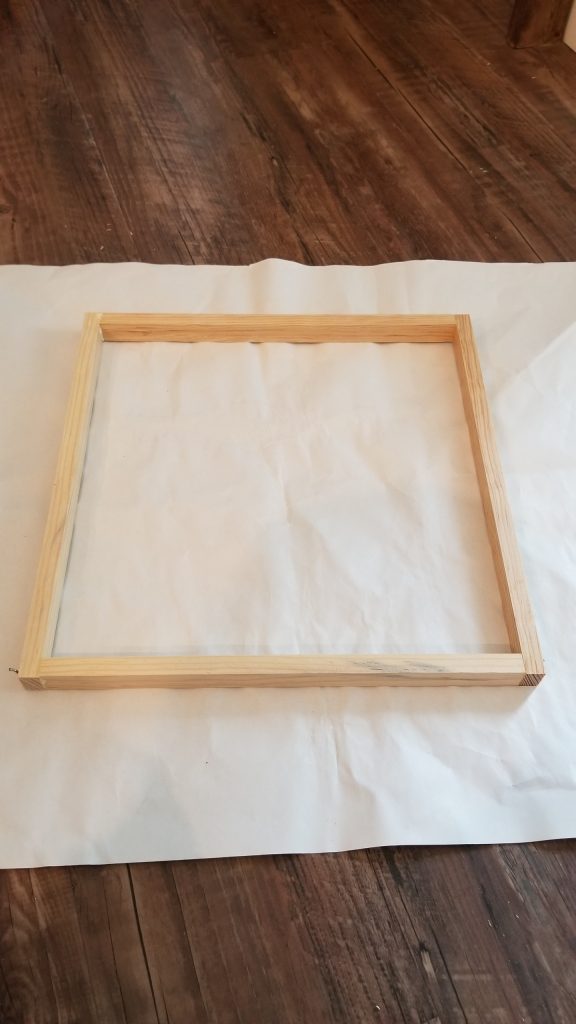
After I figured out how large I wanted it to be, I cut my wood to make a square which would ultimately be the bottom. I used wood glue on the joints and carefully used a pneumatic nail gun to secure each corner.
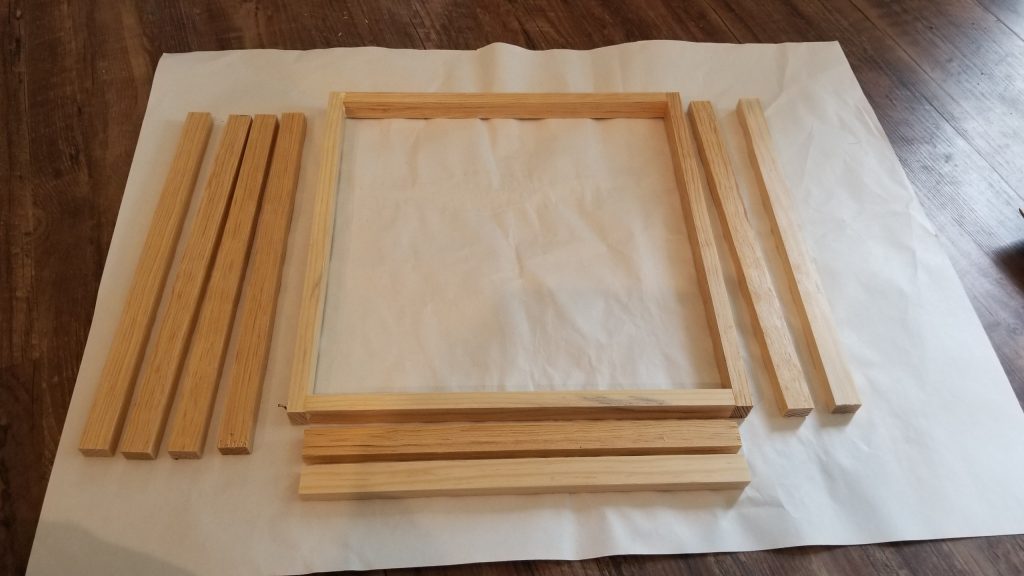
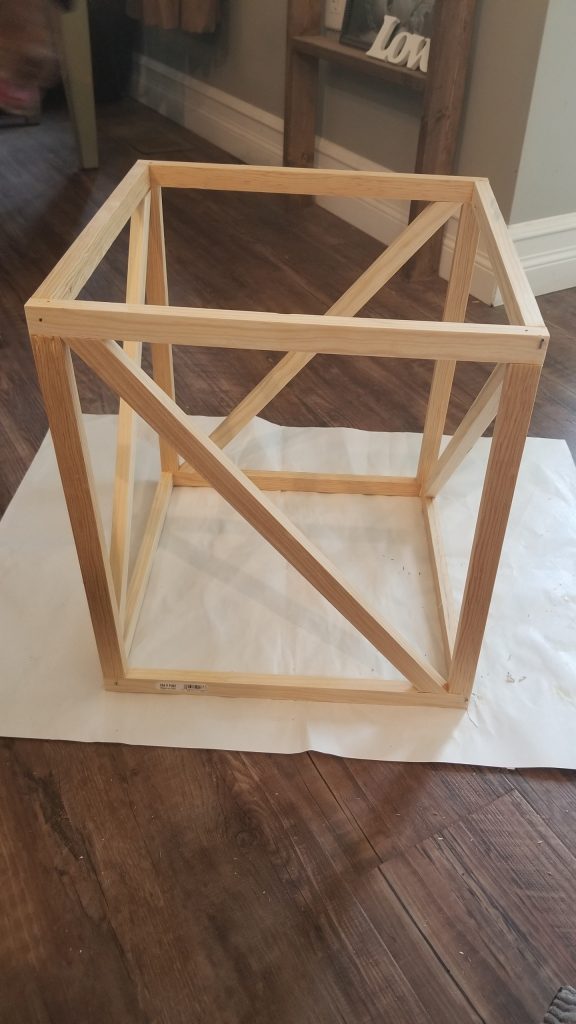
I made a second one to match, and then cut 4 more pieces to make up the height of the box.
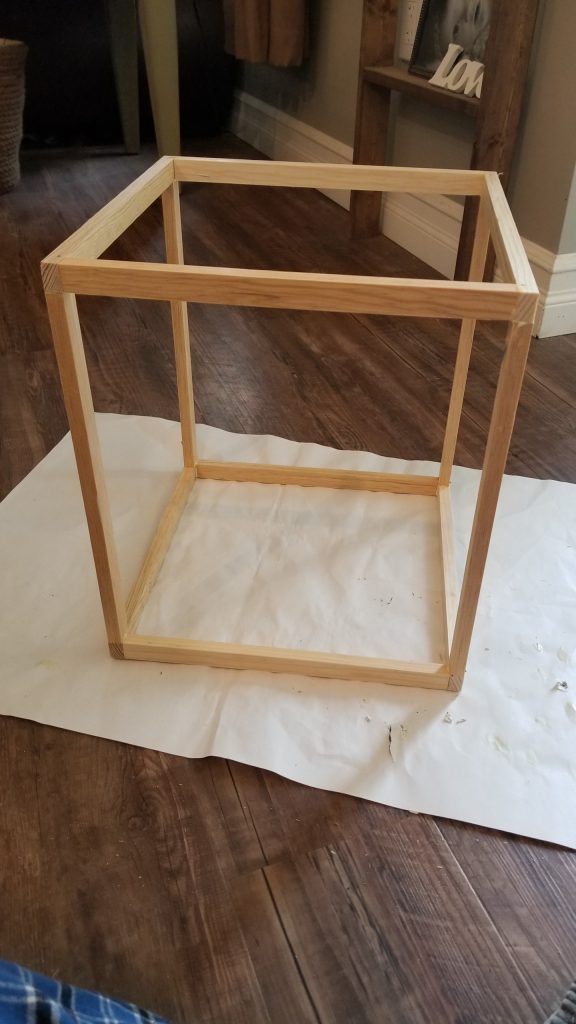
Using the same method of wood glue and small trim nails, I constructed the cube.
Being a person who doesn’t like math, I cut the sides by measuring the X’s in place. For each side, I cut a 45-degree angle on one end and then just held the piece of wood up to the cube and marked with a pencil where to make the next cut.
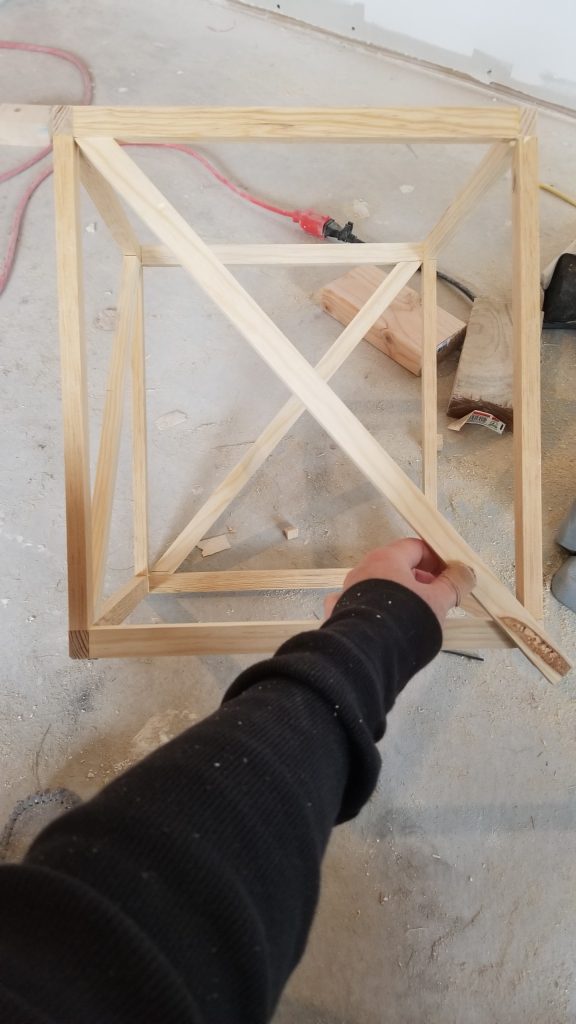
Don’t mind the band-aid on my thumb. I promise it wasn’t a result of this project. BUT! Do be careful because you definitely need some power tools for this.
I cut the long side of the X on each side first, and then went back and filled in the smaller legs of each X afterward. You’ll get something that looks like this:
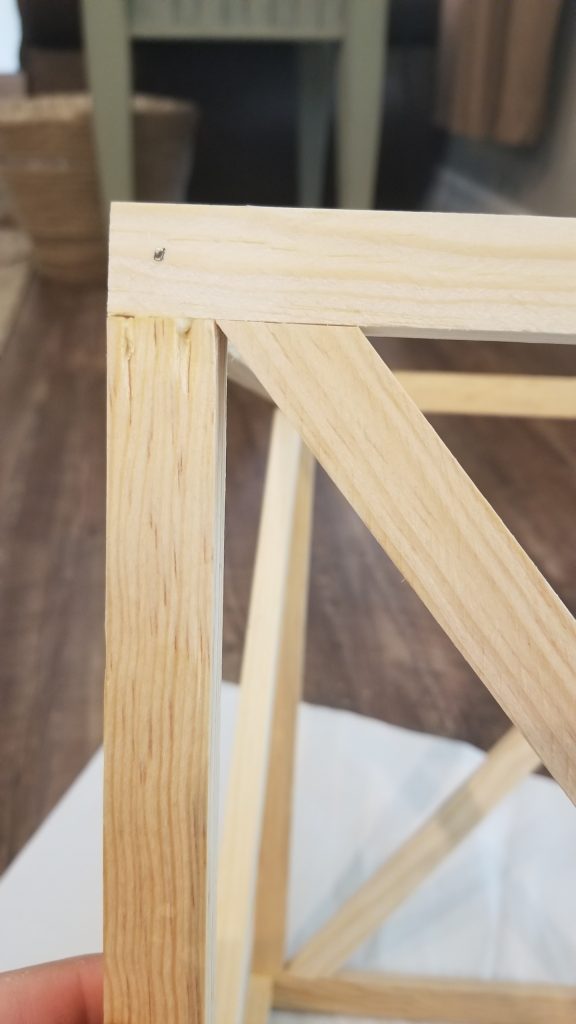
Each of the corners I put together to look like this:
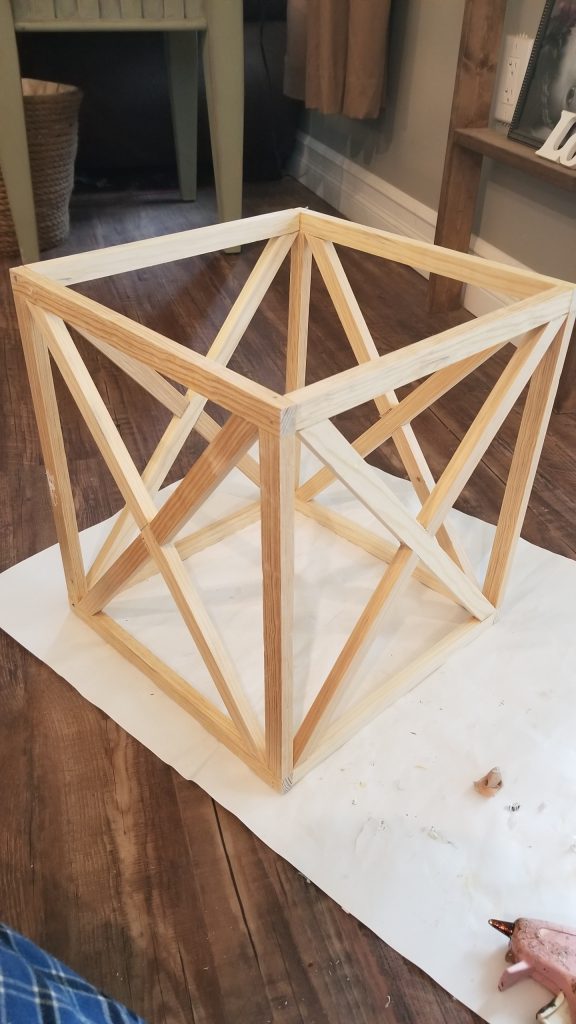
I cut the smaller legs of the X’s in the same way – just holding them up and eyeballing where I needed to make my cuts. The thing is, wood glue doesn’t dry quick enough and my nail gun is just too beefy to fit in there to shoot in some nails. So, I used hot glue to secure them. It should be fine, for real. My light has been in use for 4 months as I am writing this, and nothing has fallen apart yet.
Note the very abused looking pink hot glue gun. I bought that gem at the dollar store and she’s has been with me for over a decade and hasn’t given up her ghost. Keep on a-truckin’ little buddy!
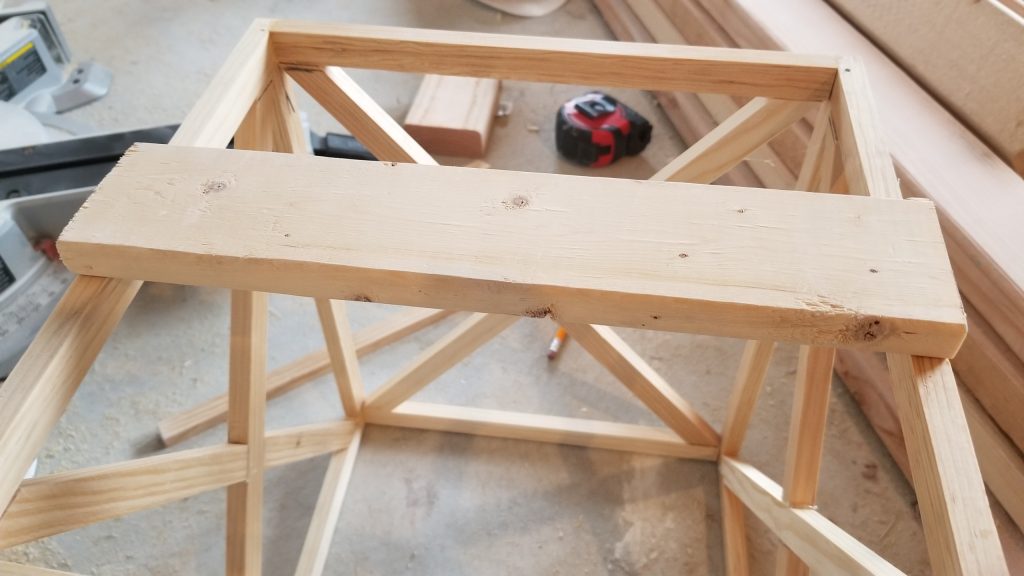
Anyway, so after you have your cube and X’s constructed, you need to add something to the top to hold on to the pendant so you can hang it from the ceiling right? I dug in the scrap wood box and found a 1×3 that worked nicely. I found a nice chunky sized drill bit and drilled a hole in the center to fit the arm of the pendant through it and secure it to the top of my cube. Now, my drill bit alone wasn’t thick enough to fit the pendant through, so I had to really get in there and do not-nice things to get the hole big enough. I guarantee there are more professional ways of handling this step. Regardless, I made it happen… without photos of the carnage.
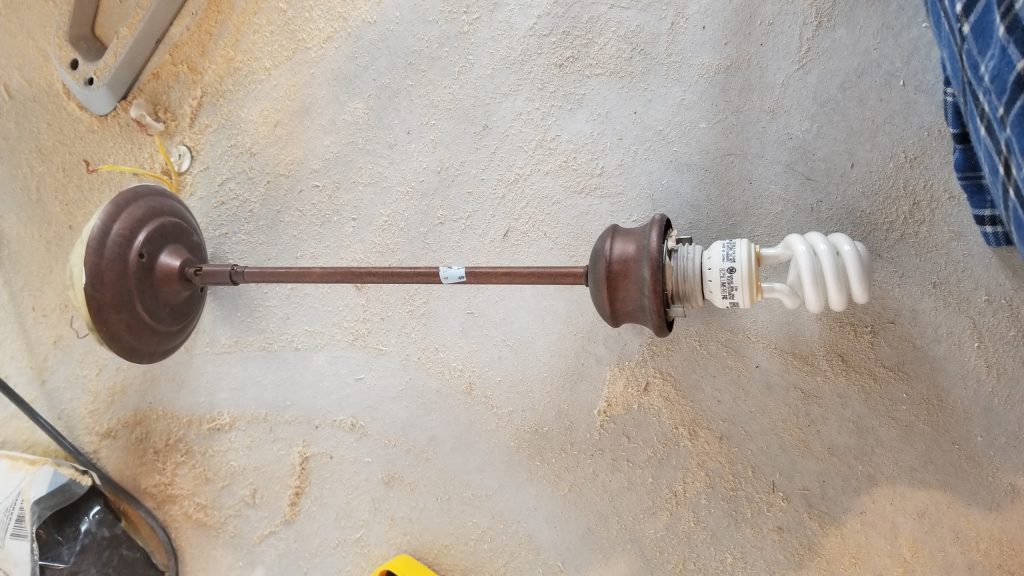
Once your hole is drilled, you can disassemble your light fixture to feed it through the top. The next issue was getting the cube and pendant to fall in love and want to stay married to each other in such a way that makes you happy when you look at them holding each other so tightly. I agonized over this because seriously – there has to be some kind of product that helps a metal piece of pipe hold on to a good-sized wooden cube, right? I honestly don’t know if there is because I just dug around in some random things we had laying around from building our house and found these ugly little clamps. I want to say they are electrical conduit…. holders? Whatever they are, they worked. I tightened them down and now the box doesn’t slide down the pipe and end up laying against the light bulb for support.
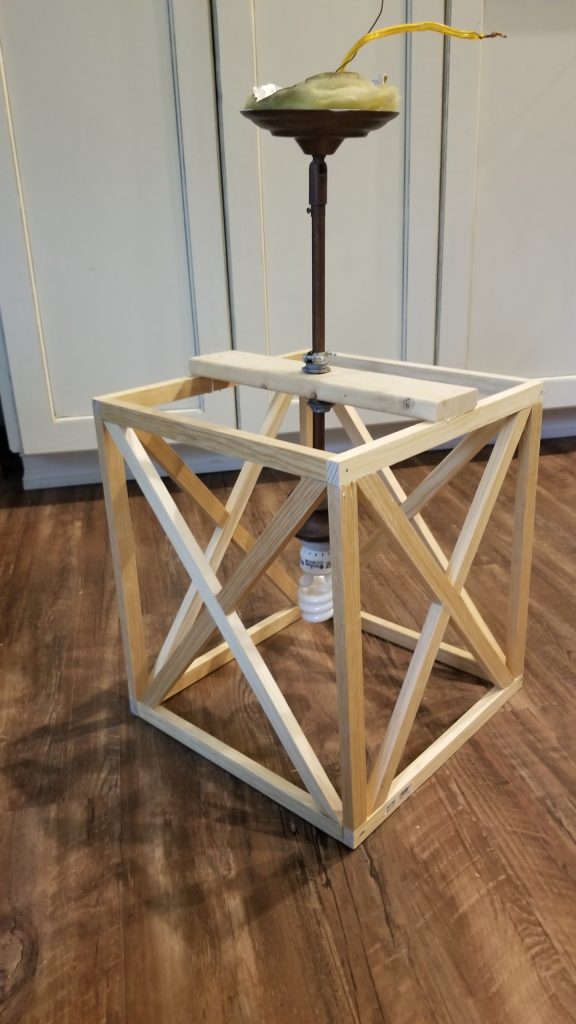
Okay, so moving on. I stained the wood with Minwax Special Walnut. I did it pretty quick and lightly though because I really wanted it to stay a little natural looking.
I had my husband install it at the bottom of the stairs and it is exactly what I was hoping it would be. I could paint the clamps the same color as the pipe if I wanted to make it better. I have since put an LED light bulb in the socket so it isn’t a curly-q of obnoxiousness, but I am still trying to decide if I want a glass globe or something different in there to make it look more finished.
I only had a couple of hours wrapped up into it and it cost me WAY less than buying one from the store!