
It took a lot of trips to home improvement stores to decide what kind of finish materials we wanted to use on the fireplace. We finally decided on some rustic chunky stone veneer. Finishing our fireplace turned out to be pretty easy compared to some of the other things we’ve completed recently. For right now, I’m going to show you how to prepare drywall for stone veneer. This is where we started: 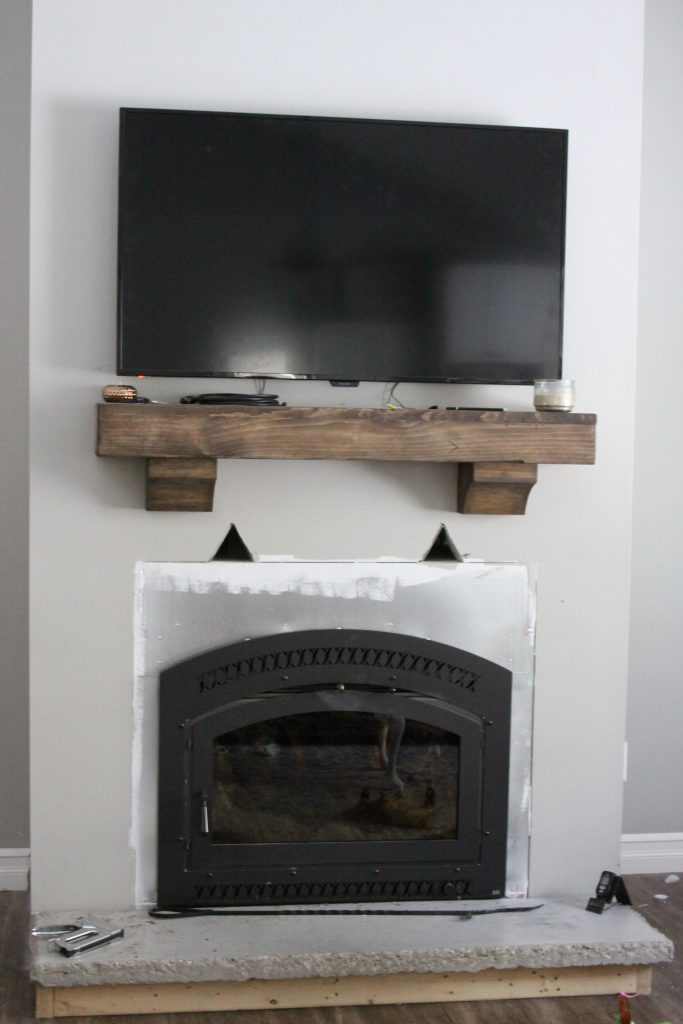
The first thing you will want to do is cover the drywall with builders’ felt paper. We like to use what we have on hand, and we had an entire roll of house wrap just begging to be used for something. Up it went! You can see where we used a level to draw lines on the wall with a pencil. That was to make sure we wouldn’t go above where we wanted the mantel to sit, and also wouldn’t go beyond where the future built-ins were going to go.

Next, you have to install metal lath on top. You can find this at any of the major home improvement stores. This gives the stone something more sturdy to stick to. If you think about it – drywall is very fragile material. If the paper starts to peel at all, the entire sheet could easily crumble. Your end game is to have a significant amount of weight in stone attached to the wall. Drywall alone just isn’t going to cut it.
We cut the lath to the size we needed and attached it to the studs with roofing nails. I strongly recommend using gloves for this part. The lath has a tendency to grab your skin. It’s not pretty.

Next is the super messy part. Cover everything to make sure nothing gets destroyed.

We used scrap boards to ensure we were going to have enough space to install the hearth below the stone, and then smeared a coat of mortar over the metal lath. Most of the things we read said to keep the mortar’s consistency like that of peanut butter. I think it worked a little better when it was slightly more wet than that. It was easier to get it into the little cavities of the lath and make sure that the wall was going to be strong enough to hold the stone.


Once you have the entire area covered, use the bumpy looking side of the trowel to make the surface of the mortar grooved. Let it dry that way so you can apply the stone veneer to the surface like you would if you were installing tile. This is called the scratch coat. This is how it should look when it’s dry and ready for stone.
We applied the scratch coat and then installed the permanent mantel and hearth (which were both DIY projects, too). You can find the instructions for the mantel here. We did it this way because we wanted to make sure we weren’t going to have any issues getting those two pieces to fit after the stone was installed.
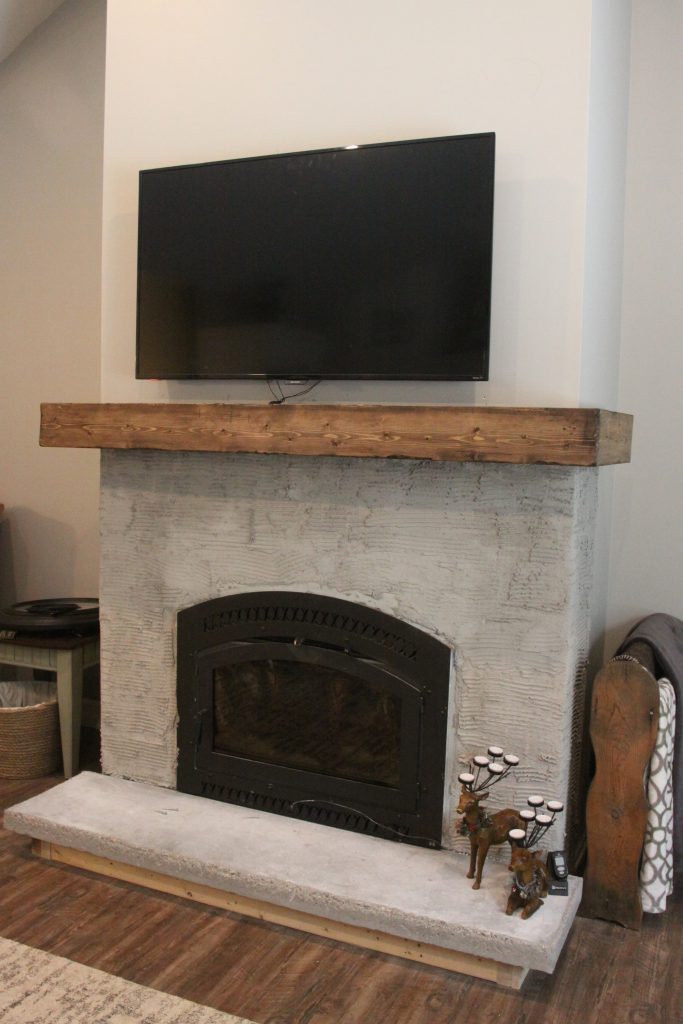
And that’s it! It’s ready for stone. Check into my next post for how to install it!